How to Build a DIY Paver Landing (Step-by-Step Patio Guide for Beginners)
Learn how to build a DIY paver landing from start to finish with this beginner-friendly, step-by-step guide. From digging and gravel base prep to leveling sand, laying pavers, and locking everything in with polymeric sand, this project breaks it all down. Perfect for backyard makeovers, cottage garden designs, and budget-friendly outdoor upgrades.

How to Build a DIY Paver Landing (Step-by-Step Patio Tutorial for Beginners)
If you’ve been dreaming about upgrading your backyard with a beautiful patio or walkway, this DIY paver landing project is one of the best places to start.
In this blog, I’ll walk you through how to build a paver landing from scratch, including prep, materials, layering, and how to lock everything in so it lasts for years.
This project is part of our larger cottage garden backyard transformation over at our parents' house, and we started with the very first step out the back door - literally.
Why Start With a Paver Landing?
When you're transforming a backyard, it’s tempting to jump straight into plants and landscaping. But starting with a hardscape foundation like a paver landing gives your space structure and function right away.
Benefits of a paver landing:
Creates a clean transition from your house to yard
Adds usable outdoor living space
Helps with drainage and prevents muddy areas
Instantly elevates the look of your backyard
It also gives you a defined area to build around, which makes planning the rest of your garden way easier.
Tools + Materials You’ll Need
Materials:
Gravel (base layer)
Concrete mix (for edge restraint)
Tools:
Tamper or plate compactor
String line + stakes
Broom
Hose or watering can
Roller/brush
👉 You can find links to everything I used for the project all in one place HERE
Before: Demo + Prep Work
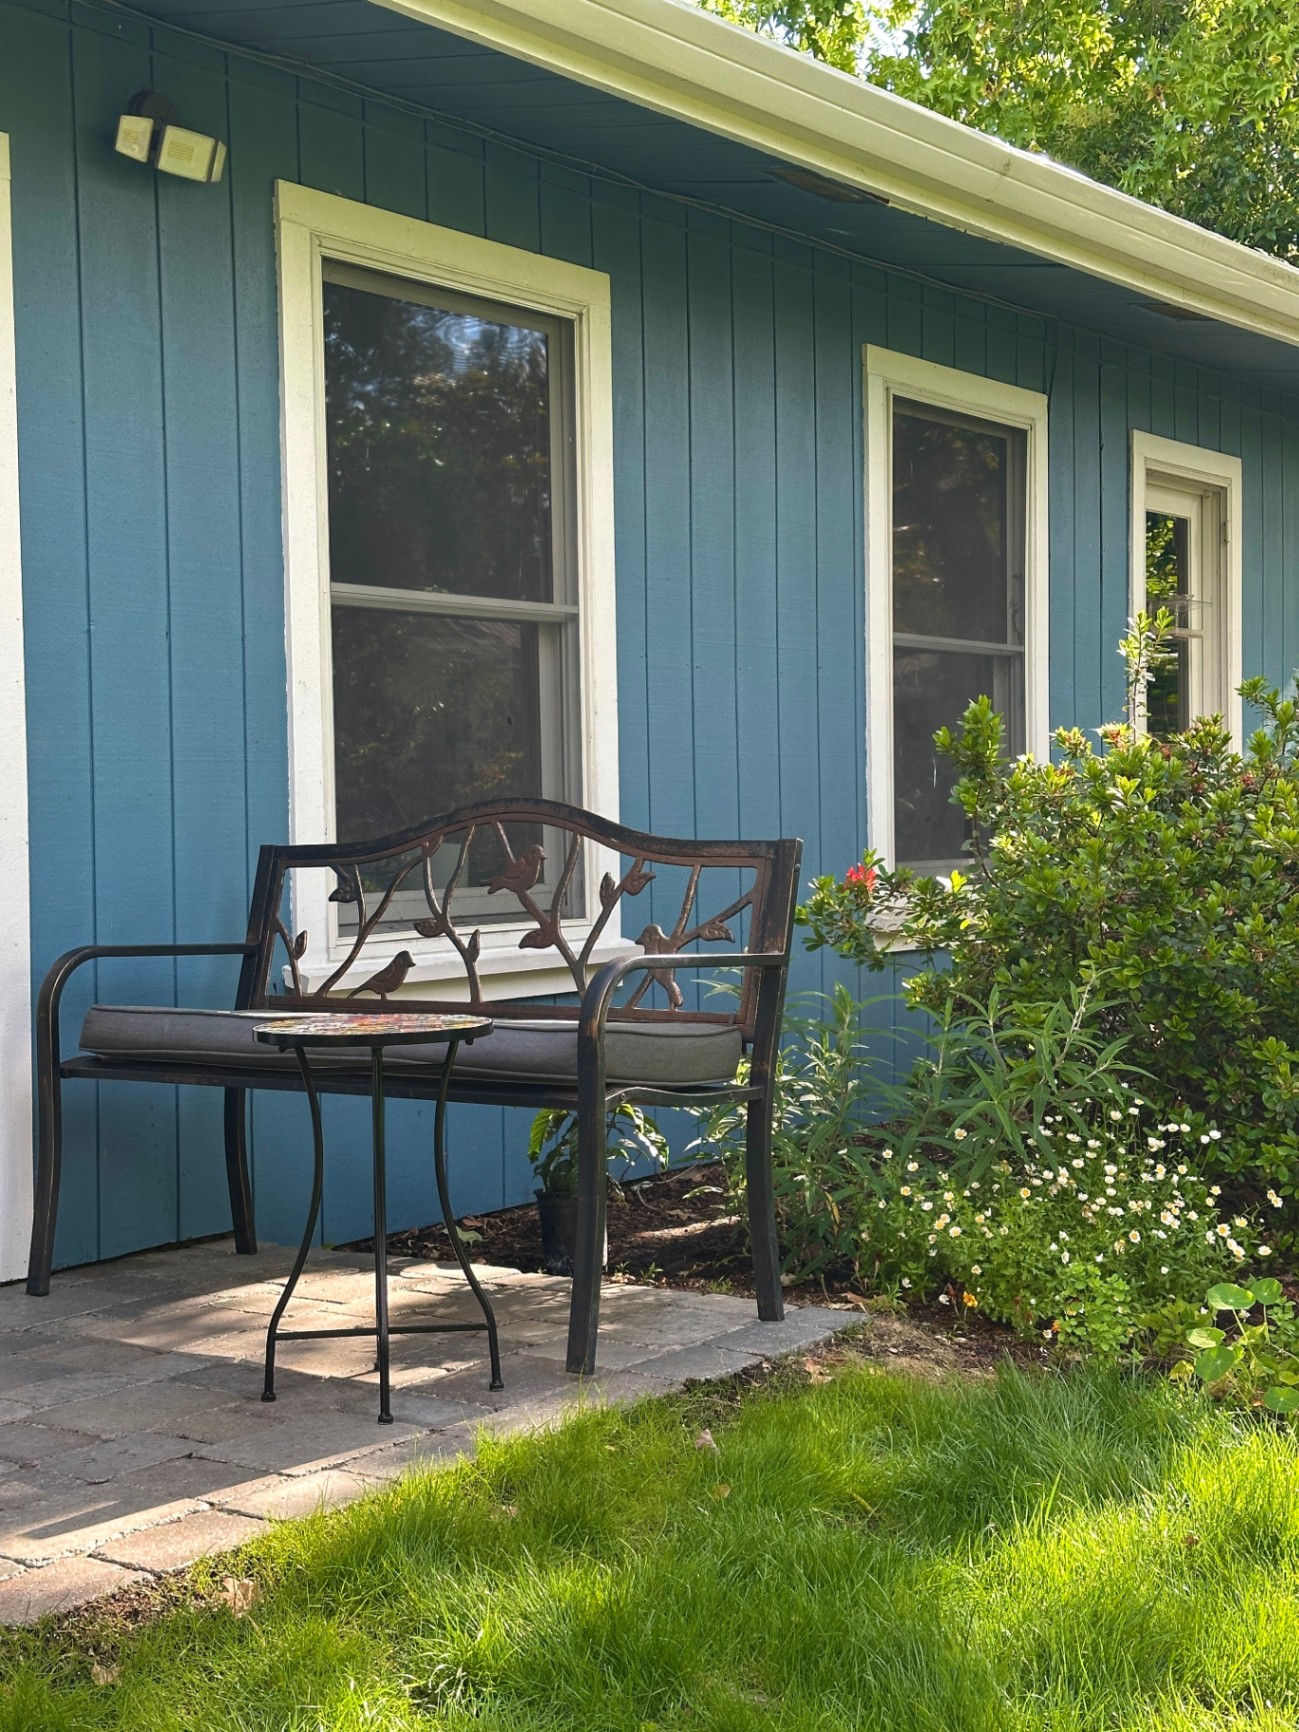
Our parents’ yard already had great bones, but the landing area was small, super uneven, and honestly just not usable at all.
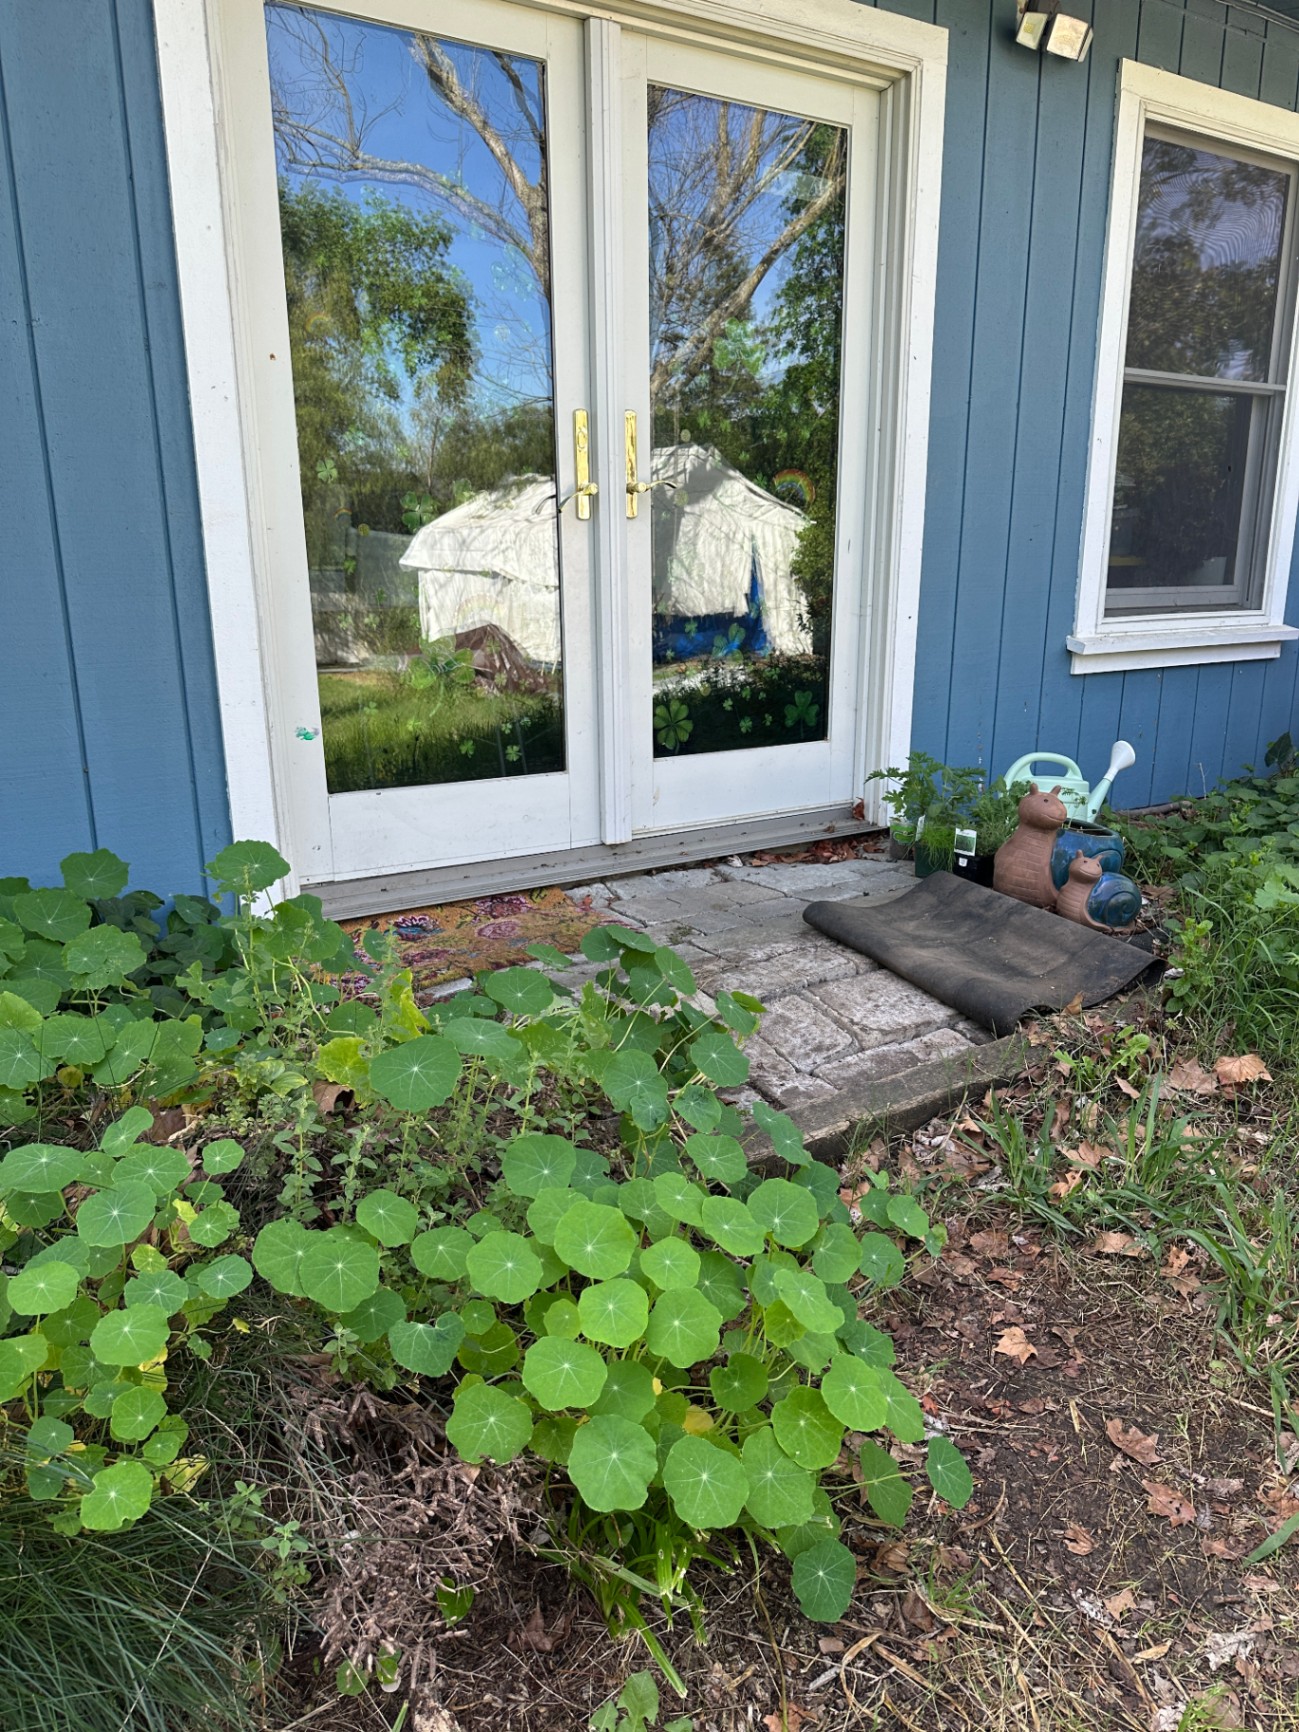
We decided to expand it to about double the size, which meant more demo upfront - but a much better end result.
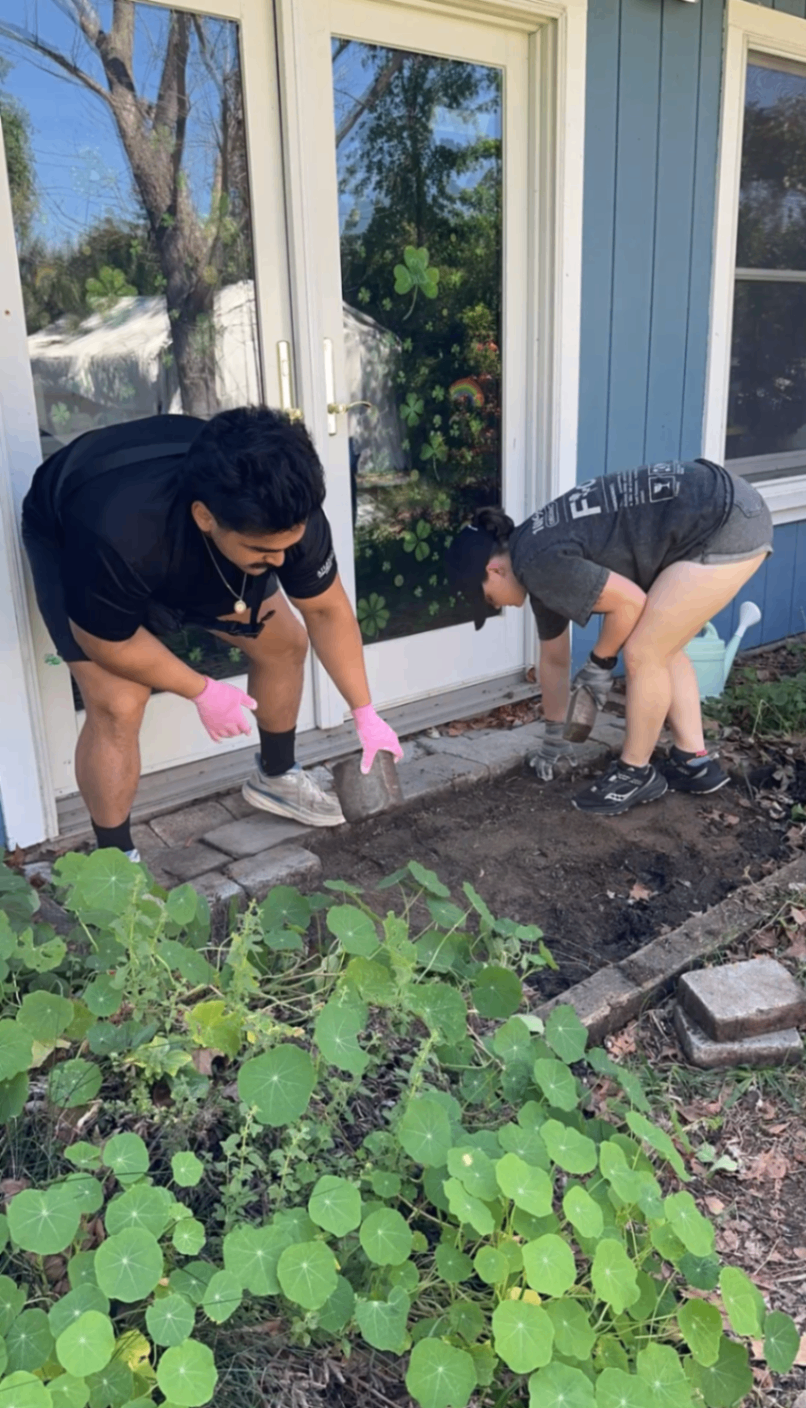
What we tackled first:
Removed and saved the existing pavers (cost saver and reduces waste)
Cleared weeds and overgrowth
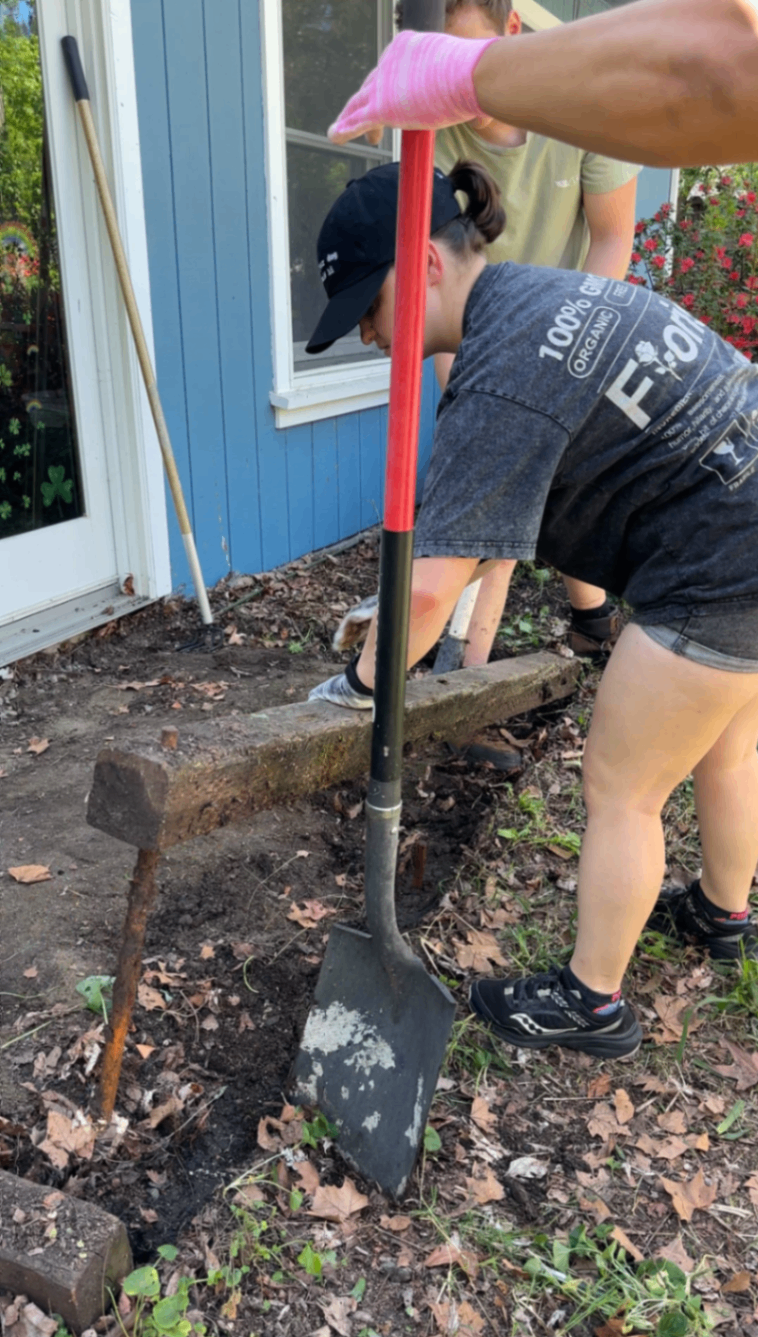
Pulled out old misc railroad ties, old concrete chunks
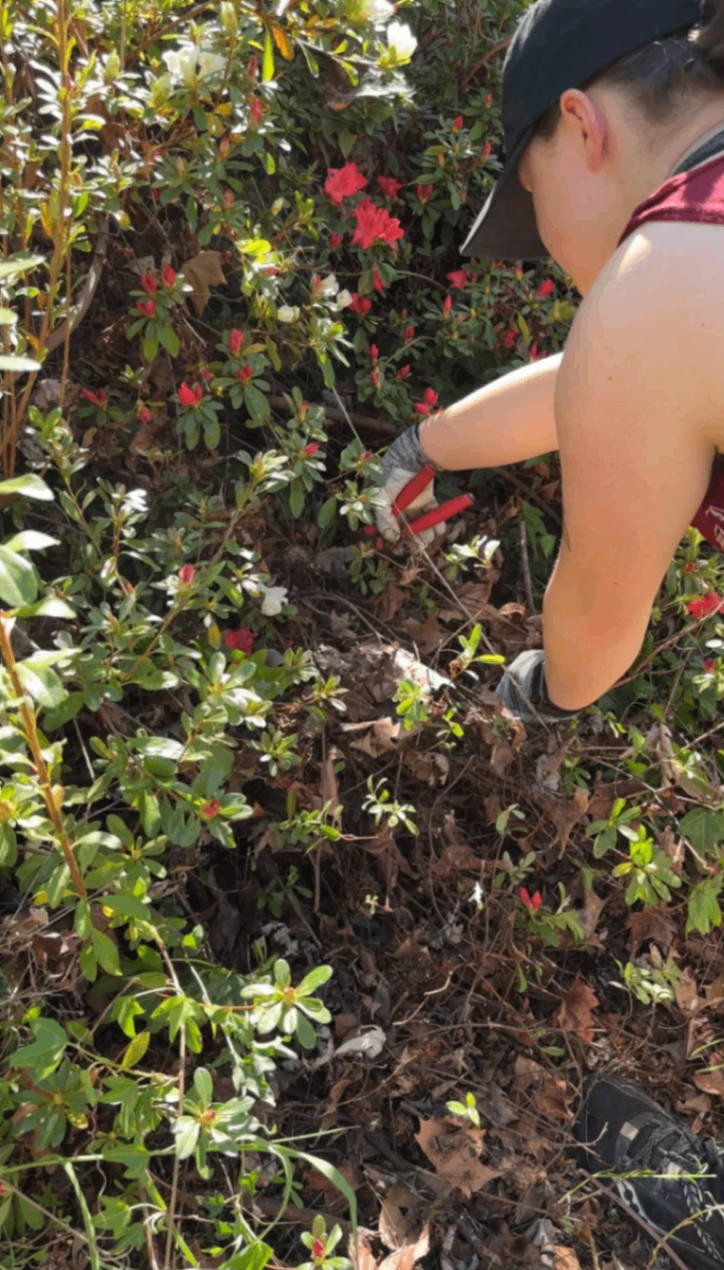
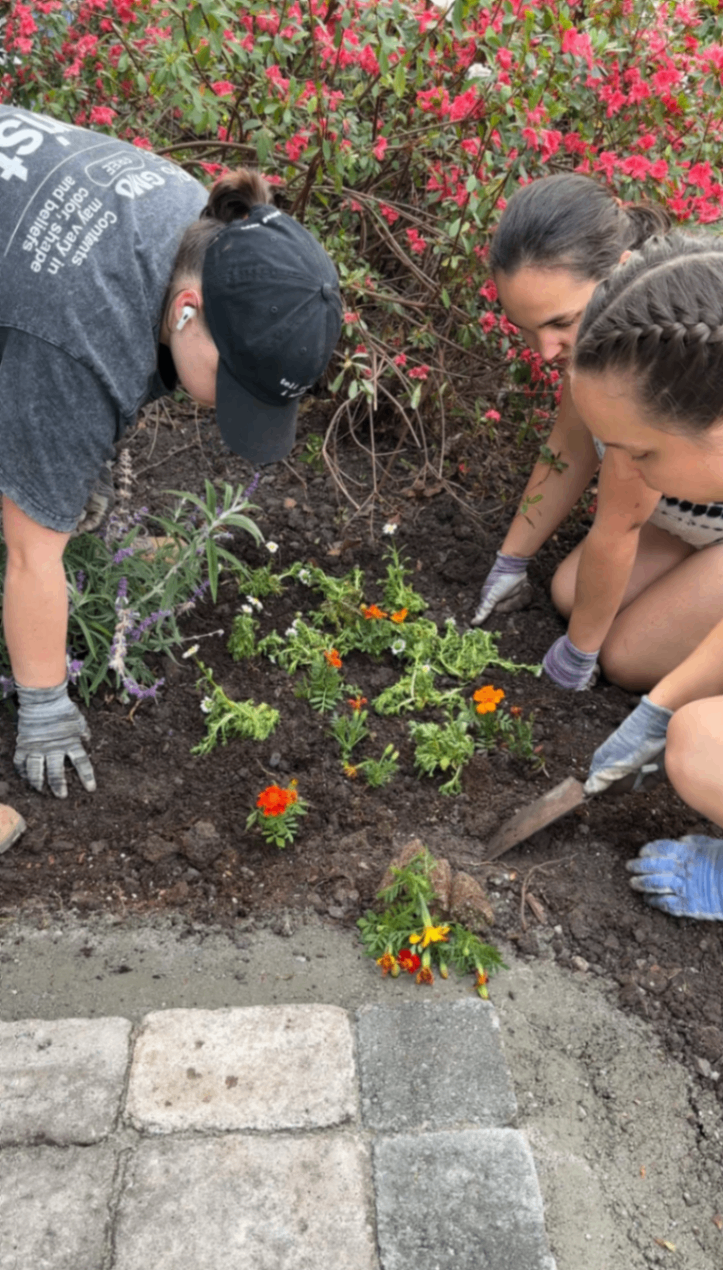
Pruned surrounding overgrown plants (I'm looking at you azalea 👀)
Leveled out high spots and cleared debris
Because this was a family project, everyone jumped in - digging, hauling, pruning - and it made a huge difference in how quickly we got through this phase!
Step 1: Dig + Base Preparation (The Most Important Step)
If there’s one place you don’t want to cut corners, it’s here.
We dug down about 9 inches, which allows room for:
Gravel base
Sand layer
Paver height
Plan your footprint before you dig
One thing that’s easy to overlook: your base needs to be slightly larger than your finished paver area.
You’ll want:
A few extra inches of gravel base on all sides of the pavers
Additional space for your edge restraint (more on that later)
For example, since our landing was planned at 5’ x 10’, we actually dug and laid gravel at roughly 5’6” x 10’6”. This gives your edges proper support and prevents shifting over time.
Account for slope (super important)
Our yard slopes away from the house, which meant:
We had to dig deeper closer to the house
And shallower toward the far end
The goal is to keep your finished paver surface mostly level (1/8-1/4" slope away from house per foot is recommended).
If your yard has any slope at all (most do), keep this in mind early - it saves a lot of frustration later.
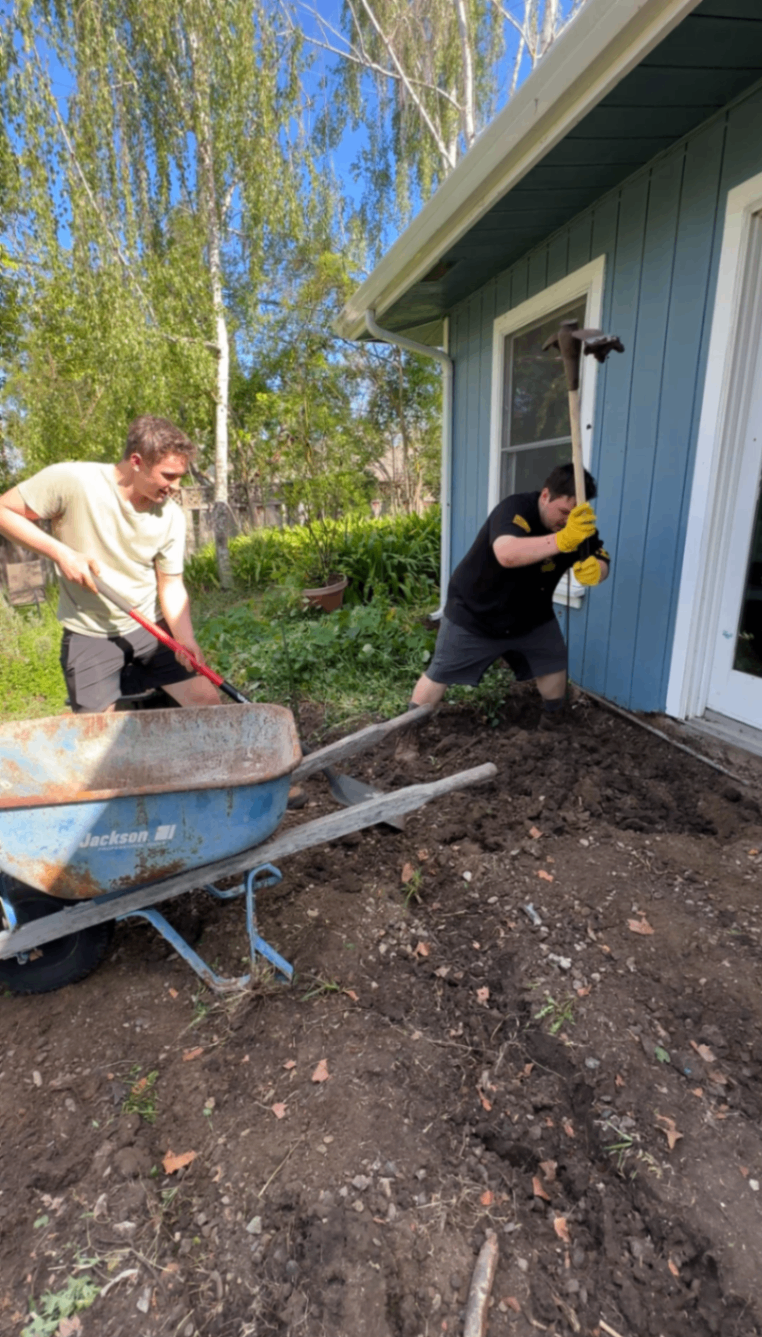
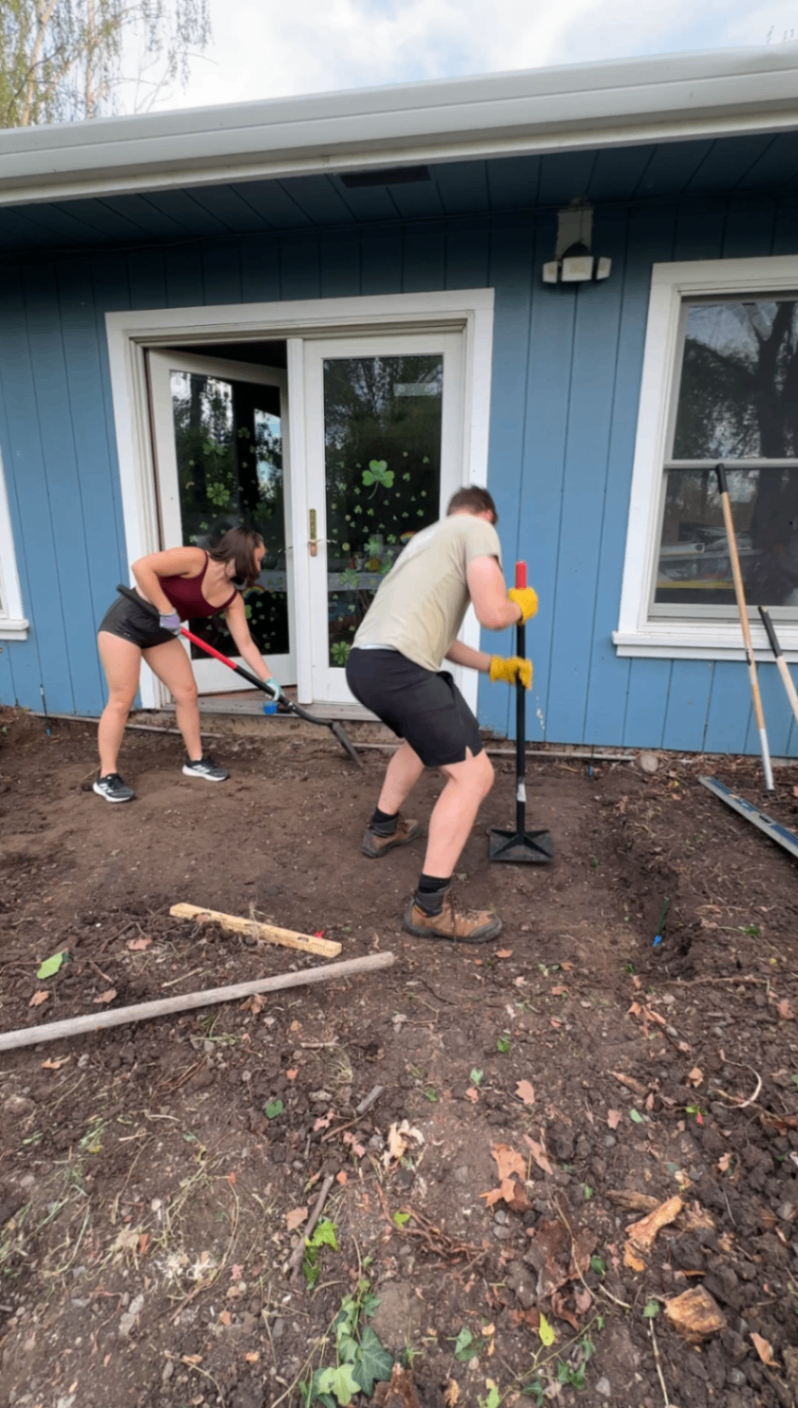
How we did it:
Dug evenly across the area using pickaxes and shovels (adjusting for slope)
Removed roots, loose soil, and debris
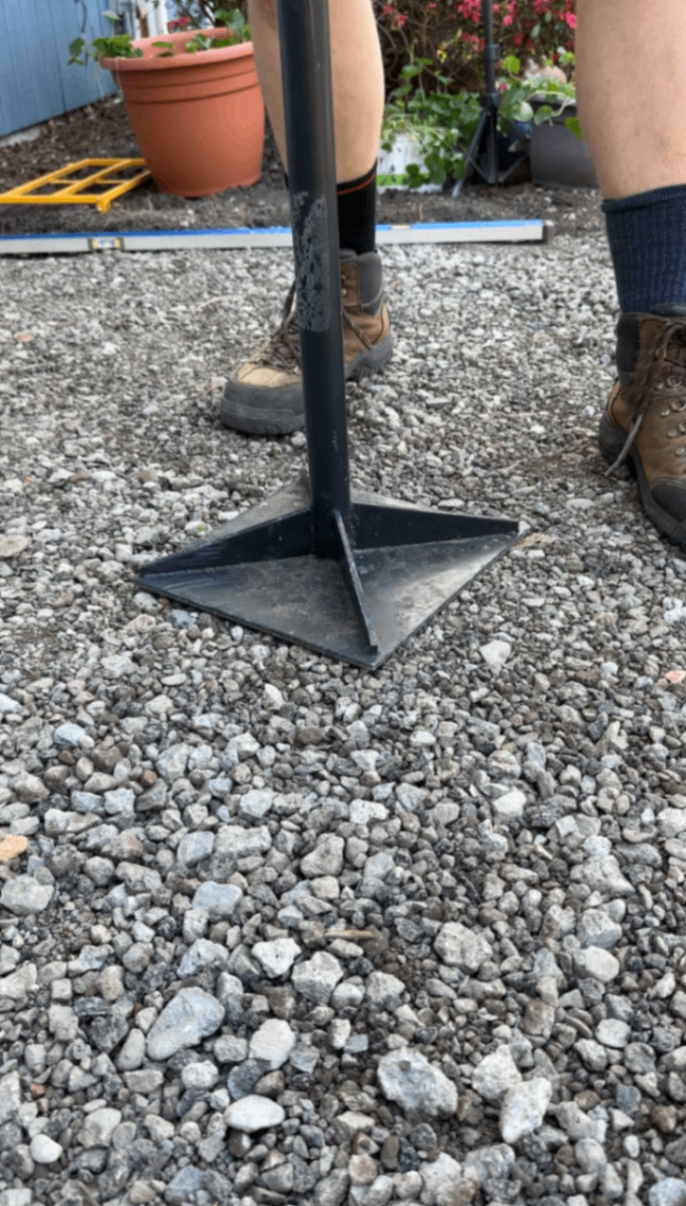
Used a tamper to compact the soil underneath
This step sets the foundation for everything that comes next.
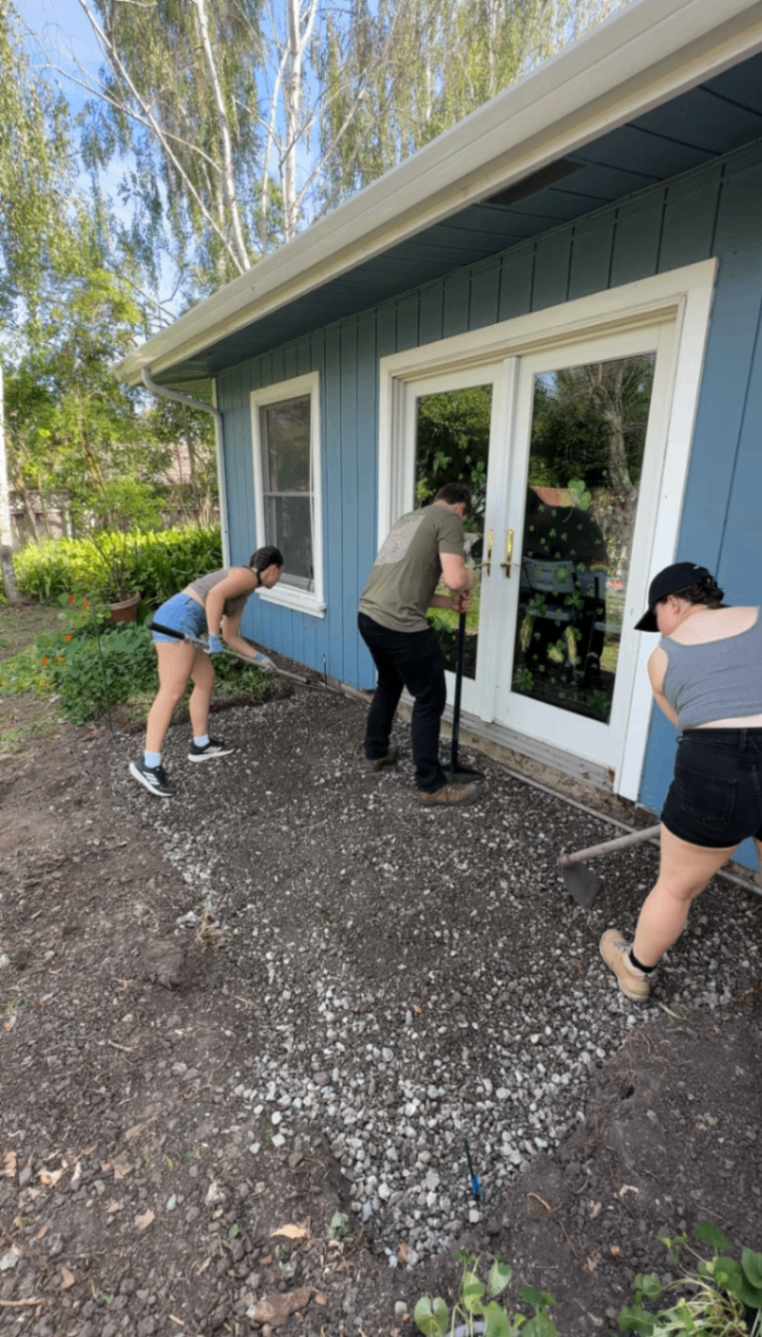
Step 2: Add Gravel Base (Your Foundation Layer)
Next comes the gravel base, which is doing most of the structural work.
We added about 6 inches of gravel, compacting every ~2 inches as we went.
Why gravel is essential:
It compacts into a super stable base
Allows water to drain through instead of pooling
Supports weight evenly across the surface
Process:
Take your time here - this is what determines how solid your landing feels underfoot.
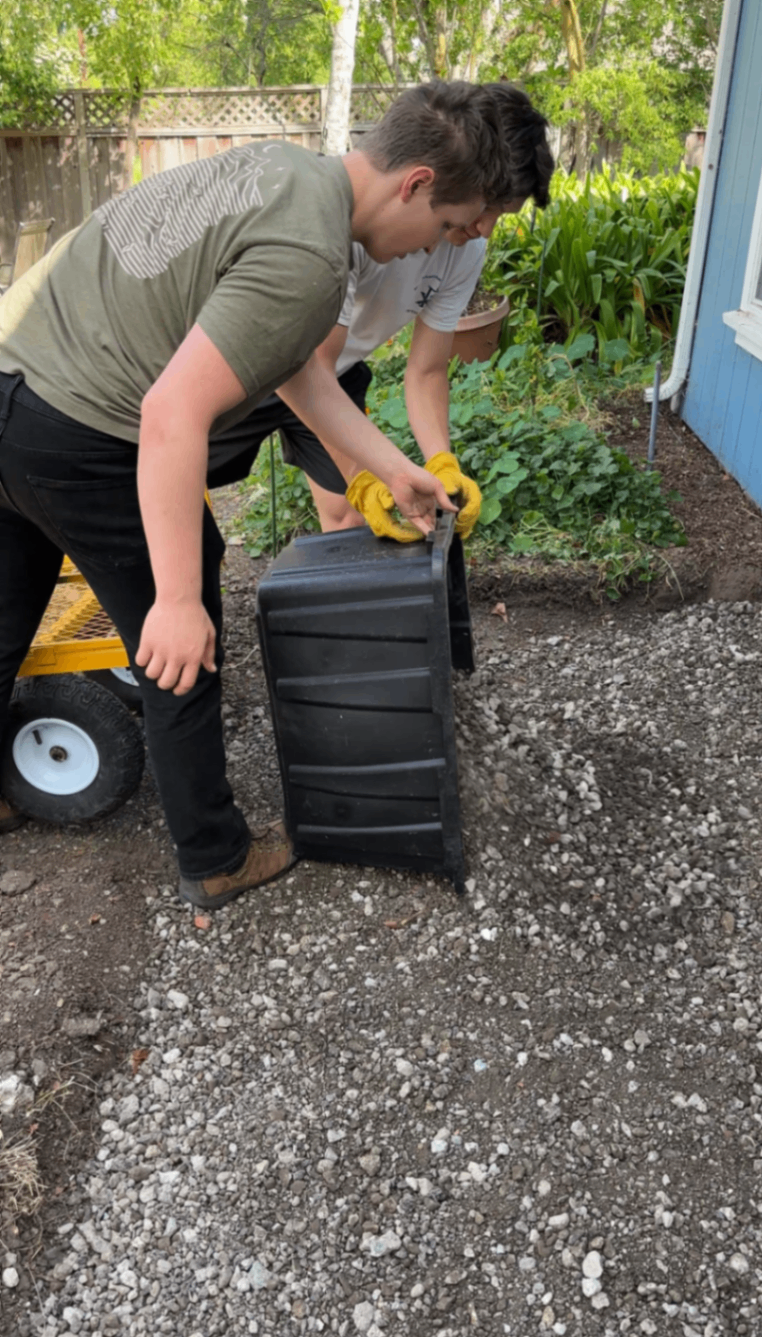
💡 Pro Tip: Buy Gravel in Bulk
Gravel gets expensive fast if you buy bags from big box stores.
Check local suppliers or apps like Rockery instead. We paid $175 for 2 cubic yards vs. ~$675 bagged.
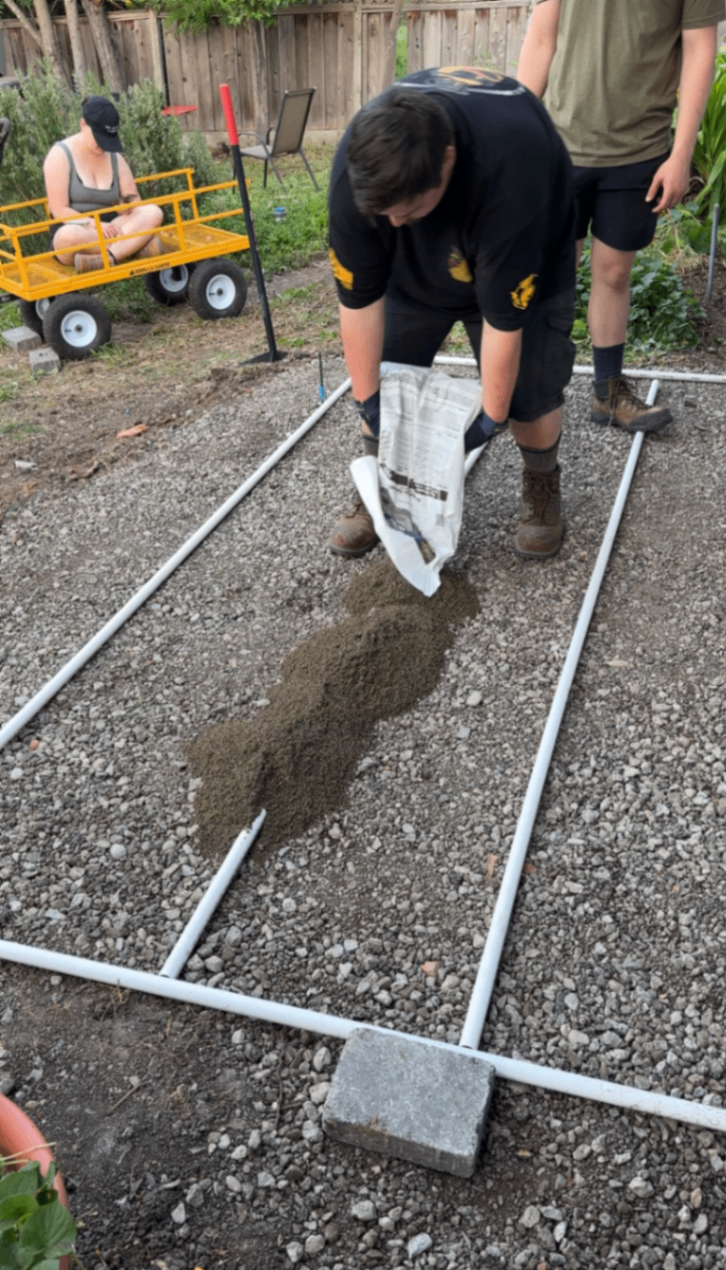
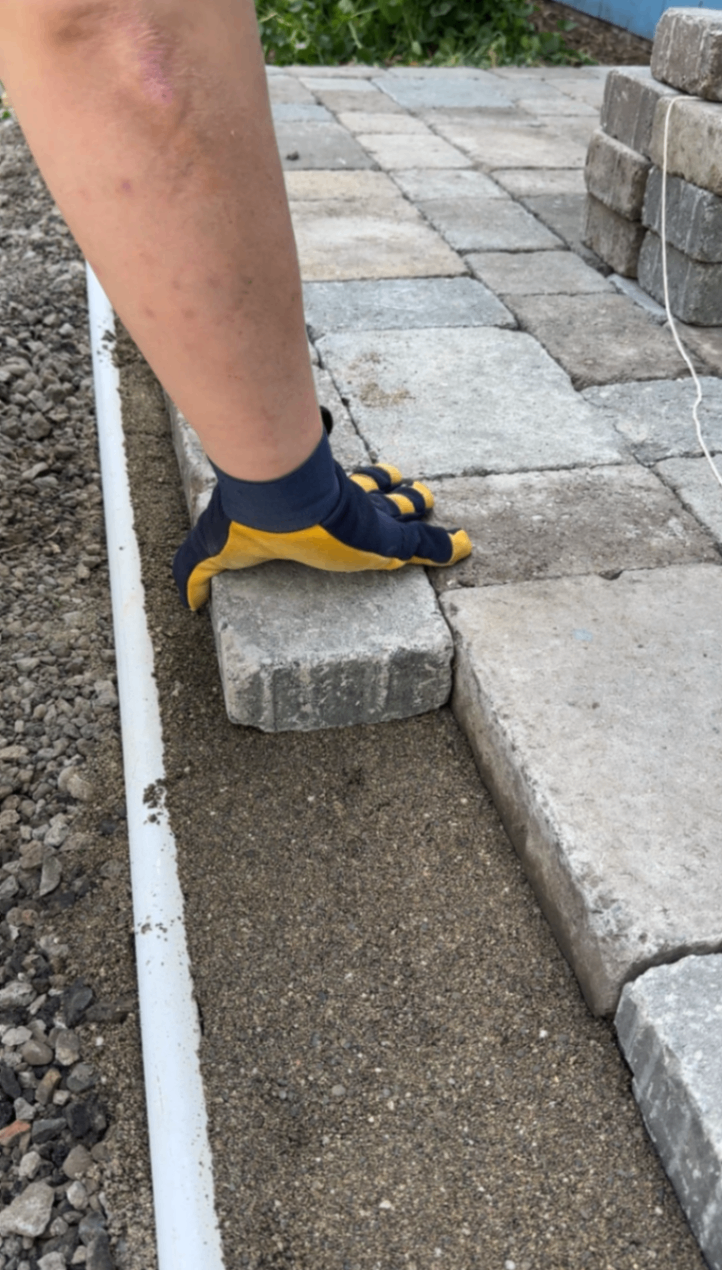
Step 3: Add Sand Layer (Precision Leveling)
On top of the gravel, we added exactly 1 inch of leveling sand.
This is what allows you to get that smooth, even surface before placing pavers.
The easiest leveling trick:
Use 1” PVC pipes as guides.
Lay pipes across your space
Fill sand around them
Drag a straight board or level across to screed
Remove pipes and fill gaps


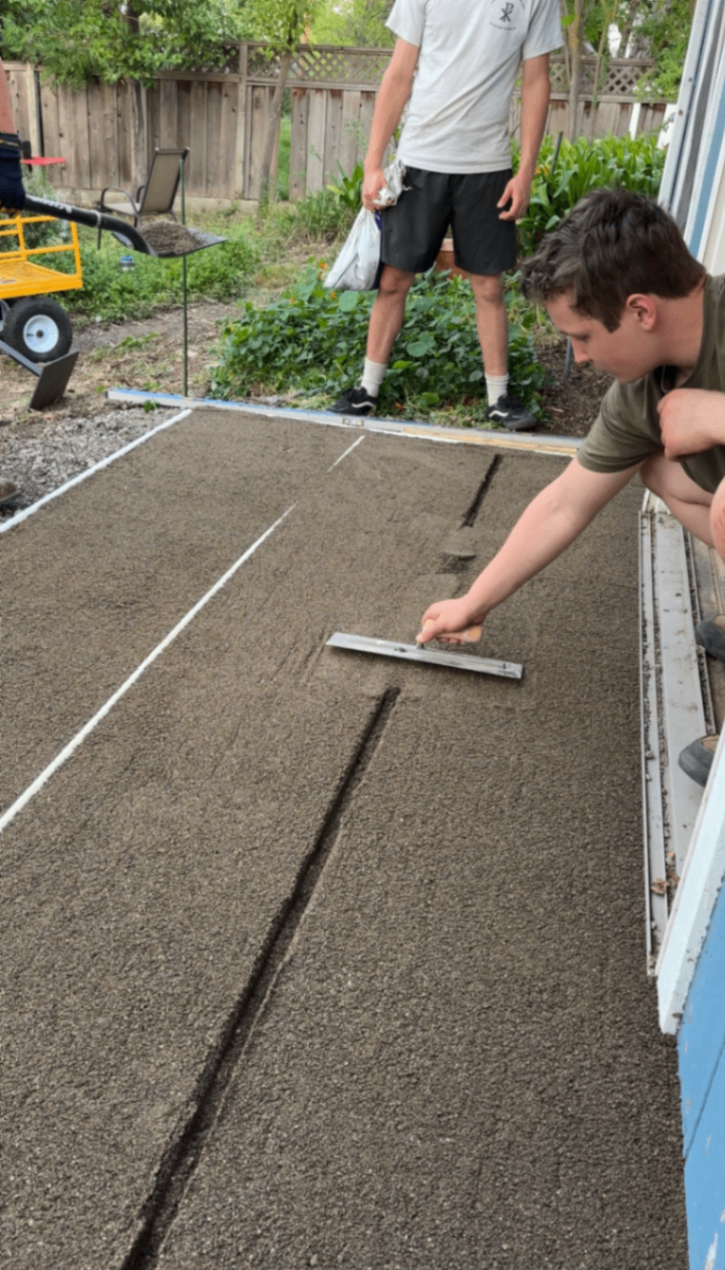
What to watch for:
Avoid dips or uneven spots
Don’t walk directly on the sand once leveled
Take your time - this layer shows in your final result
Step 4: Lay the Pavers (The Fun Part)
If you feel like you've been doing prep for ages now, you're doing it right! Laying the pavers is actually the fastest part of the process, and this is where everything starts to come together visually.
We used a blend of three different pavers (large, medium, small) to create a more organic, cottage-style look, and we planned the pattern ahead of time so we didn’t need any cuts. Pro move.
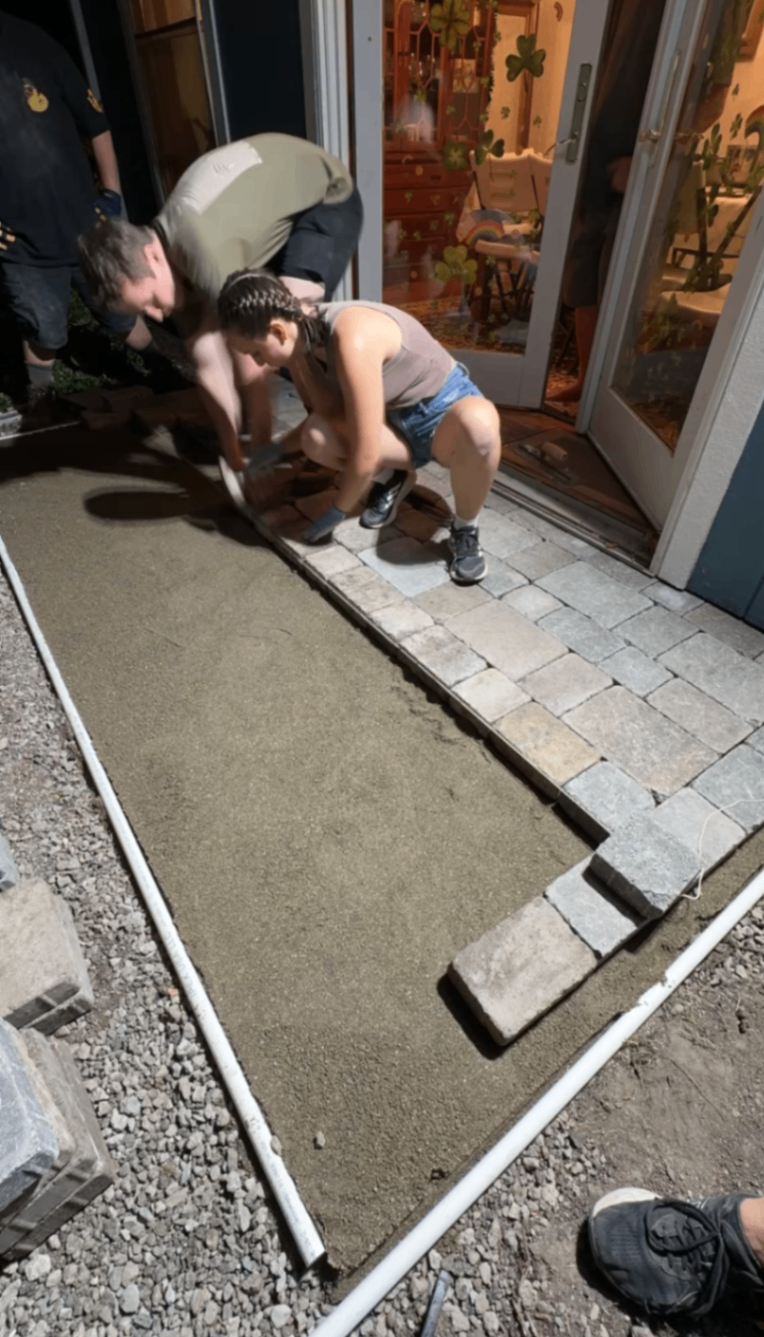
Tips for laying pavers:
Start from one edge and work outward in rows
Only walk on placed pavers (NOT the sand)
Keep joints tight and consistent
Use a string line to stay straight
It’s honestly the most satisfying step - you finally see the space take shape.
Step 5: Install Edge Restraint (Locks Everything In)
Before we lock in the pavers, let’s talk about edge restraint options, since this step is critical for longevity.
Types of edge restraints:
Plastic edging – easy to install, budget-friendly
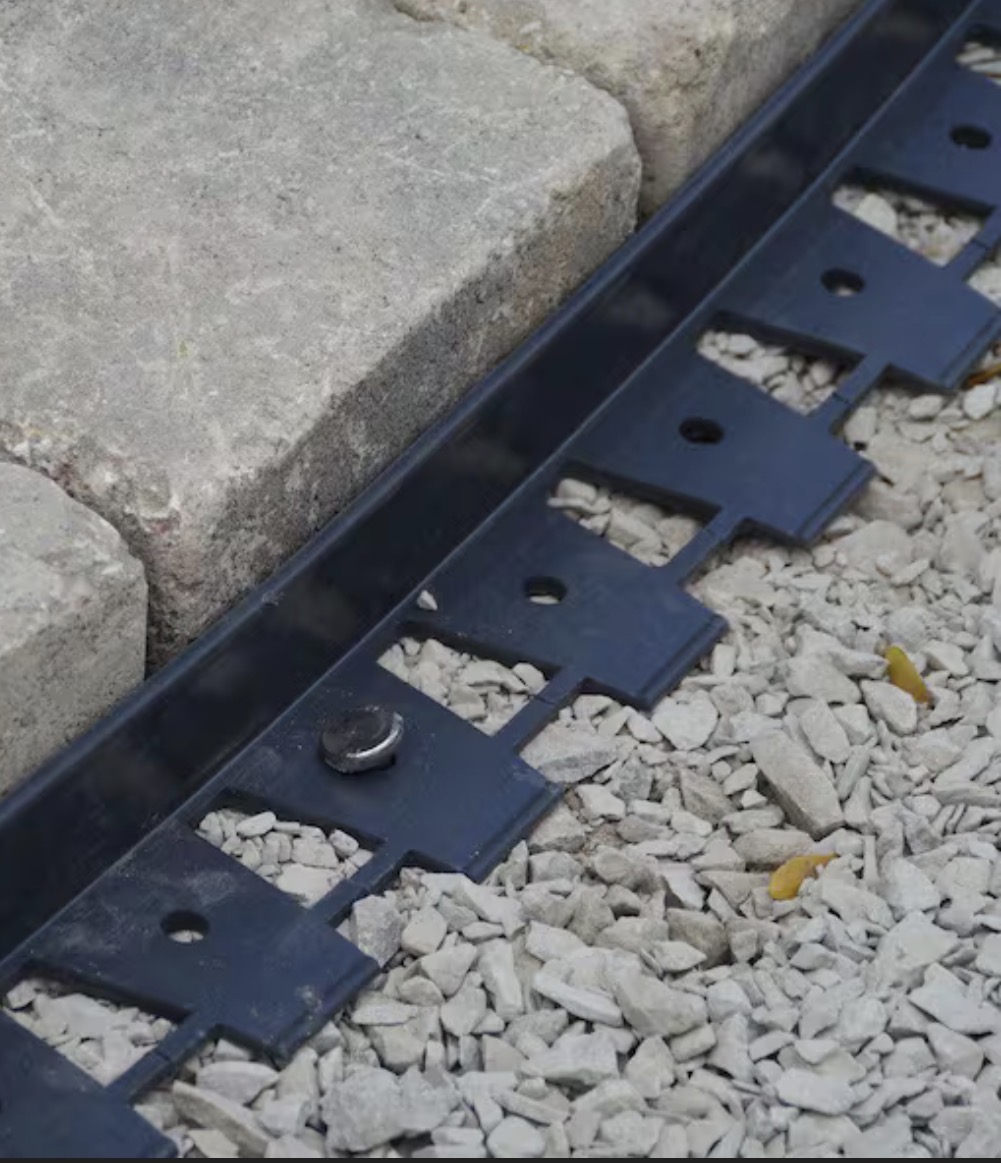
Metal edging – cleaner look, slightly more durable
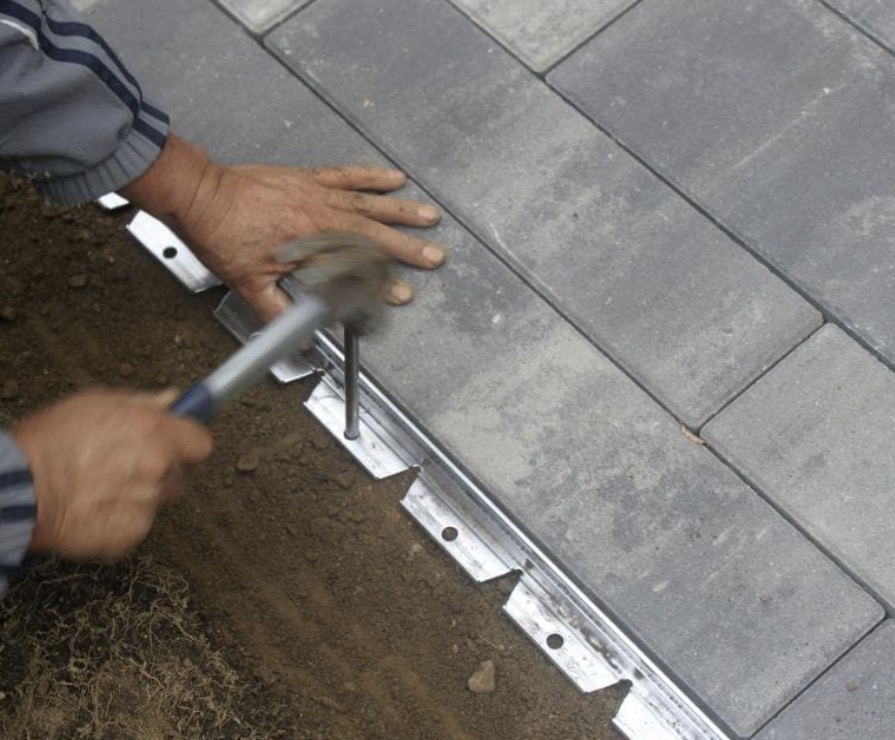
Concrete edge restraint – most durable and permanent
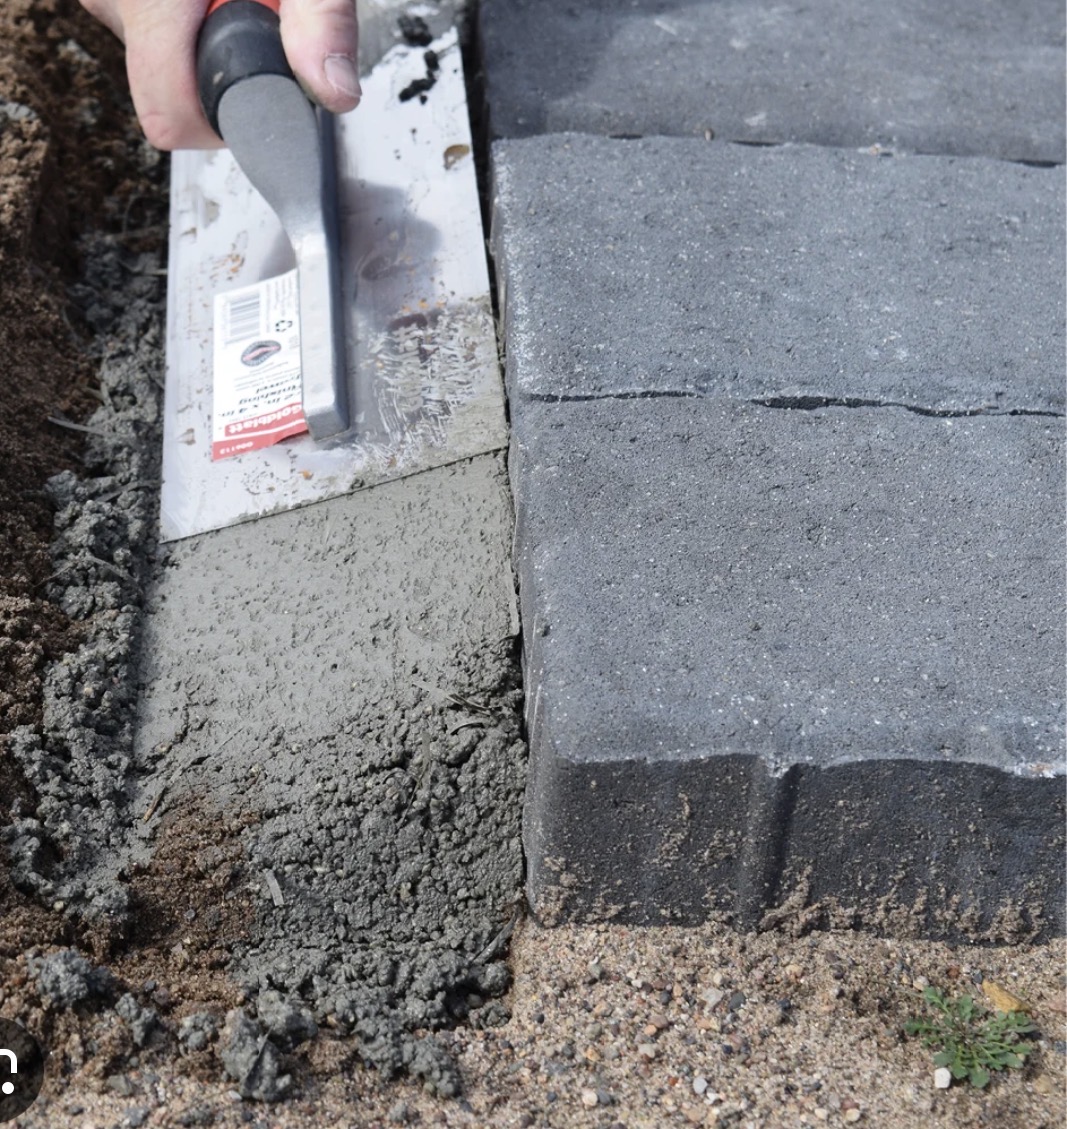
Why we chose concrete:
It’s extremely durable and long-lasting
Works well on sloped yards like ours where pavers are more likely to shift over time
Lets you bring mulch, soil, or grass right up to the edge for a seamless look
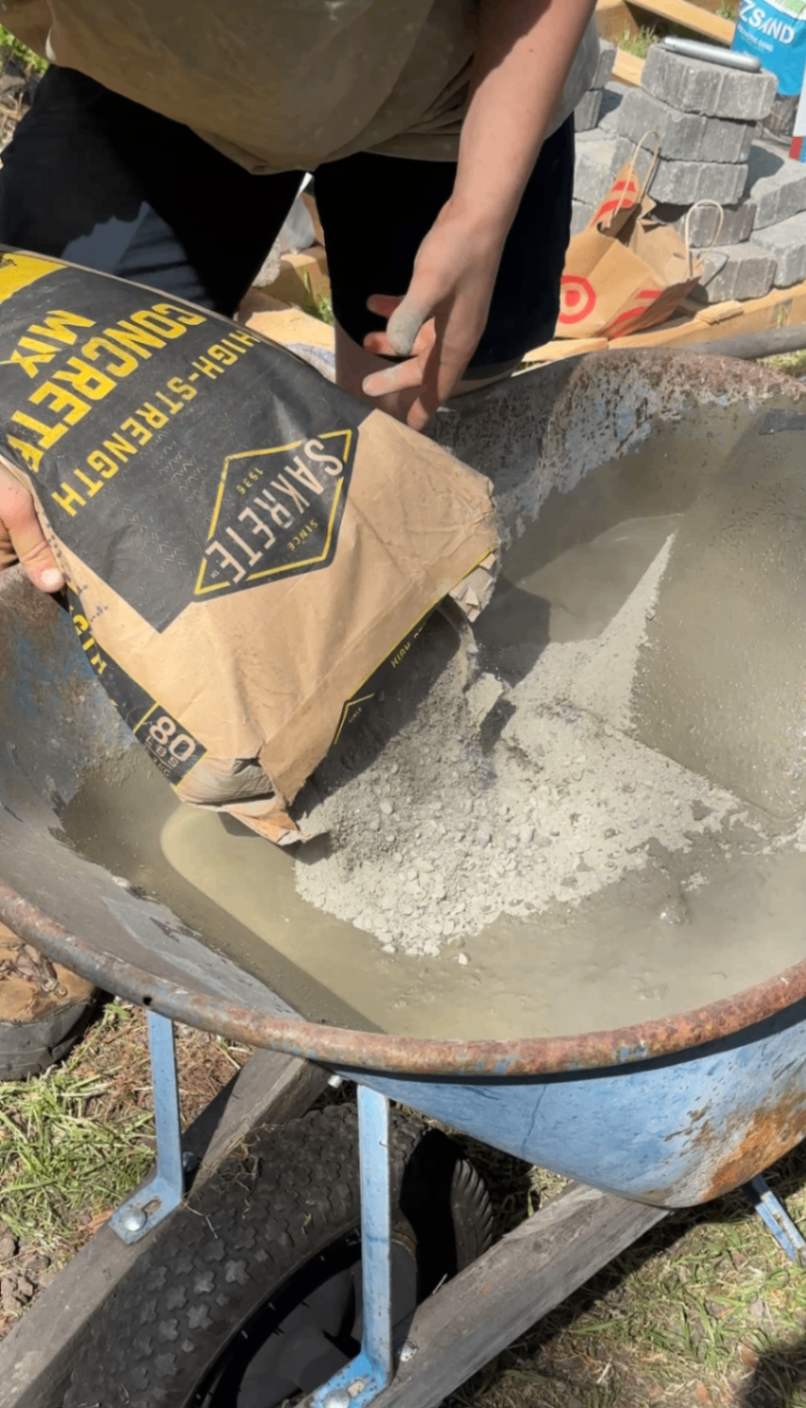
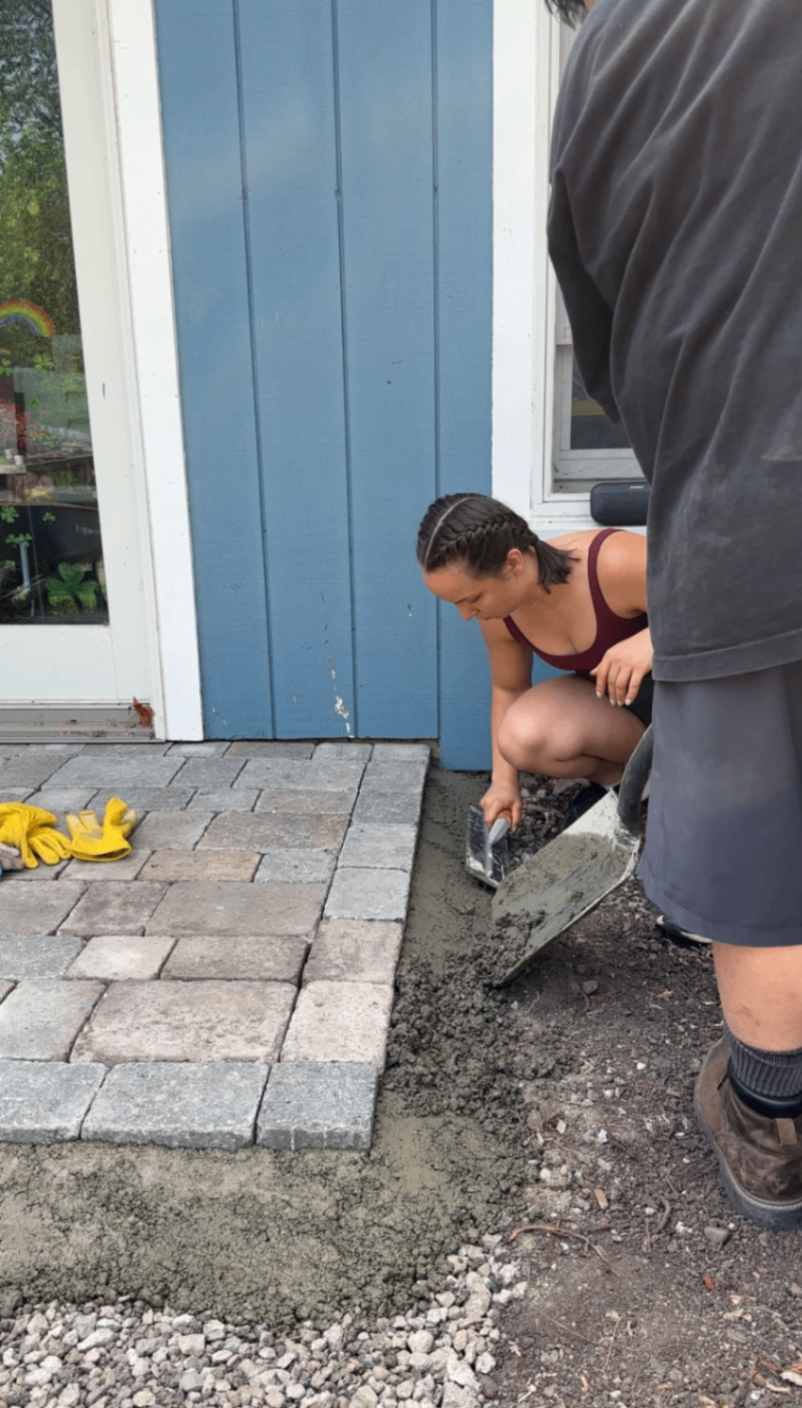
How we installed it:
Mixed concrete (we used two bags for our 5x10 landing and it worked perfectly)
Shoveled it carefully along the perimeter
Troweled it into a sloped edge
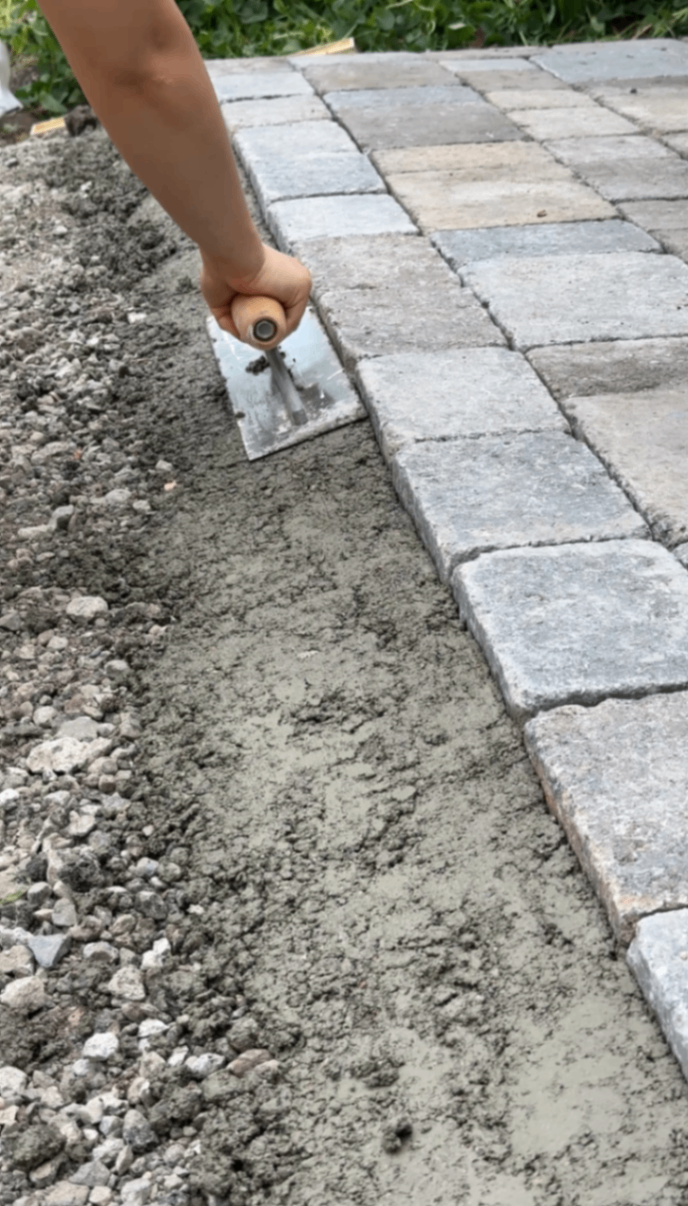
Key detail:
👉 Keep the top of the concrete about 1 inch BELOW the paver surface.
This allows you to fully hide it later when landscaping by backfilling right on top of it.
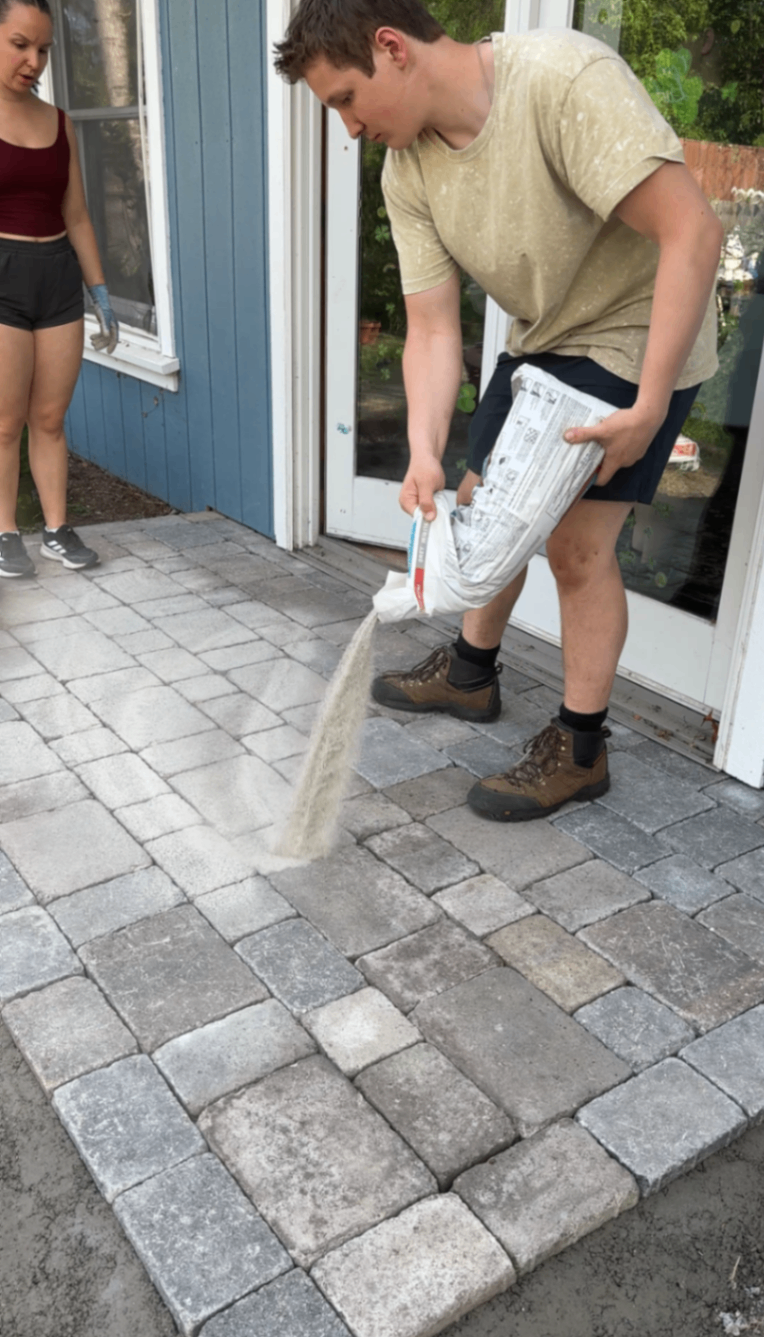
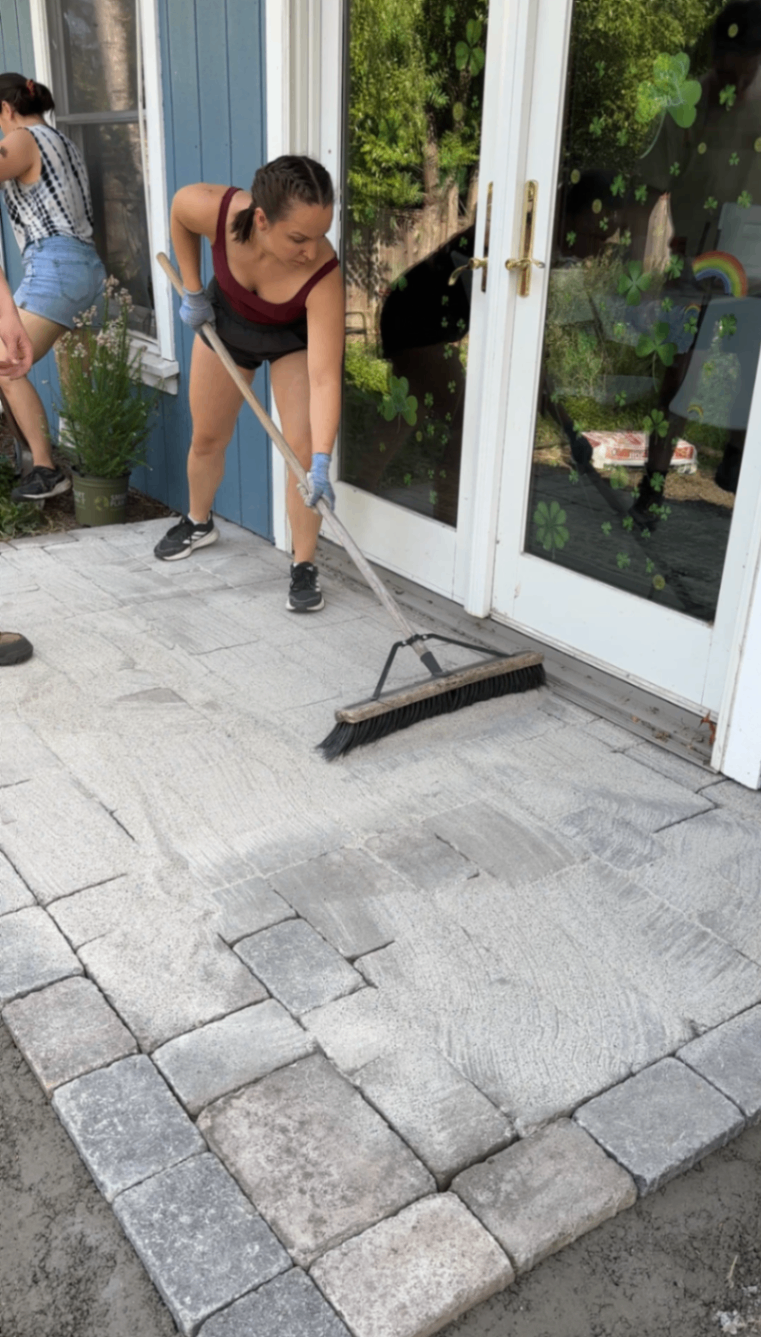
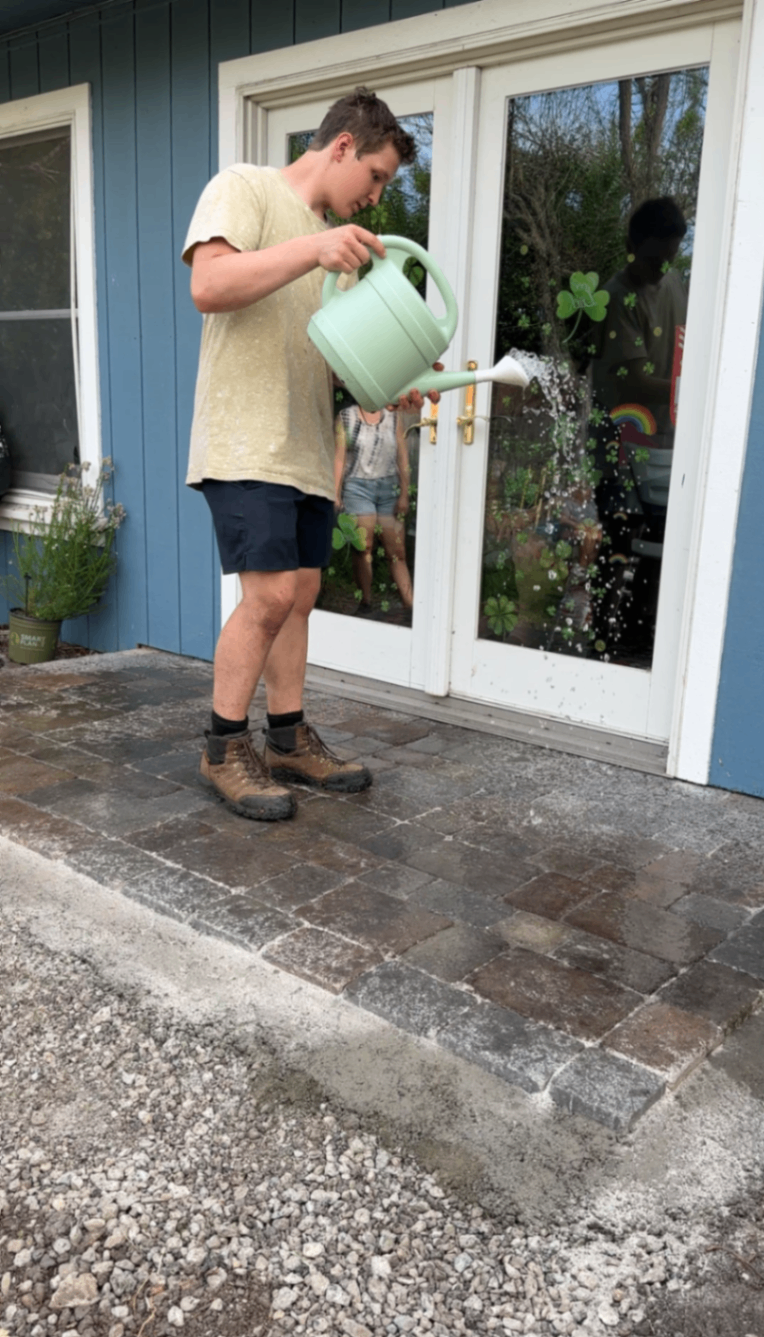
Step 6: Add Polymeric Sand (The Lock-In Step)
This is what transforms your project from “laid pavers” into a fully locked system.
Polymeric sand has bonding agents that activate with water.
How to apply:
Sweep sand into all joints thoroughly
Brush off excess from the surface (you can use a blower lightly here too)
Lightly mist with water
Why it matters:
Prevents pavers from shifting
Blocks weeds
Keeps bugs out
Make sure joints are fully filled - this step does a lot of heavy lifting and will really make a difference in keeping your work looking pristine.
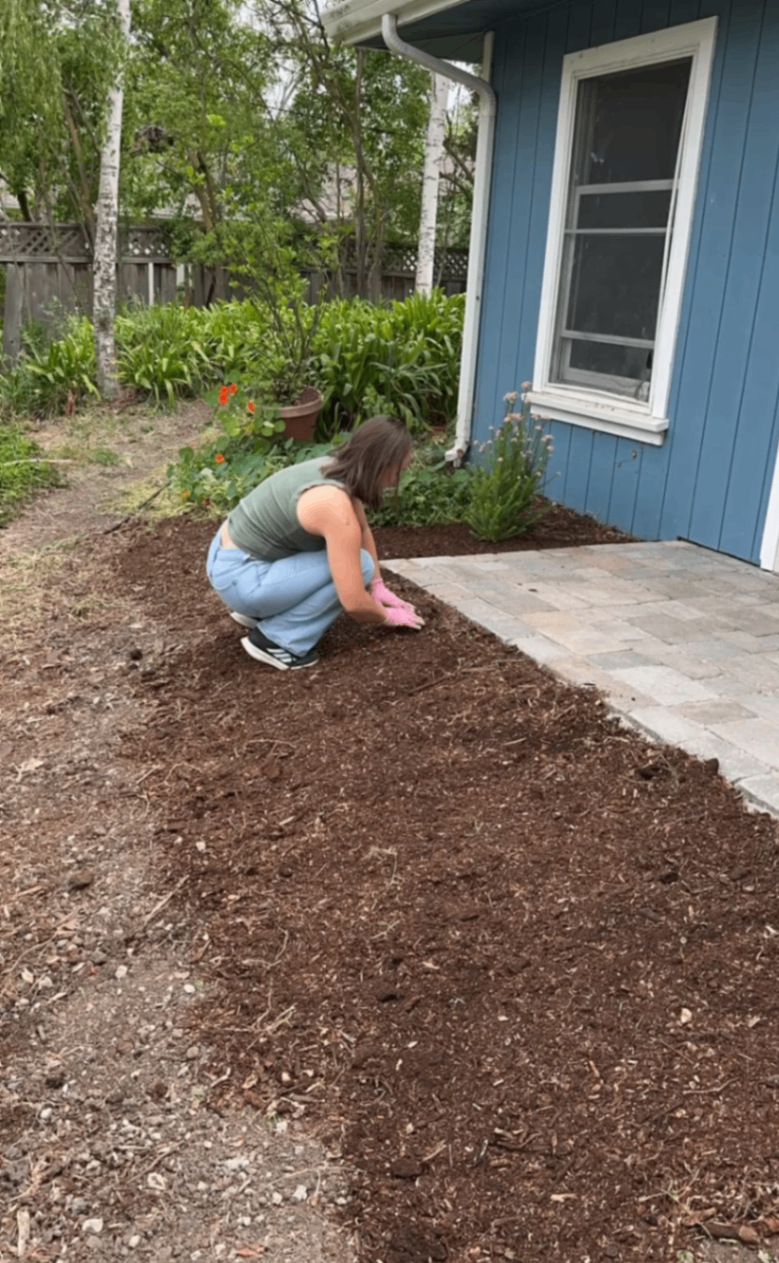
Step 7: Backfill + Blend Into Landscaping
Now we got to shift from construction mode to design mode!
Because we kept the concrete edge slightly lower, we can:
Backfill with mulch and soil
Completely hide the structural edge
Blend the landing seamlessly into the yard
What we planted + kept:
Mexican sage (GREAT pollinator)
Daisies
Marigolds
Transplanted violets (from earlier demo!)
Rice flower plant for height
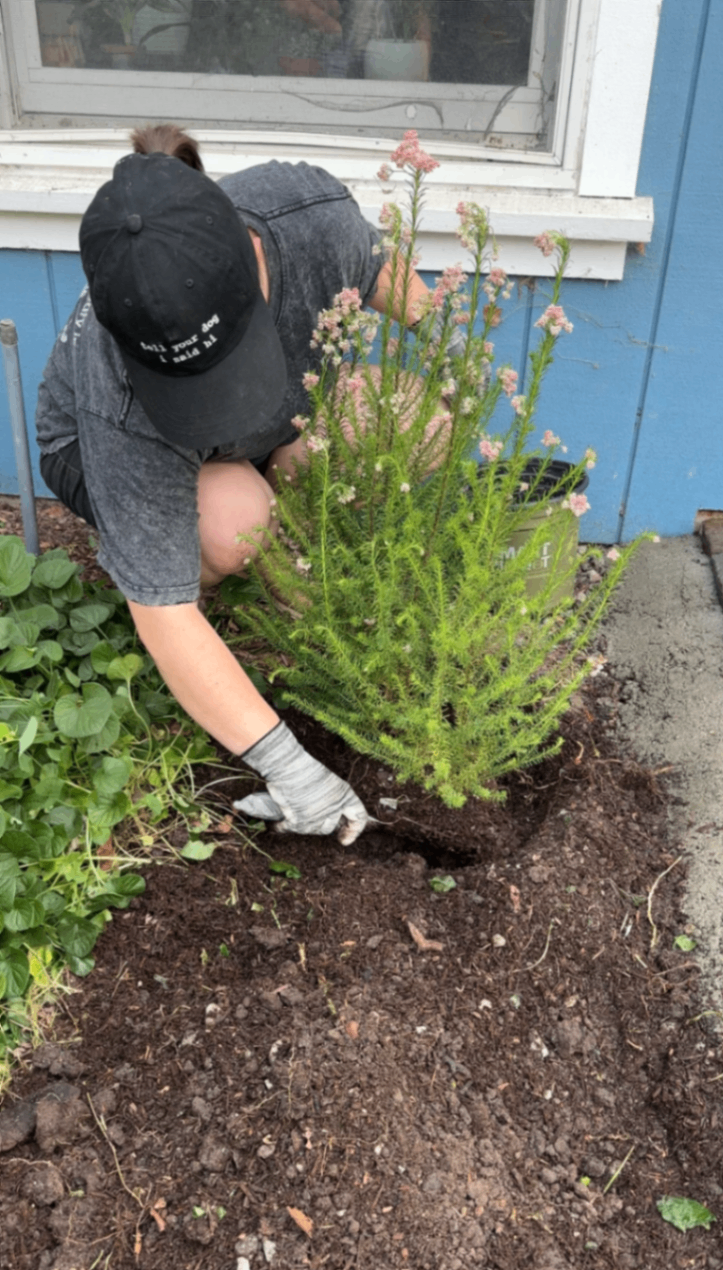
And the real stars of the show we kept:
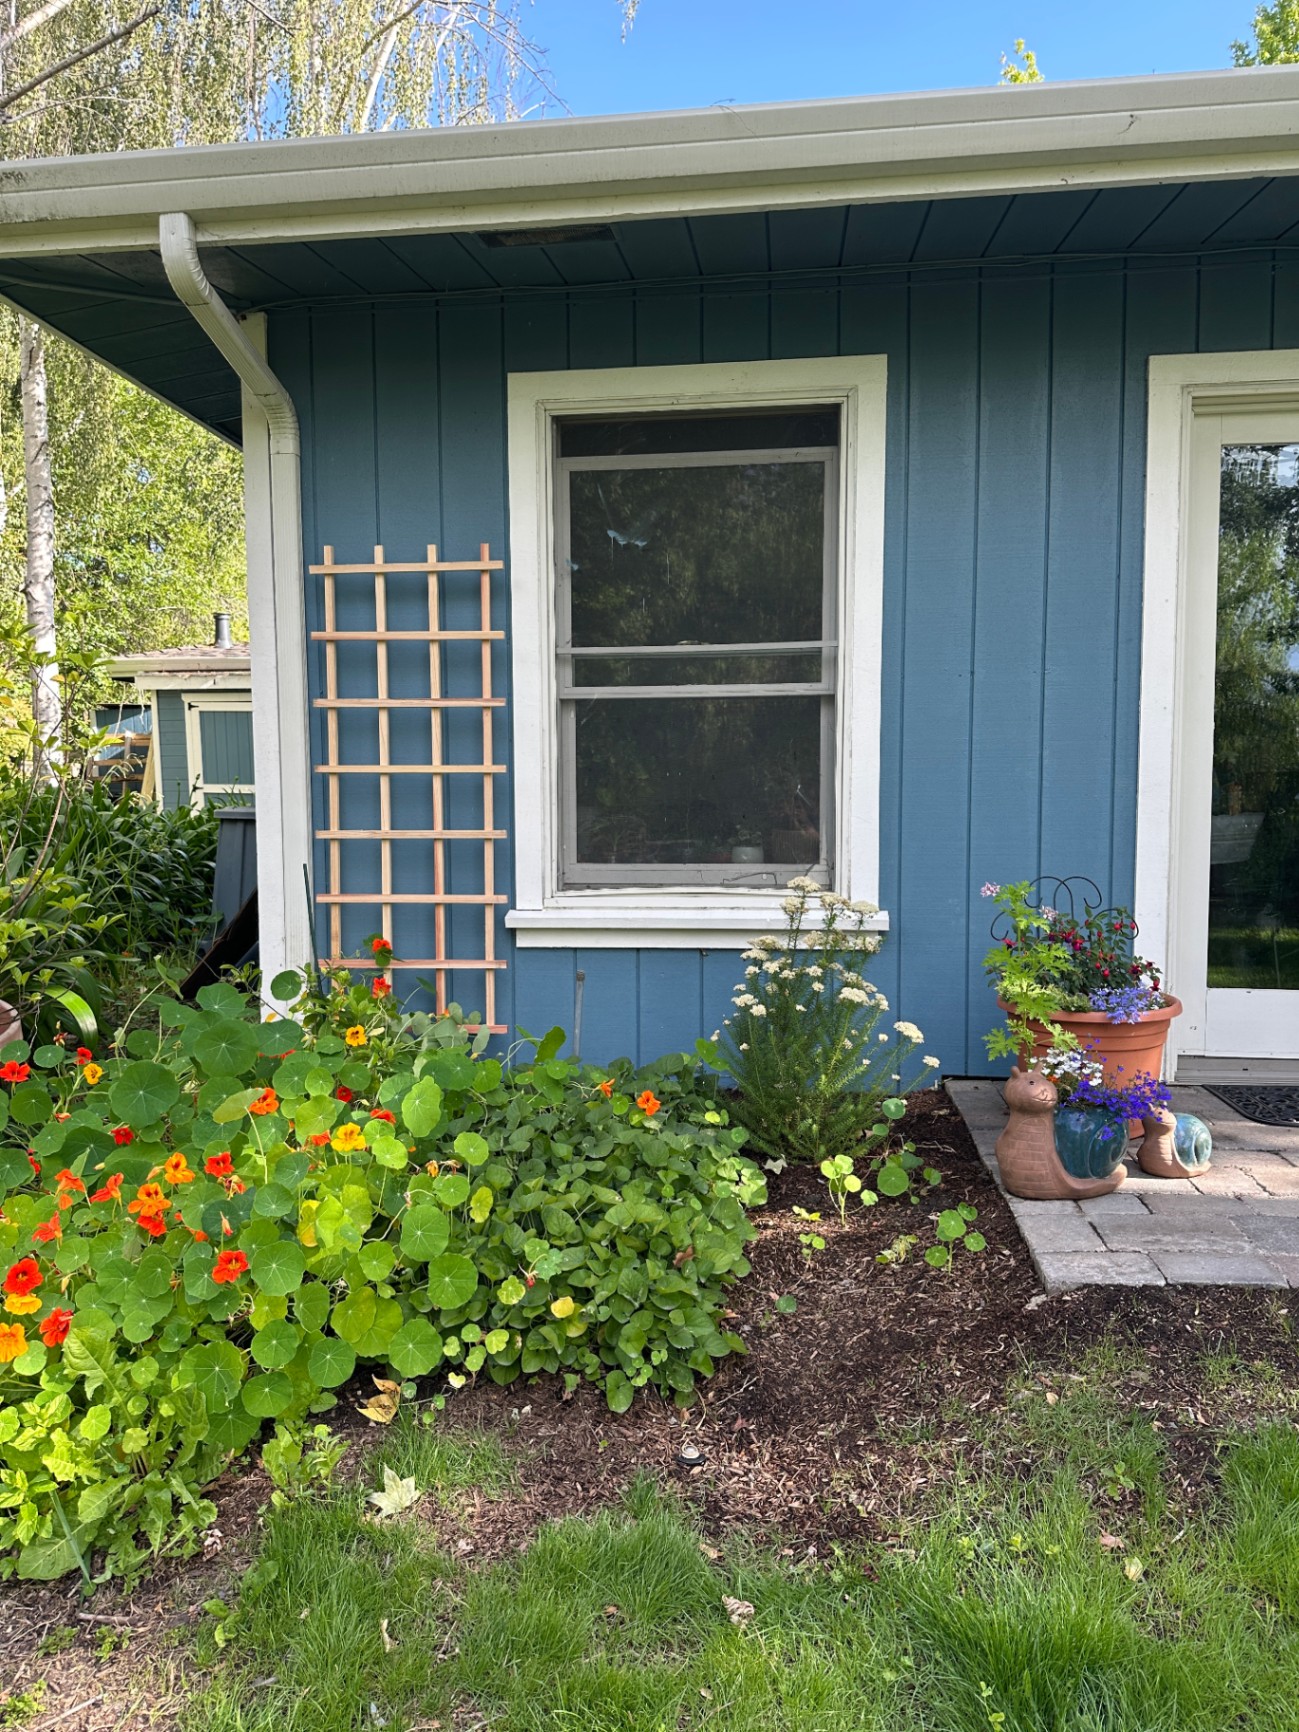
The mature azalea bushes
The nasturtium growing along the other side - these grow like a weed and are a staple in our yard!
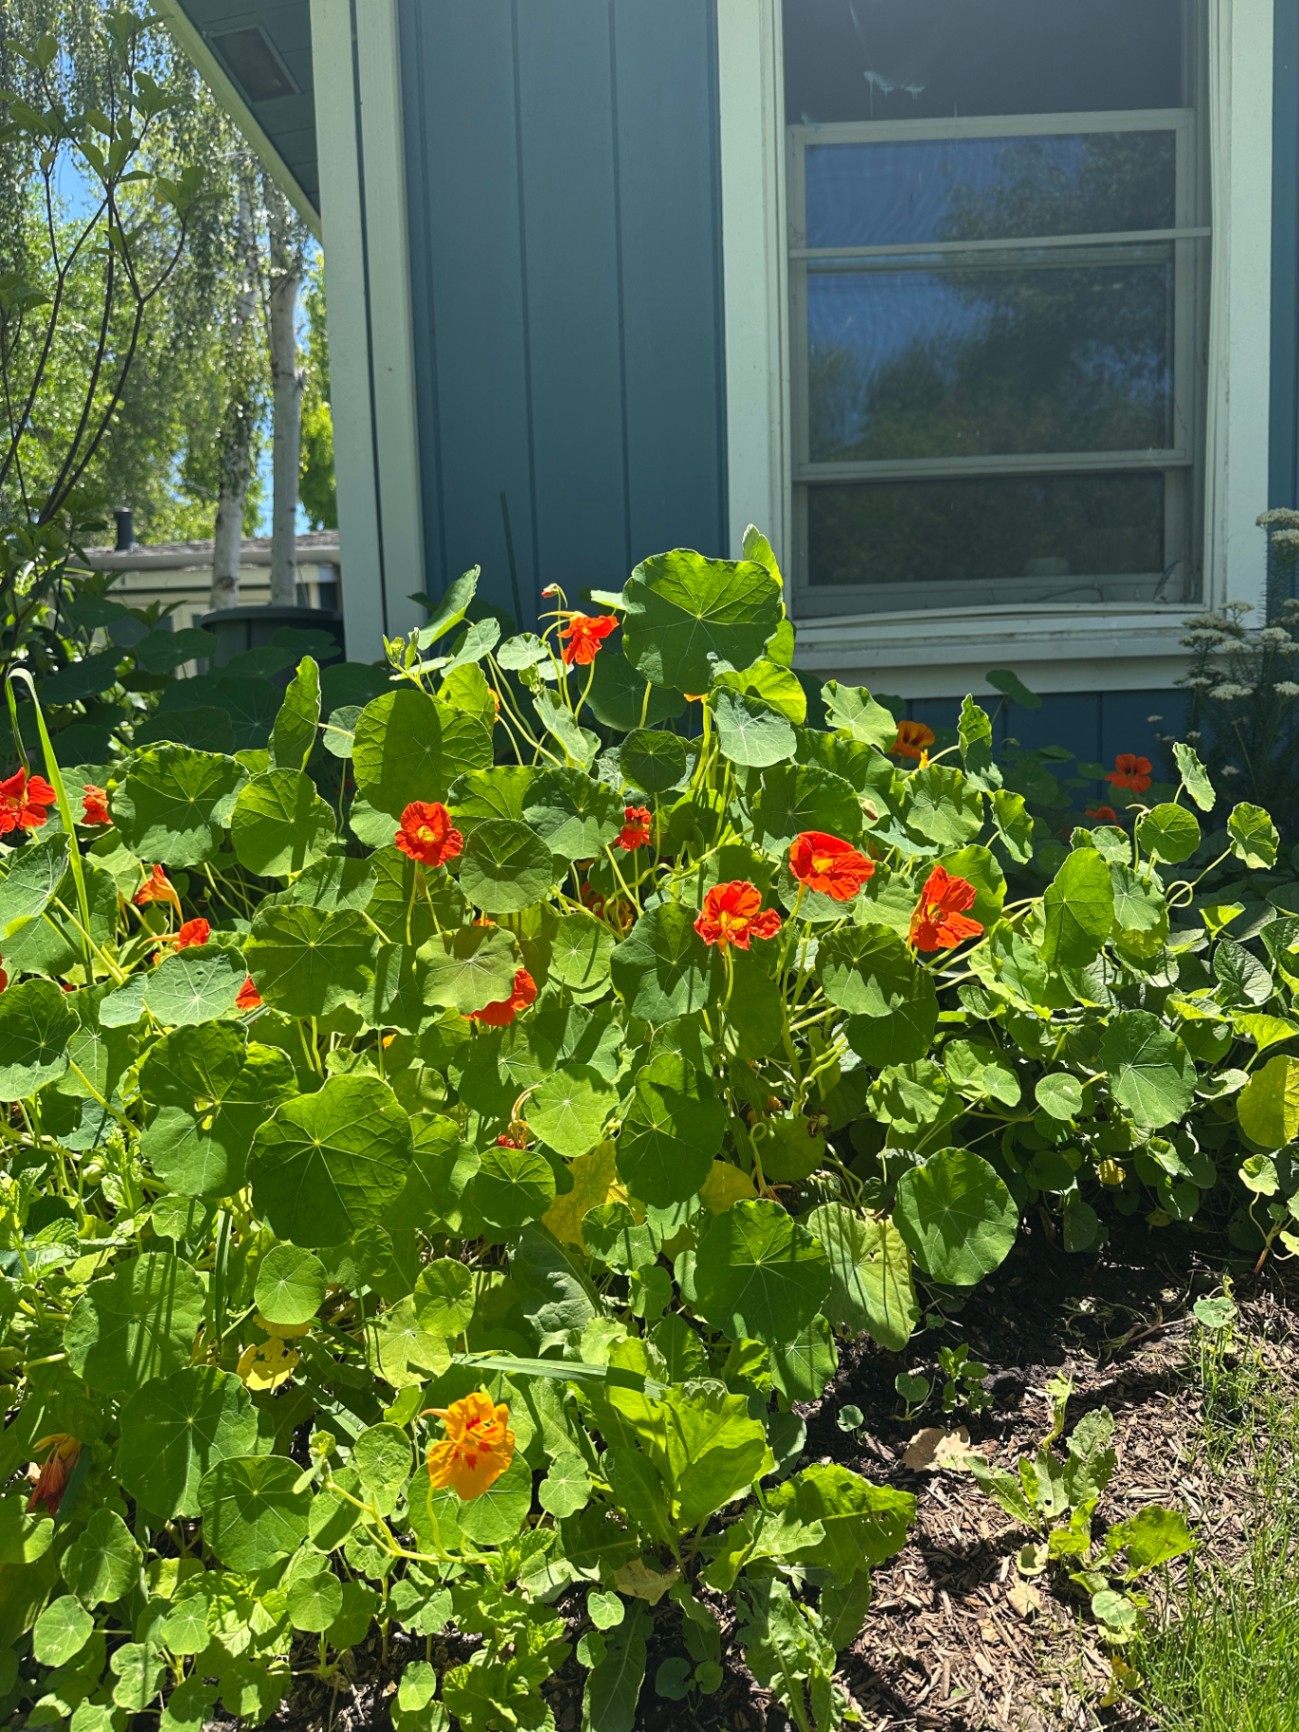
We built around these to keep that established, cottage garden feel.
We also reused mulch from the yard, which was already rich from years of composting.
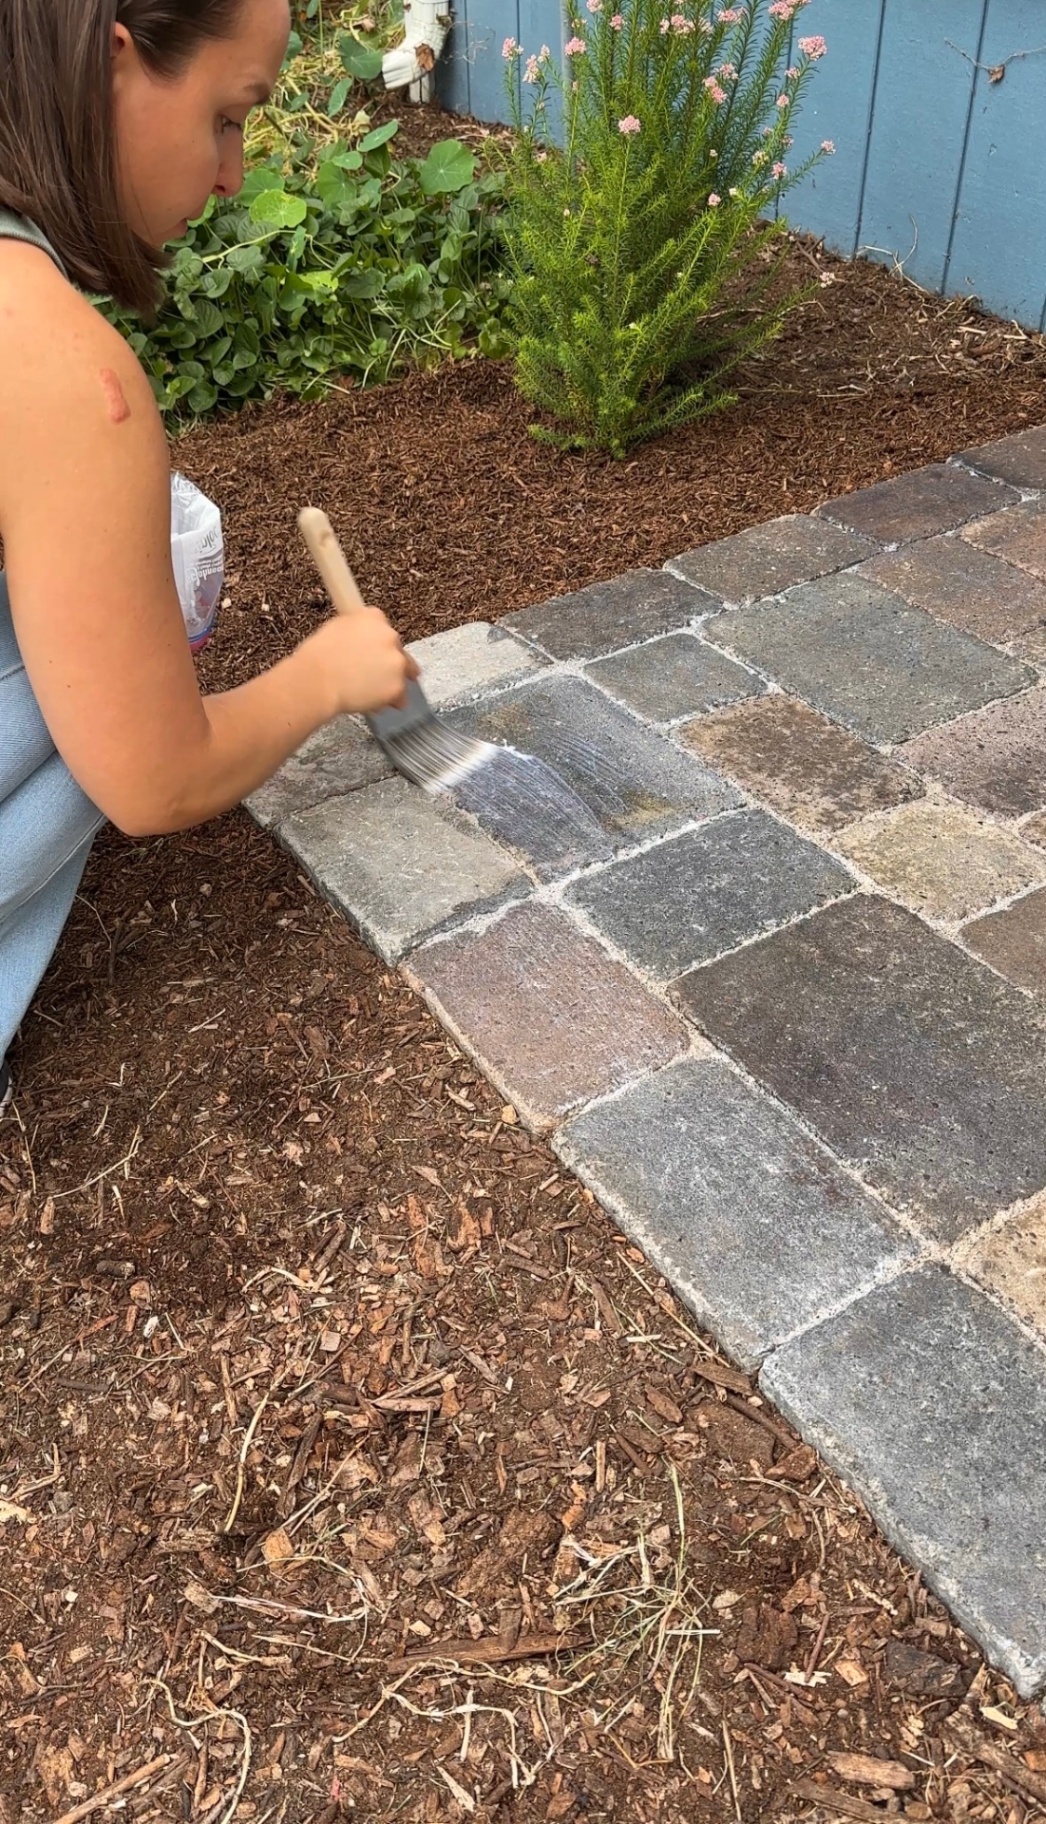
Step 8: Seal the Pavers (Optional but Worth It)
To finish everything off, I applied multiple coats of concrete sealer to each paver. I would recommend using a roller with a thick nap cover here but I only had a brush on hand, so I made it work!
Benefits:
Protects against weathering and staining
Enhances the color of the pavers
Extends the lifespan of your project
I could really tell the difference immediately after applying this - the pavers were no longer chalky/dusty and instead had a discreet matte coating that keeps dirt off nicely.
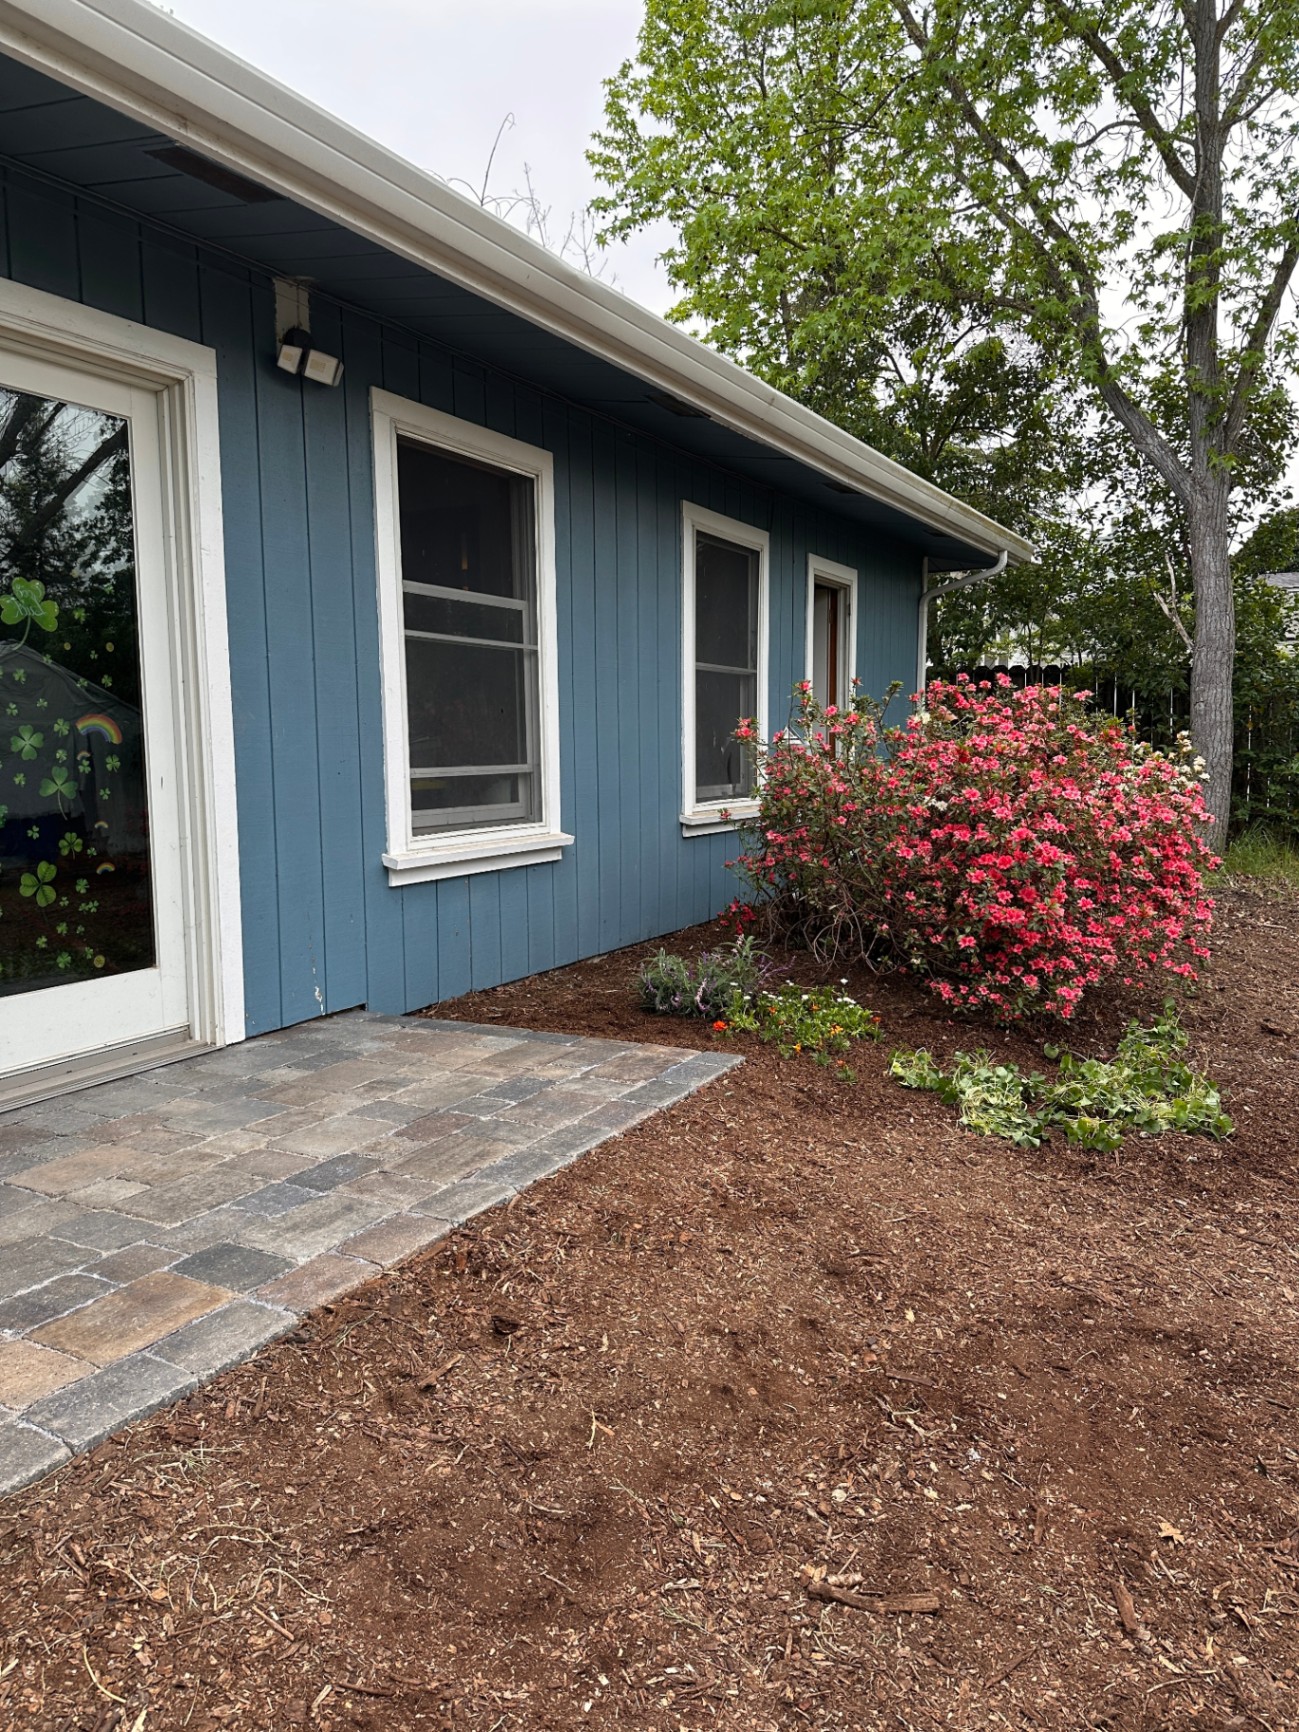
Final Result: A Cottage Garden Landing ✨
What started as a small, underwhelming landing is now a functional, beautiful patio space that sets the tone for the entire backyard.

Budget Tips
This project can absolutely be done on a budget if you’re strategic.
Biggest cost savers:
Reusing some existing pavers
Buying gravel in bulk instead of bags
Using on-site mulch and soil
Doing all labor DIY (big one)
My Top Time & Cost Saving Tips (Coming Next 👀)
Now that we’ve gone through the full build, there are a handful of time-saving and money-saving tips that made a huge difference on this project.
👉 In my next blog, I’ll break down:
How to save hundreds on gravel
The easiest way to get a perfectly level sand base
How we planned our layout to avoid cutting pavers entirely
Why one small finishing step makes your patio feel way more solid and long-lasting
What’s Next in the Backyard Transformation?
This landing was just the beginning.
Next up, we’re turning this entire surrounding area into a lush lawn space (sneak peak in the after photos above), which is going to completely transform the yard!
Stay tuned 👀
Save This Project for Later on Pinterest 📌
If you’re planning your own backyard makeover or DIY patio, don’t forget to save this project for later!