Restoring a Free French Provincial Dresser to Natural Wood
This vintage French Provincial dresser was pulled from the curb and completely restored. I’m sharing the full prep-heavy process, paint washing technique, and finishing steps that brought it back to life.
French Provincial Dresser Makeover: From Curbside Find to Elegant Vintage Statement
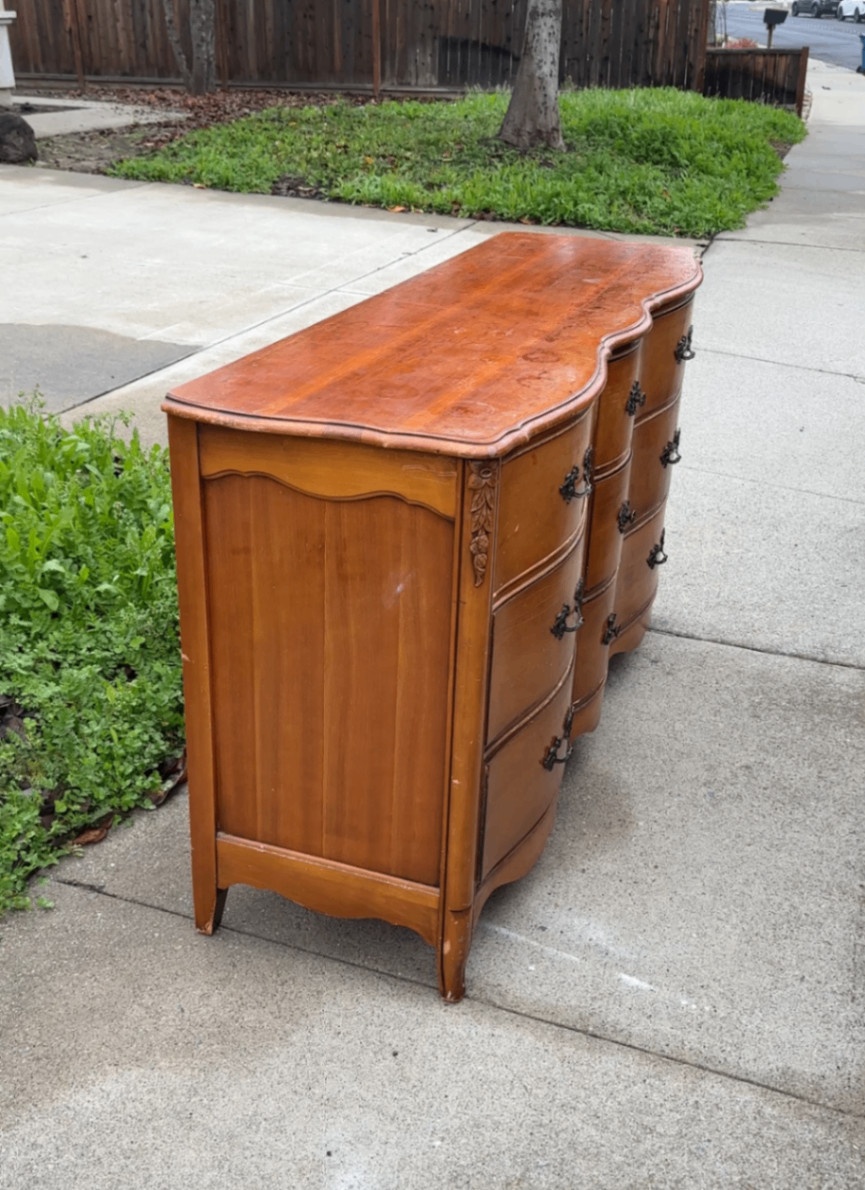
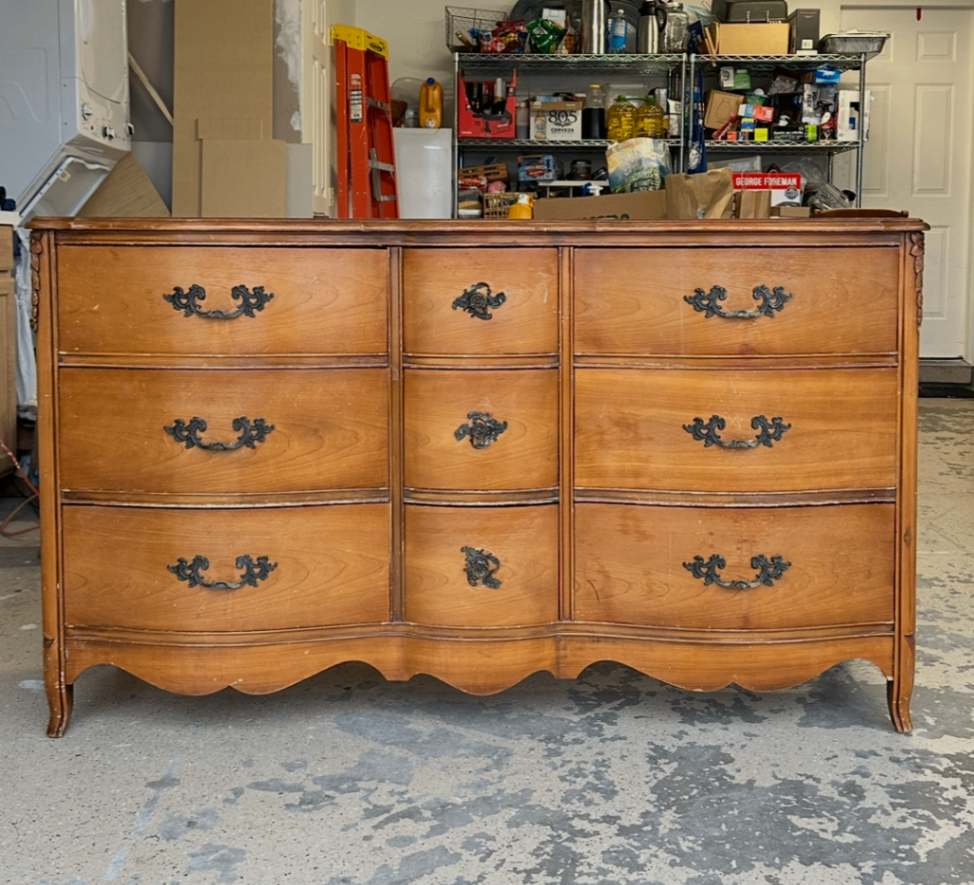
Can you believe someone threw this away?
I was driving to the thrift store when I spotted this vintage French Provincial dresser sitting on the side of the road — completely free. It was solid wood, clearly from the 1960s (serial code on back), and despite some visible damage on the top and legs, I knew instantly it was worth saving.
This project turned into one of my favorite transformations to date. Below, I’m walking you through the entire French Provincial dresser makeover process, from curbside rescue to a light, natural wood finish that highlights all the original character and charm.
Supplies Used
If you’re planning a similar furniture restoration, here’s what I used:
Flexible sanding pad (for curves)
Paint (for paint wash)
Heat gun (optional but helpful, a blow dryer would do)
Furniture wax (for drawers + glides)
Spray paint (for hardware refresh)
Step 1: Remove the Hardware + Deep Clean Everything
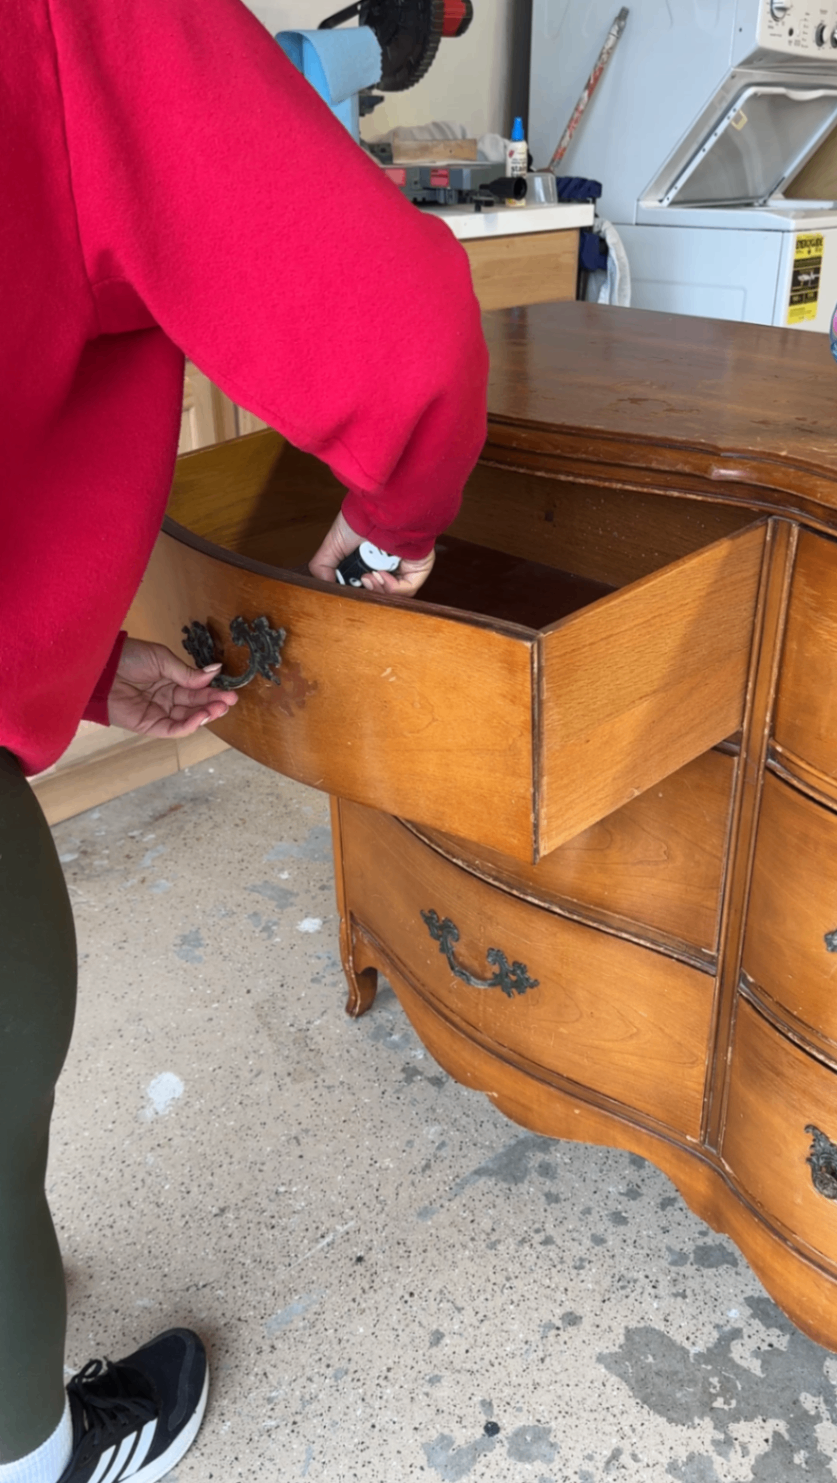
Before I touched any sanding or finish removal, I started with hardware removal and a thorough clean.
I took off every piece of hardware and set it aside to reuse later (especially with French Provincial furniture — the original hardware is part of the charm). I like to bag it all together so nothing gets lost during the makeover.
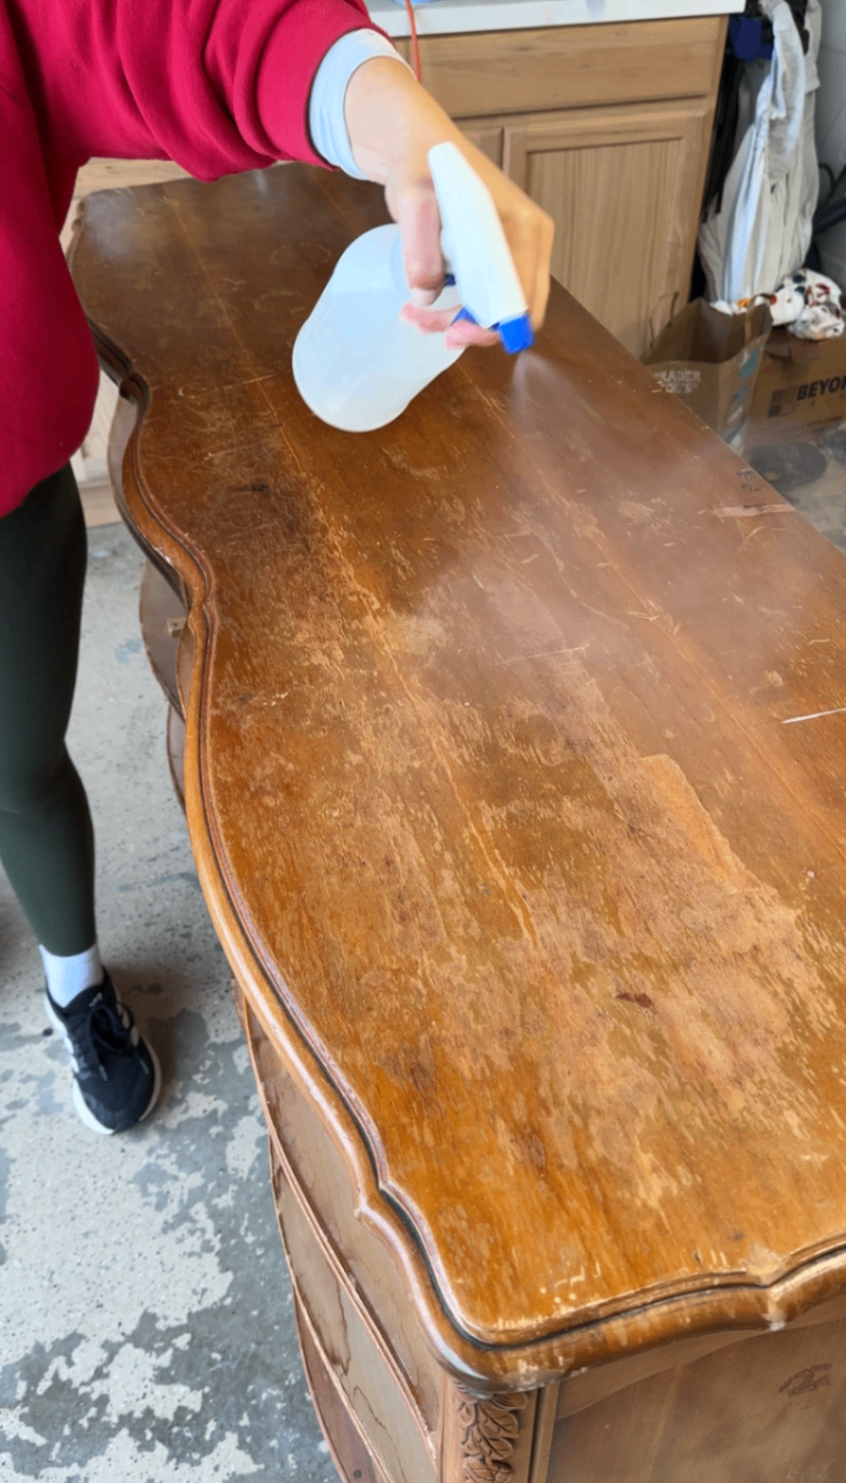
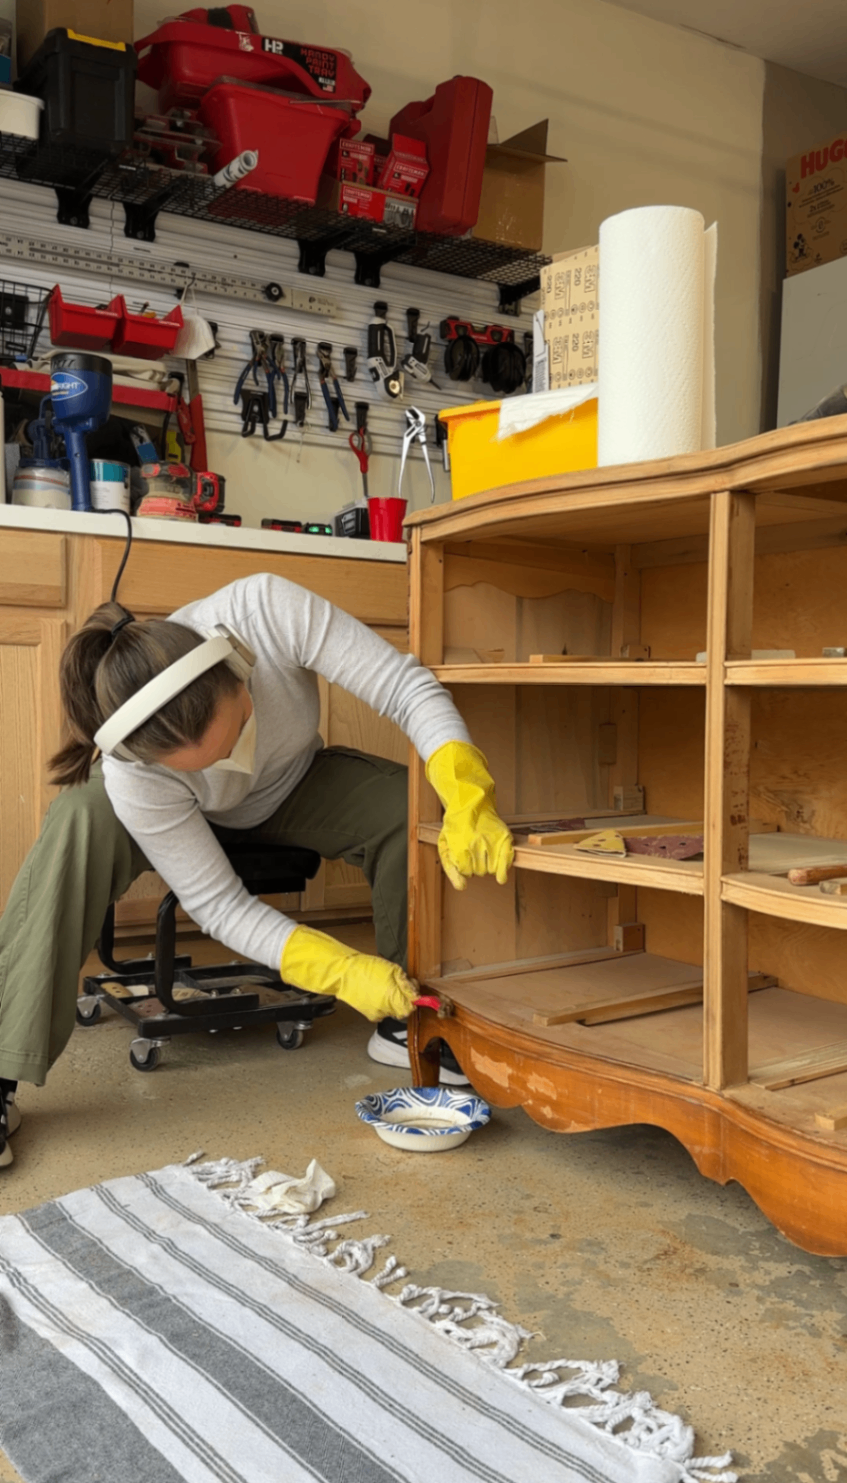
Next, I cleaned the entire dresser inside and out. Since this was a curbside find, it needed a true deep clean — not just a quick wipe-down. Getting rid of built-up grime, dust, and residue makes a huge difference, because sanding and scraping on a dirty surface just clogs your abrasives and drags gunk into the wood. Plus, who knows where these pieces have been!
Once everything was clean and dry, I was ready to move on to the real work: stripping and sanding the finish.
Step 2: Strip and Sand the Finish (This Is Where the Work Happens)
Once the hardware was removed and everything was fully cleaned, I moved on to removing the old finish — and this step made up the majority of the work on this piece.
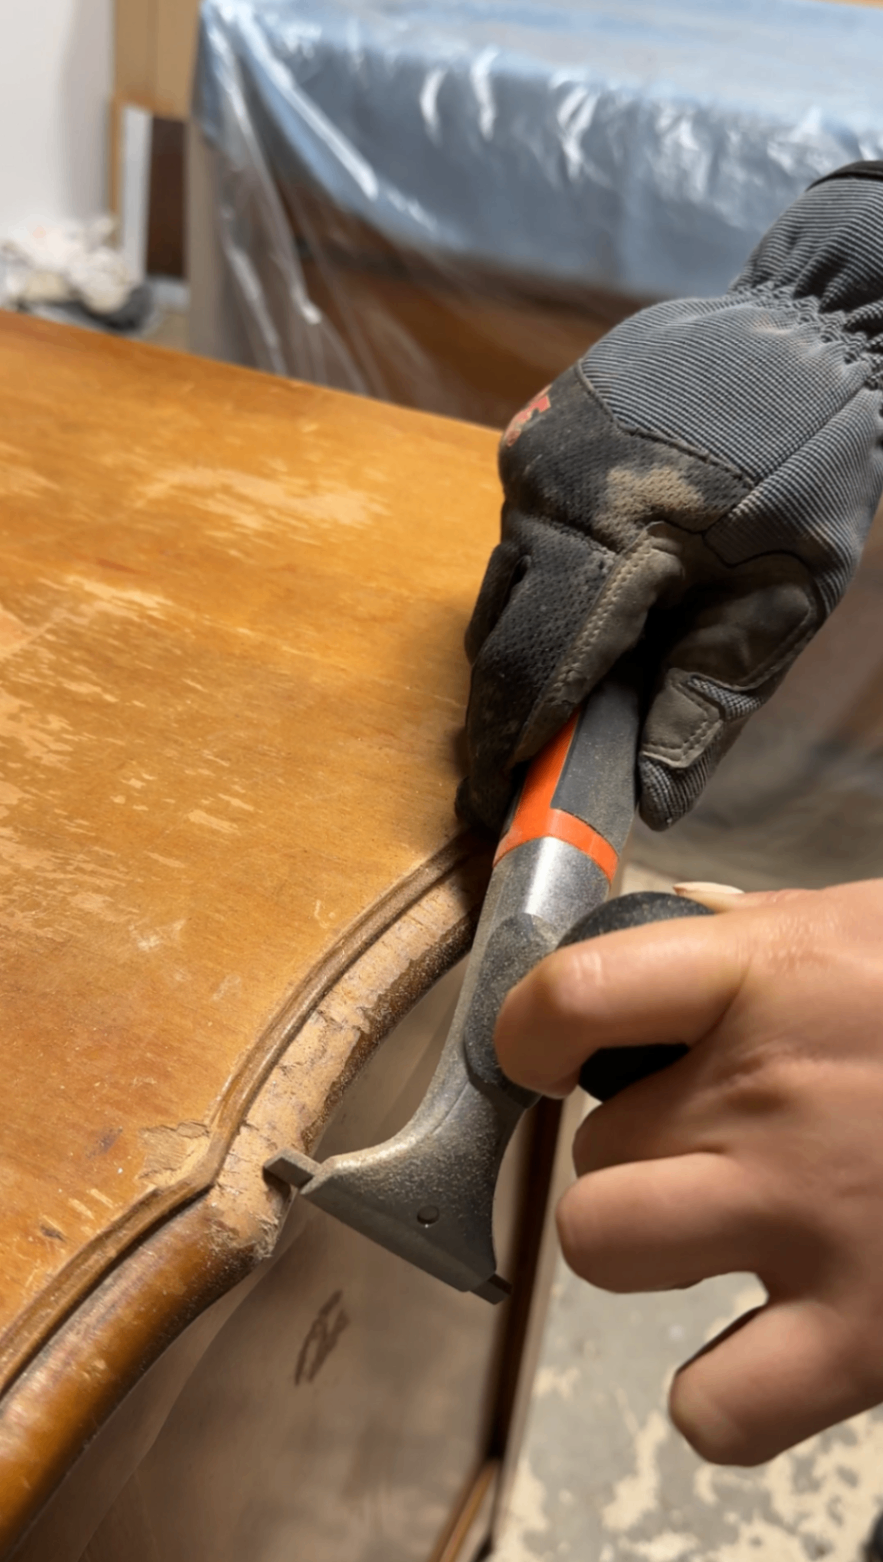
I started with a carbide scraper, which I used anywhere I could: large flat surfaces, edges, and broader details. Scraping is fast, effective, and removes finish without over-sanding the wood, making it my go-to whenever the shape allows.
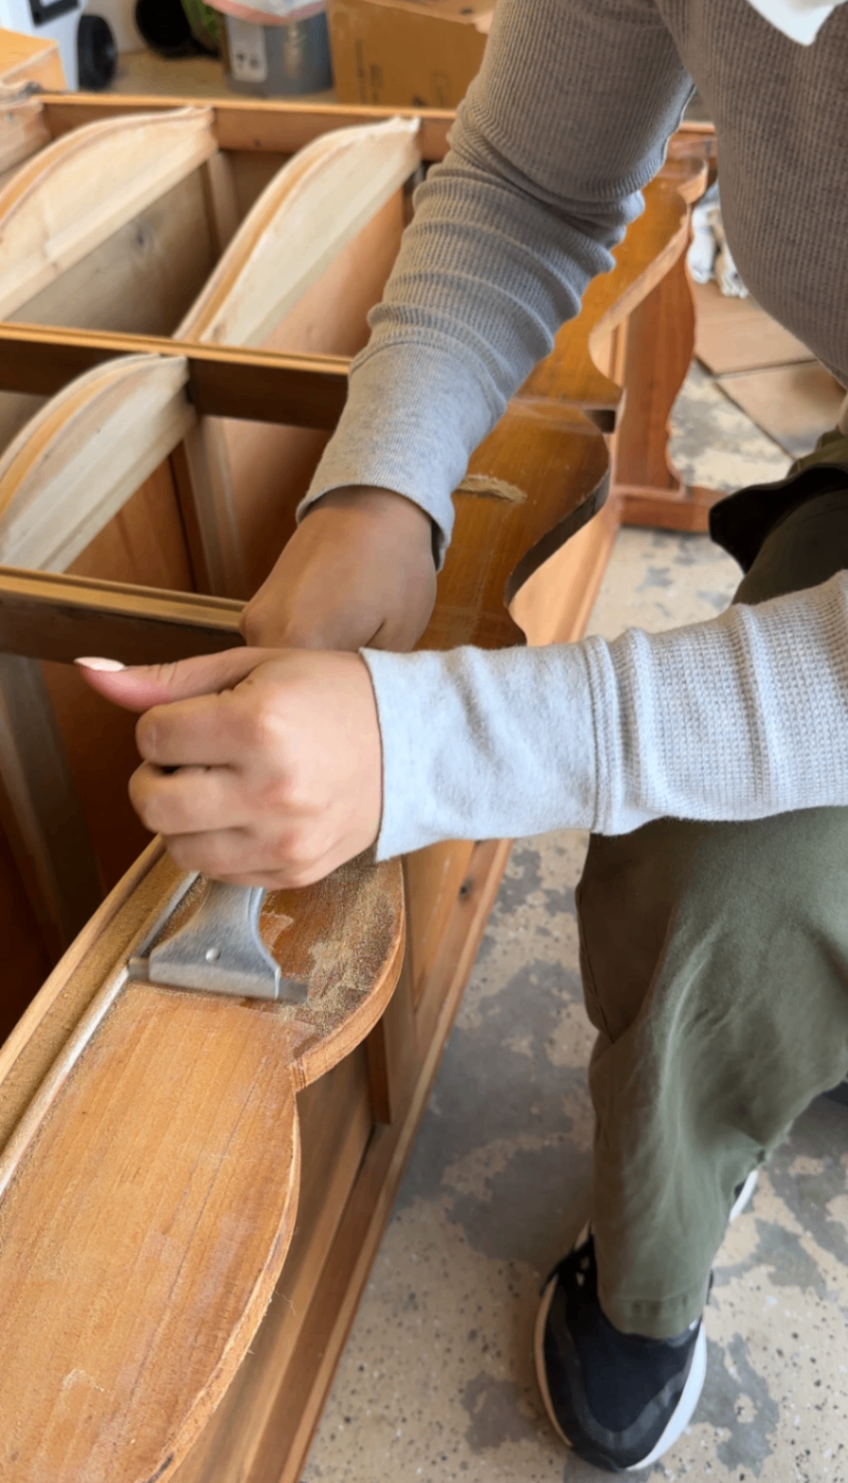

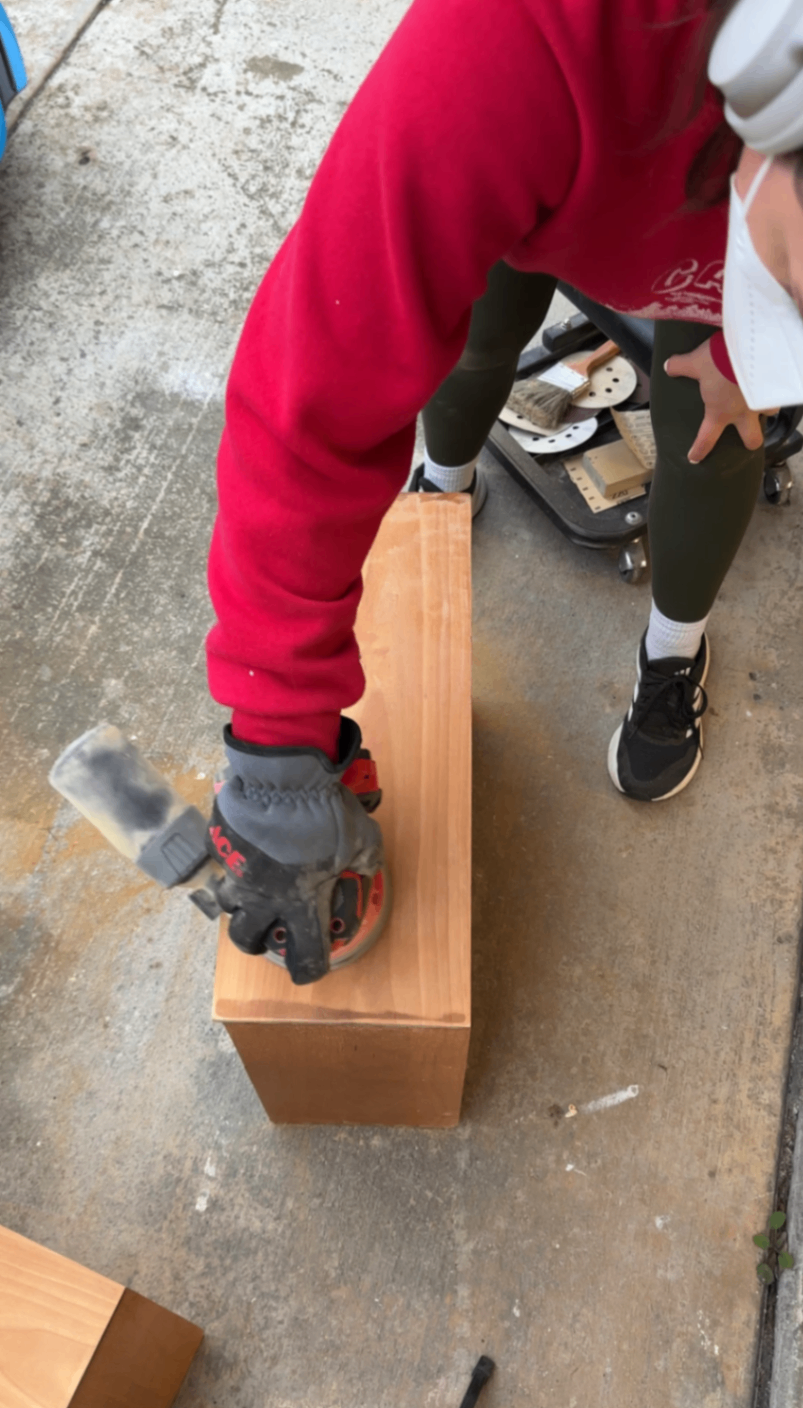
For areas with curves or softer transitions, I switched to an orbital sander with a flexible sanding pad, which helped follow the contours without flattening the details or blowing through the veneer. And then came the hand sanding — a lot of it. French Provincial furniture has endless grooves, trim, and tight corners, and anywhere tools couldn’t reach had to be done by hand. Just make sure to sand progressively (I used 80 grit, then 150, then 220 in most cases) to avoid pigtails and scratches in your finish.
In especially stubborn areas or detailed sections, I also scrubbed with acetone to break down leftover finish and residue before hand sanding. This made it much easier to get everything fully down to raw wood, which is essential when you’re aiming for a light, natural finish.
By the time this step was done, every visible surface had been stripped, sanded, and prepped — and once you get here, the rest of the project really does start to fly by.
Step 3: Paint Washing for a Light, Natural Wood Finish (This Step Matters)
If you want a light, natural wood finish, here’s the key: you can’t just top coat raw wood and expect it to stay light. Even water-based top coats will deepen and warm the tone immediately, often turning pale wood darker or more orange than you planned.
To control the final color, you're going to want to use a paint wash, which lightly tints the wood before sealing it so the top coat doesn’t dramatically change the look.
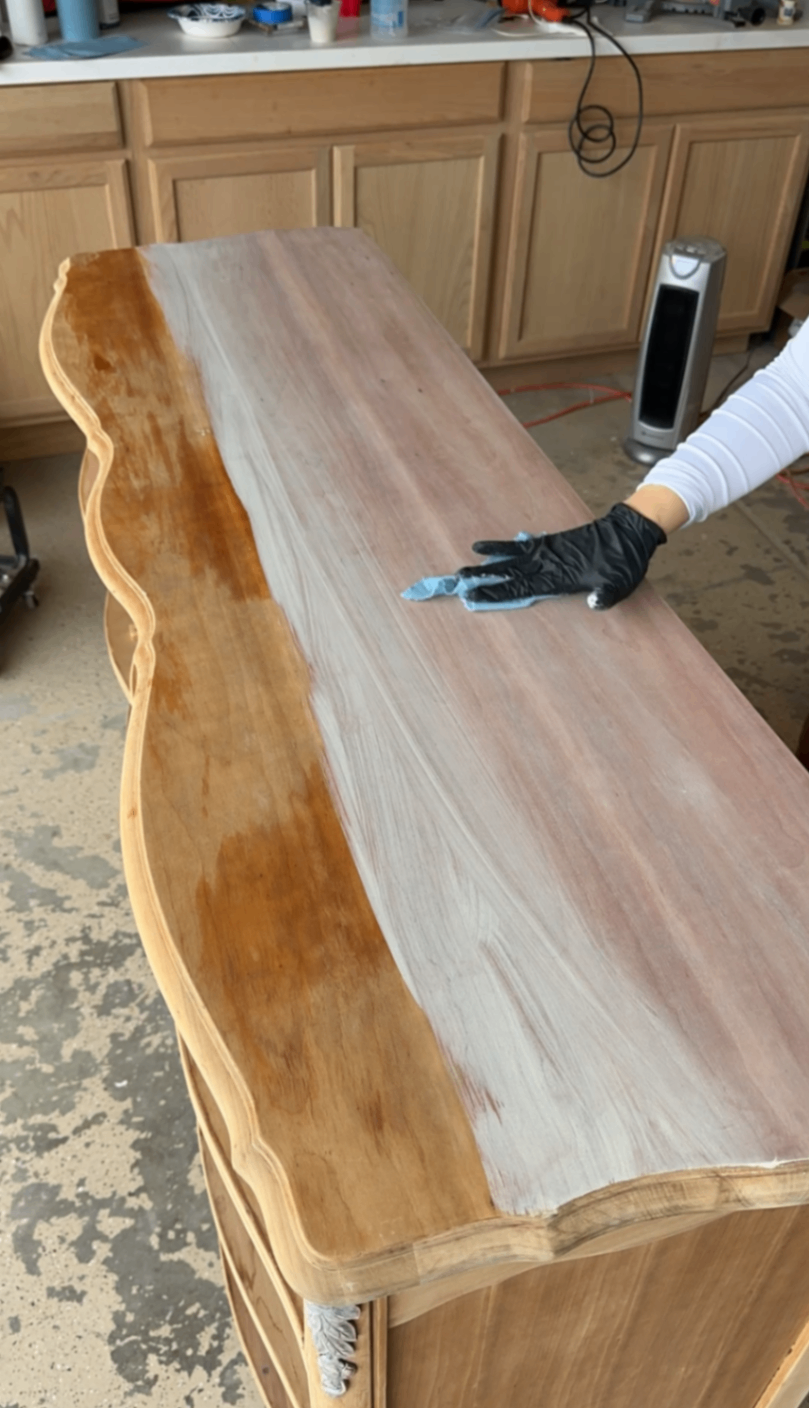
My Paint Wash Mix + Technique
I mixed the paint wash at roughly a 1:4 ratio of paint to water, using Even Better Beige by Behr. This color is perfect for neutralizing warmth without making the wood look painted or opaque.
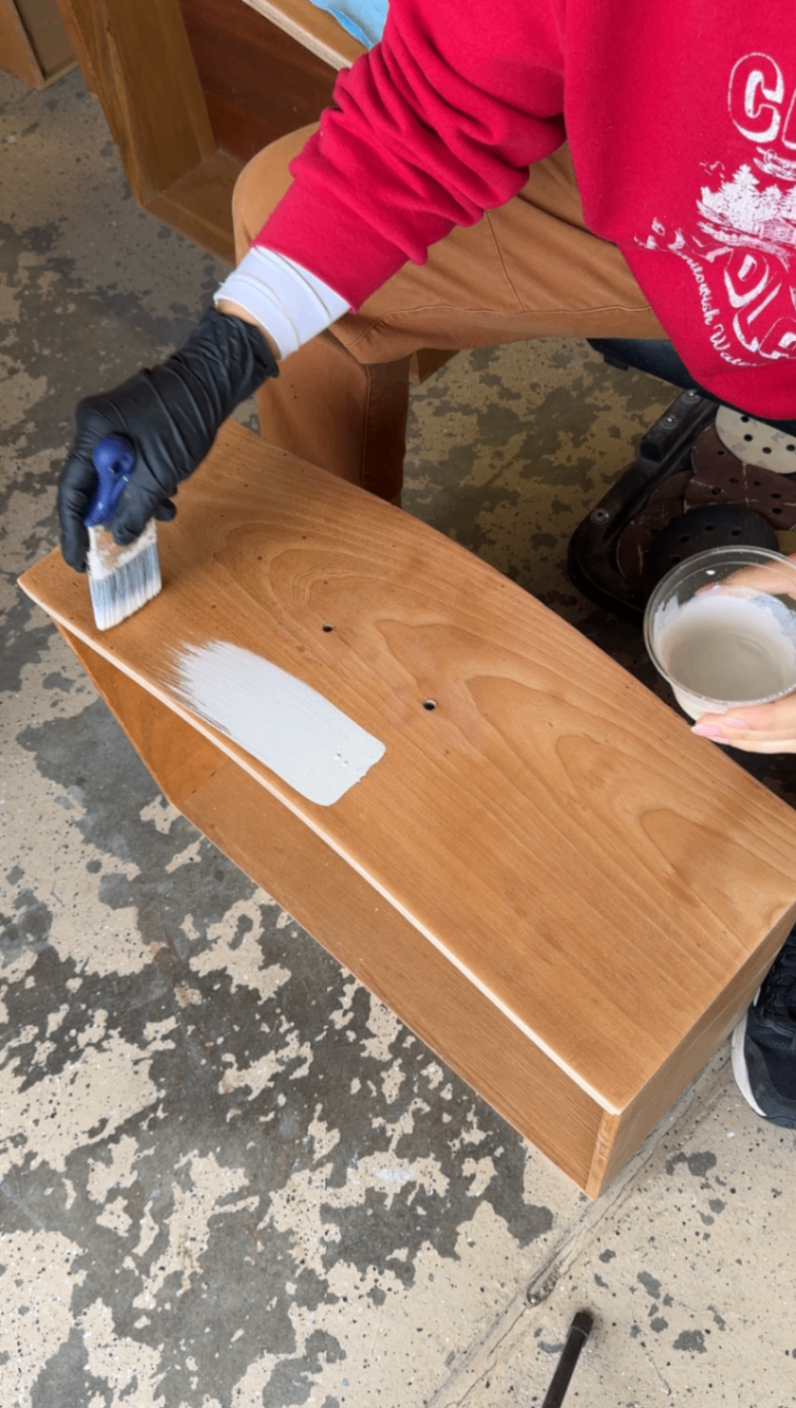
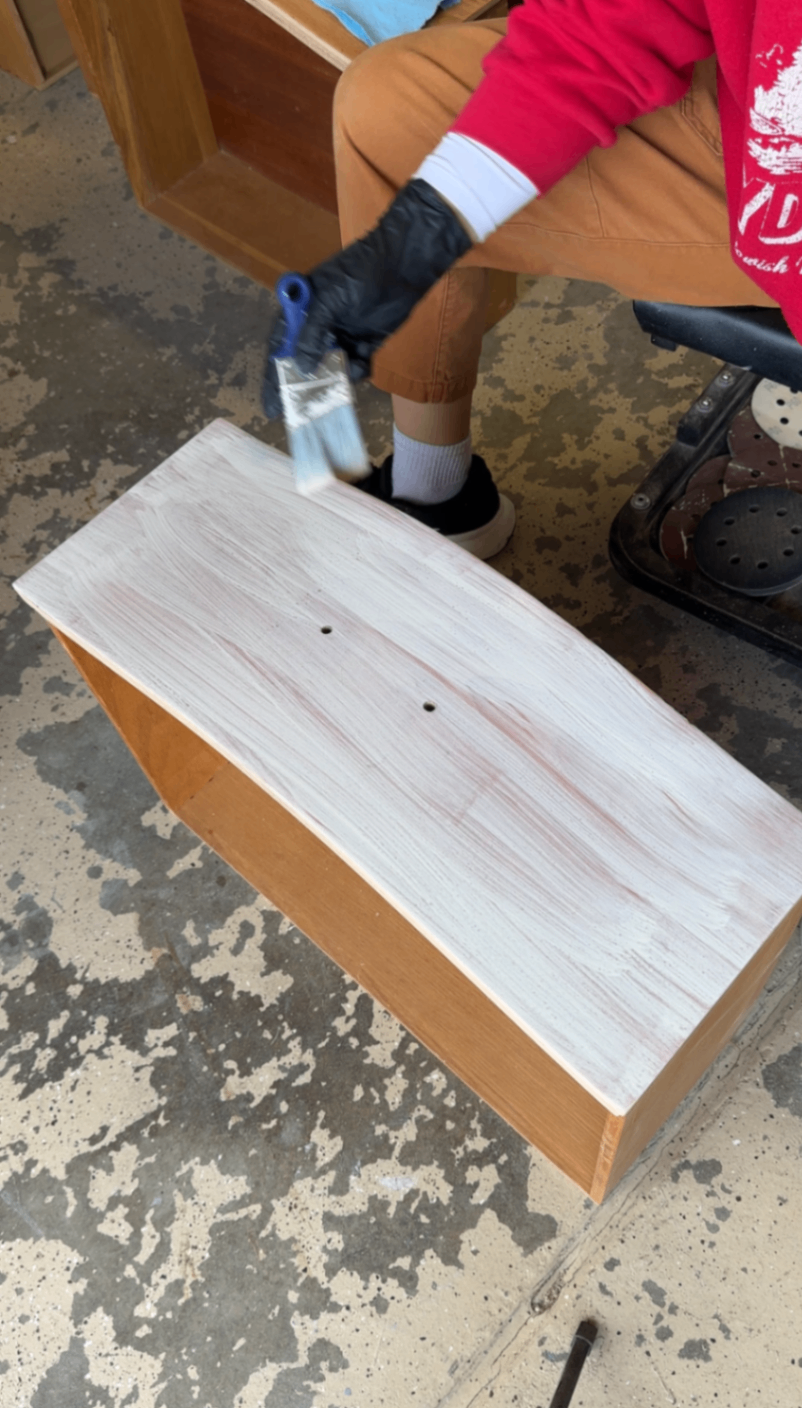
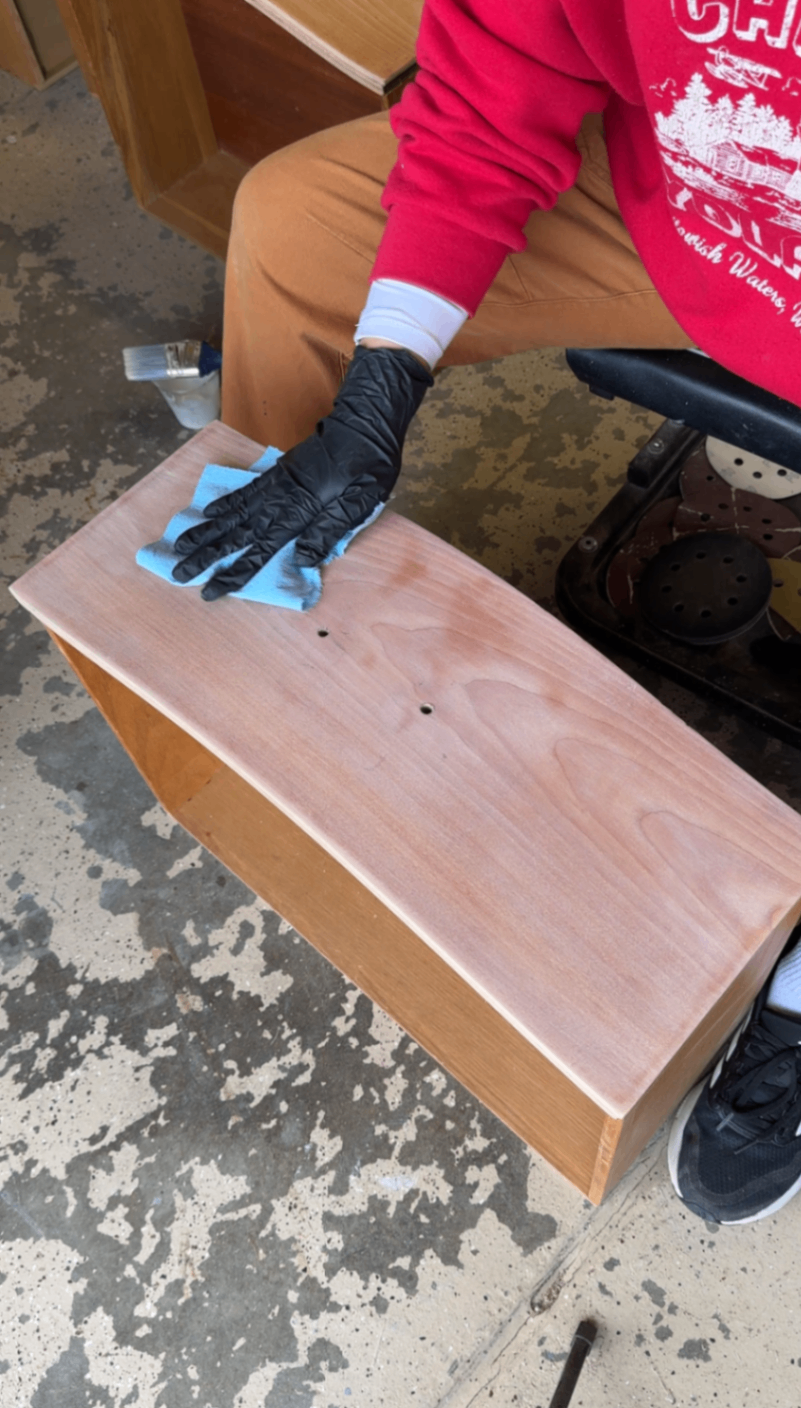
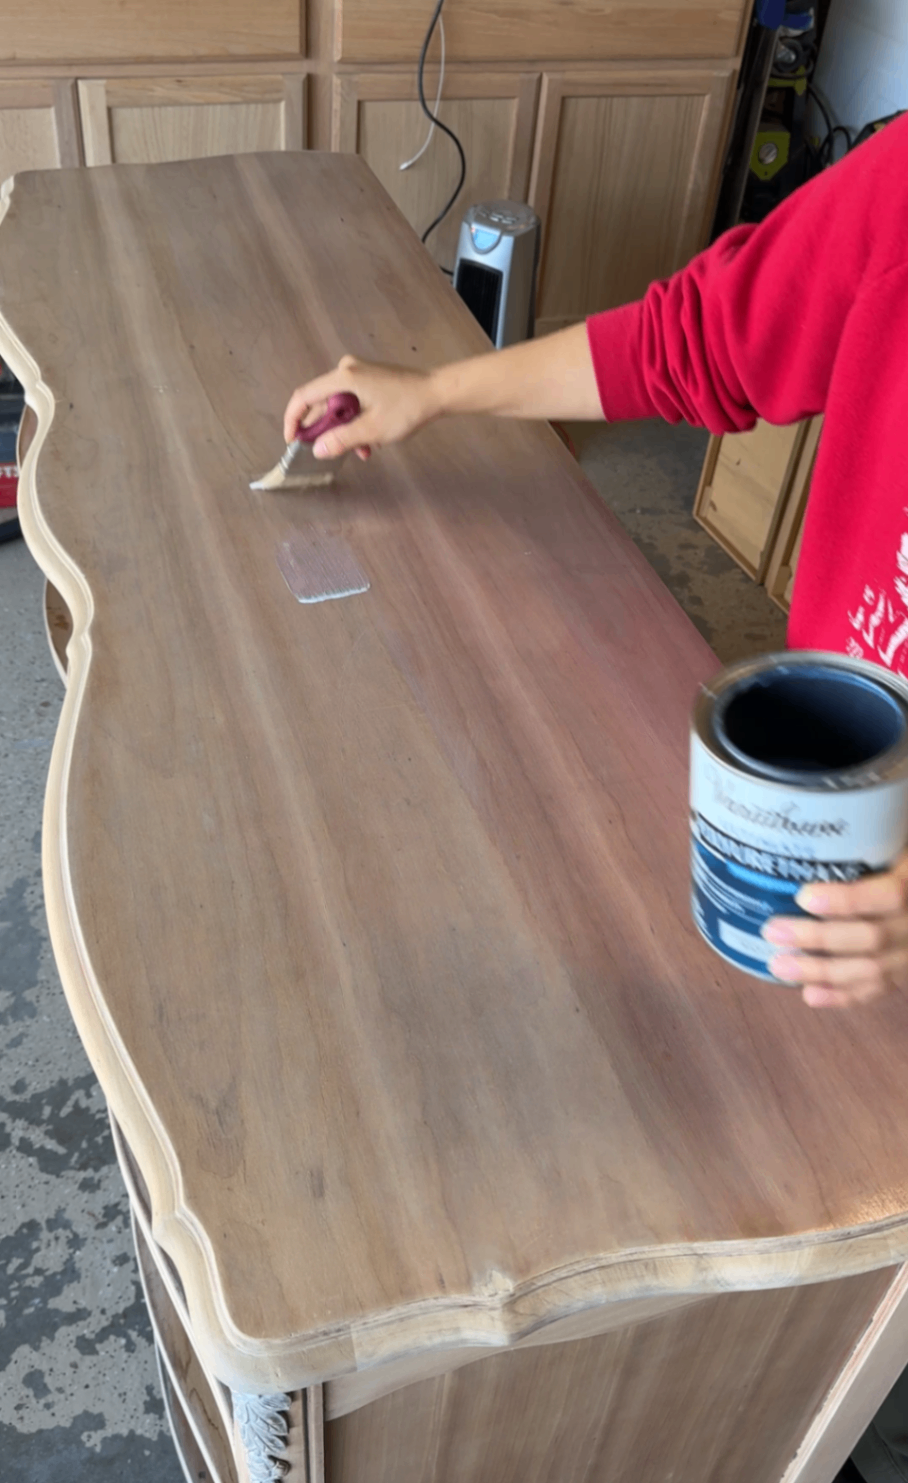
I brushed the wash on in long, even strokes, then wiped it back the same way — long, even passes with a clean shop towel (a must since these are lint free). As long as you’re consistent with both brushing and wiping, the finish will naturally even out as it dries. It may look a little uneven or scary at first, but trust the process — it settles beautifully.

A couple additional tips:
Lightly dampening the surface beforehand gives you more working time
I like to test on a small drawer first
You can use a heat gun to preview the fully dried color before committing to the entire piece
Once the paint wash is dry, you can move on to top coating knowing the color will stay soft, light, and intentional.
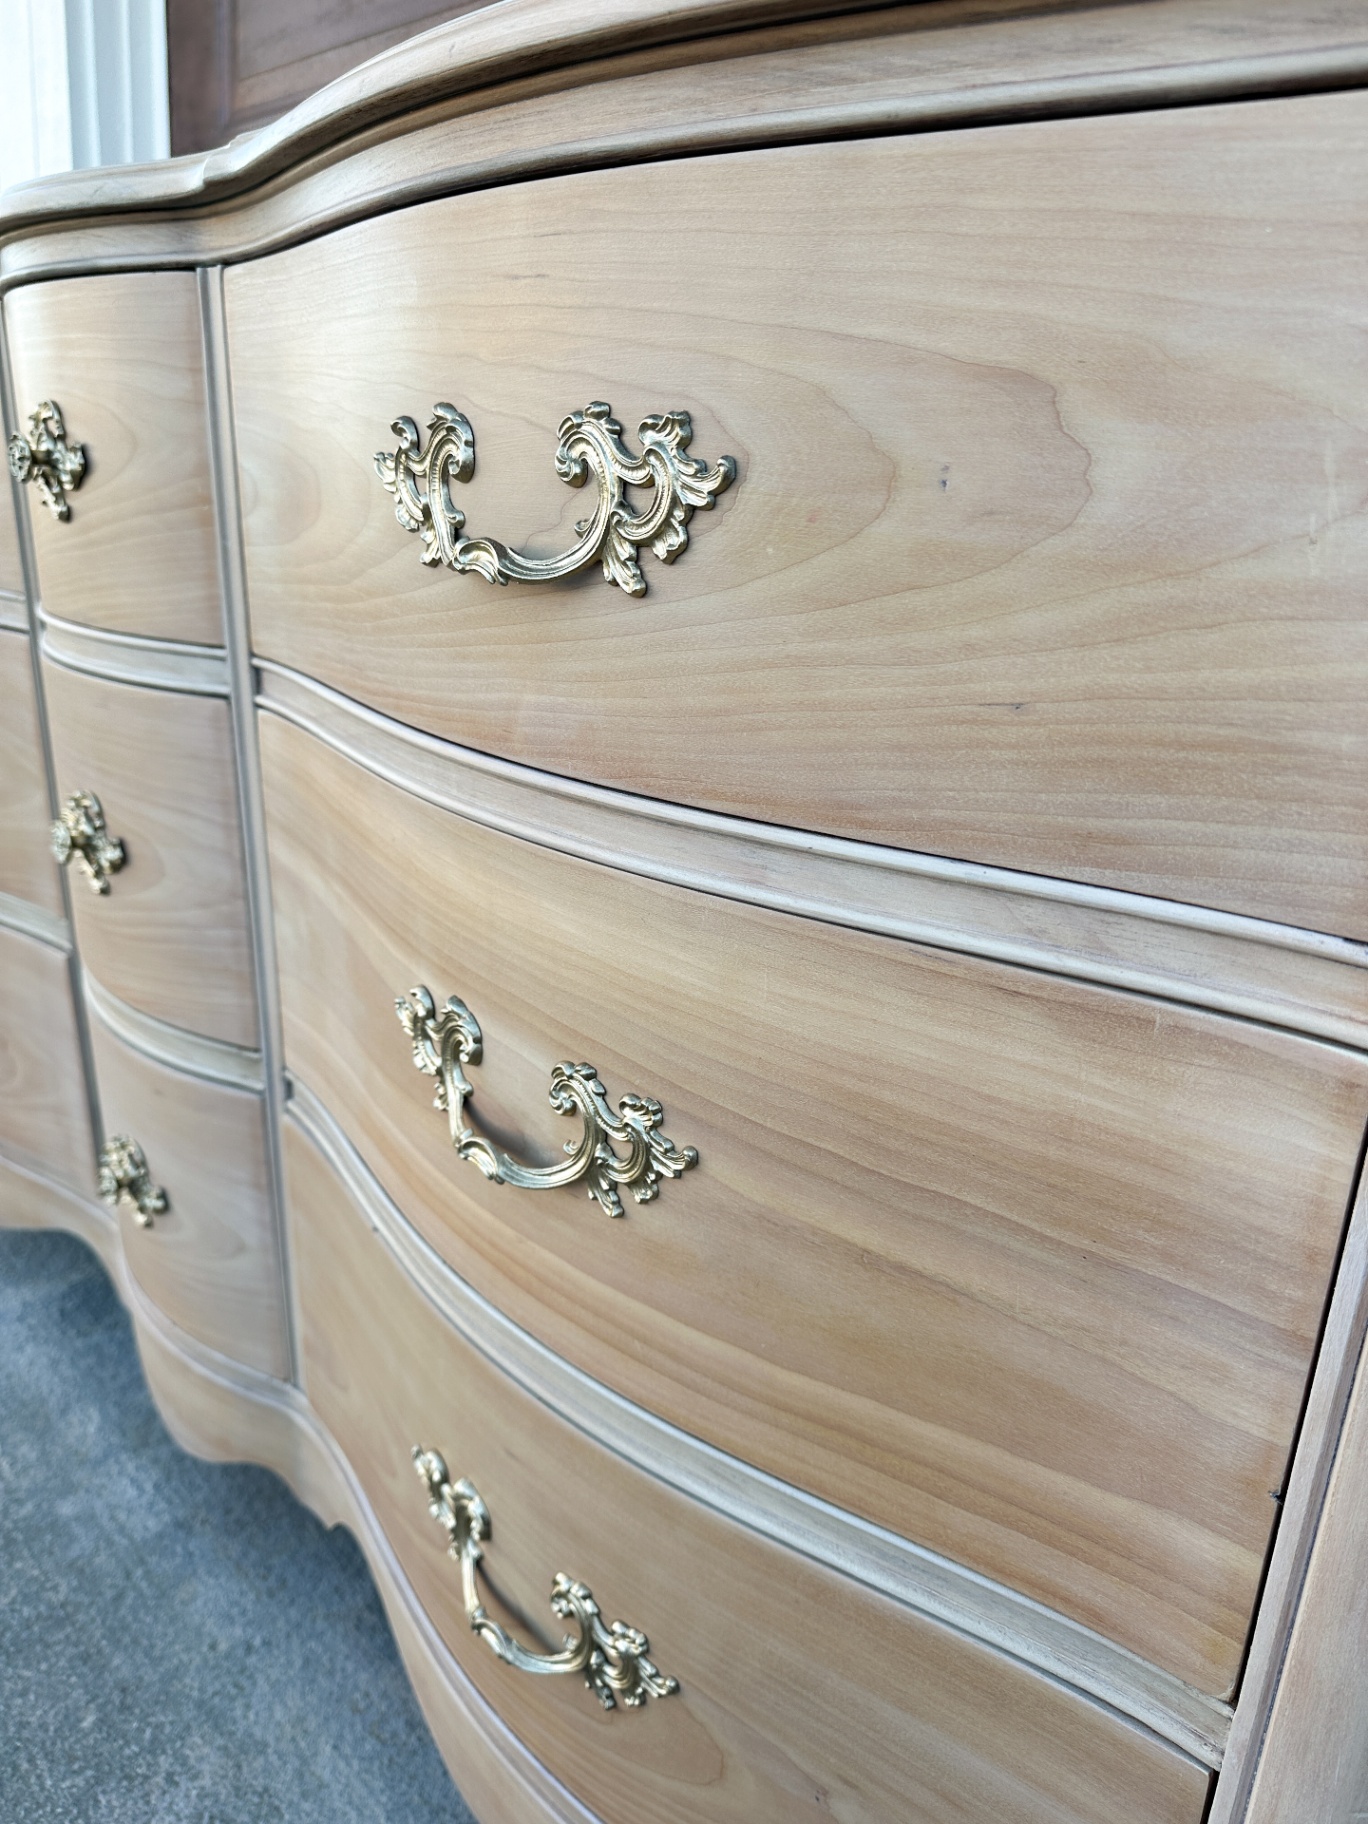
PSA: Not Everything on This Dresser Was Wood
One quick callout — the raised floral details on the upper corners of this dresser are actually plastic, not wood. Instead of trying to strip them, I gave them a very light sand and then went a little heavier with a couple rounds of the paint wash.
That extra tinting helped everything blend together in the finished piece, and once the top coat was on, you’d never know those details weren’t wood.
Step 4: Top Coat + Drawer Refresh
Once the paint wash fully dried, I moved on to finishing.
For this, I brushed on a water-based polyurethane using long, even strokes.
After the first coat:
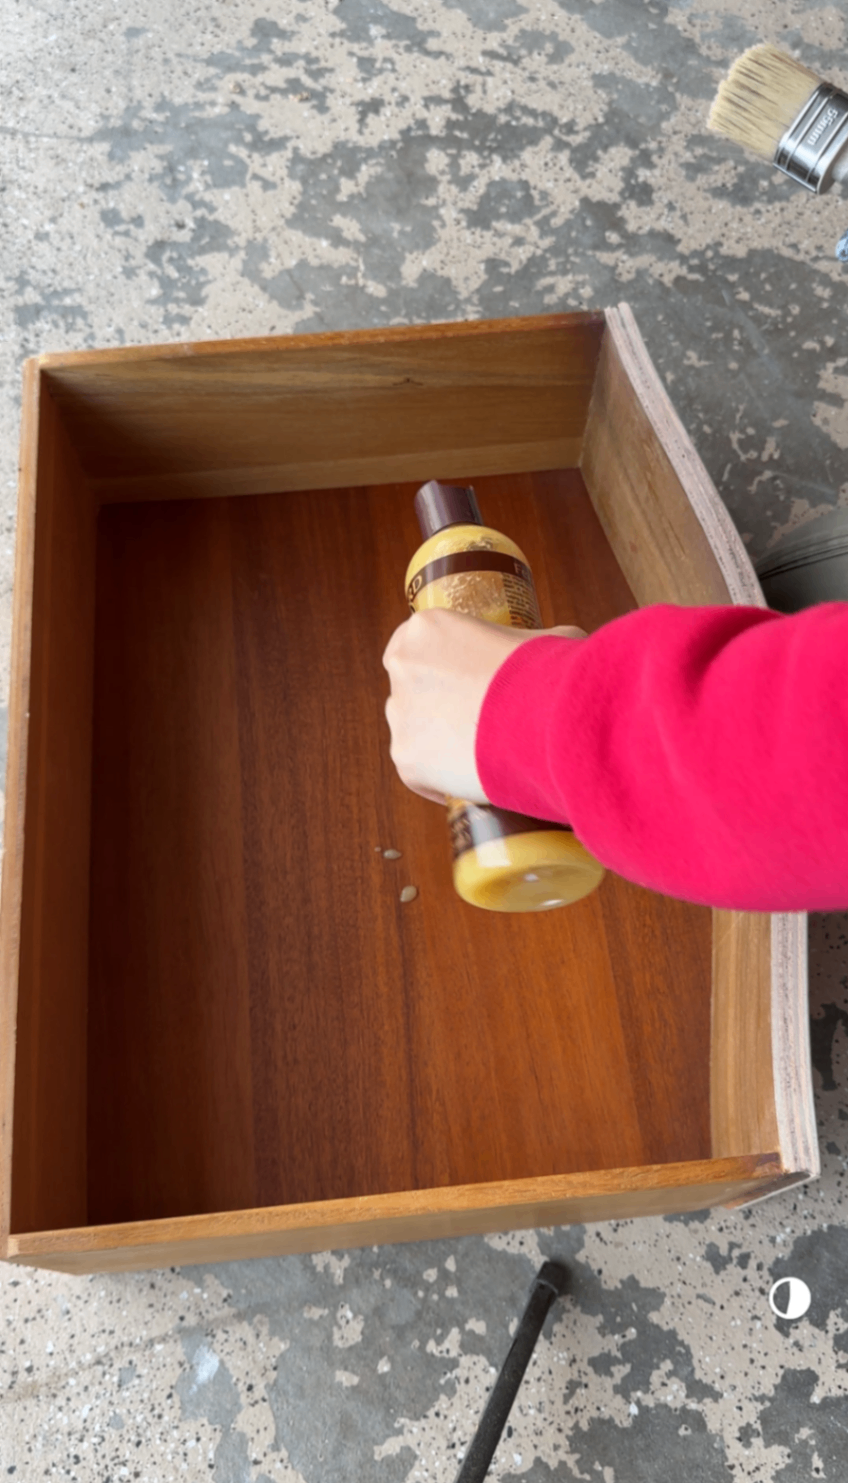
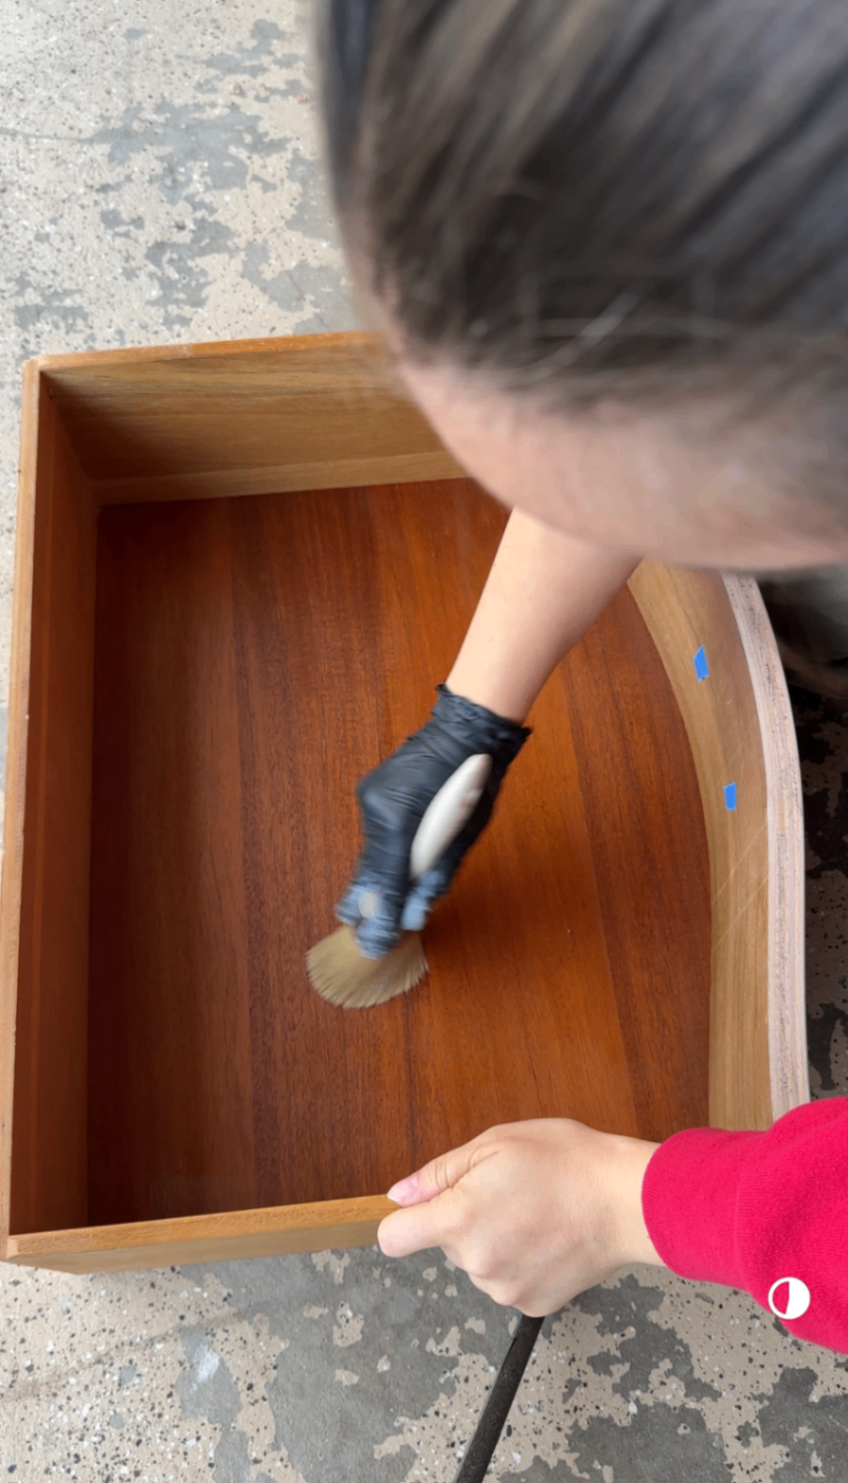
I cleaned the insides of the drawers again (sawdust gets everywhere!)
Waxed the drawer interiors and glides
Lightly sanded (pro tip 👉 use a brown paper bag! It's equivalent to a 3000 grit sandpaper)
Applied another round of top coat
The result? A buttery-smooth finish that still feels true to the age of the piece.
Step 5: Refreshing the Original Hardware (With a Quick Confession)
My hot take is that French Provincial furniture should always keep its original hardware. The scale, shape, and detailing are part of what makes these pieces feel authentic — swapping them for modern hardware always looks off I think.
That said… confession time: I did try polishing the original hardware first using Brasso, fully hoping to bring back the shine. Unfortunately, it just wasn’t working.
So I pivoted. I gave the hardware a thorough cleaning and then sprayed it with Rust-Oleum’s metallic gold spray paint, and honestly — it worked beautifully. The color has a perfect cool gold tone that complements the light wood finish without feeling brassy or too warm.
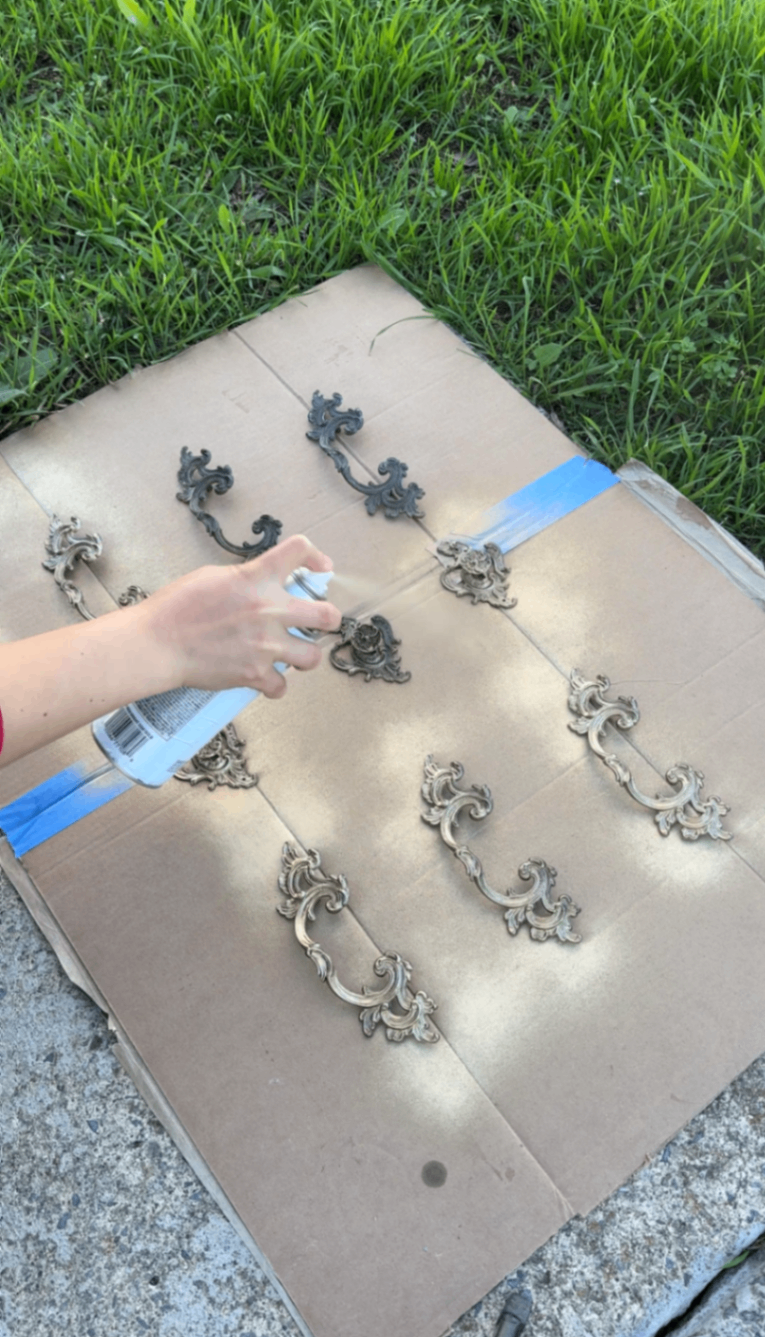

Sometimes the “backup plan” ends up being the best solution after all.
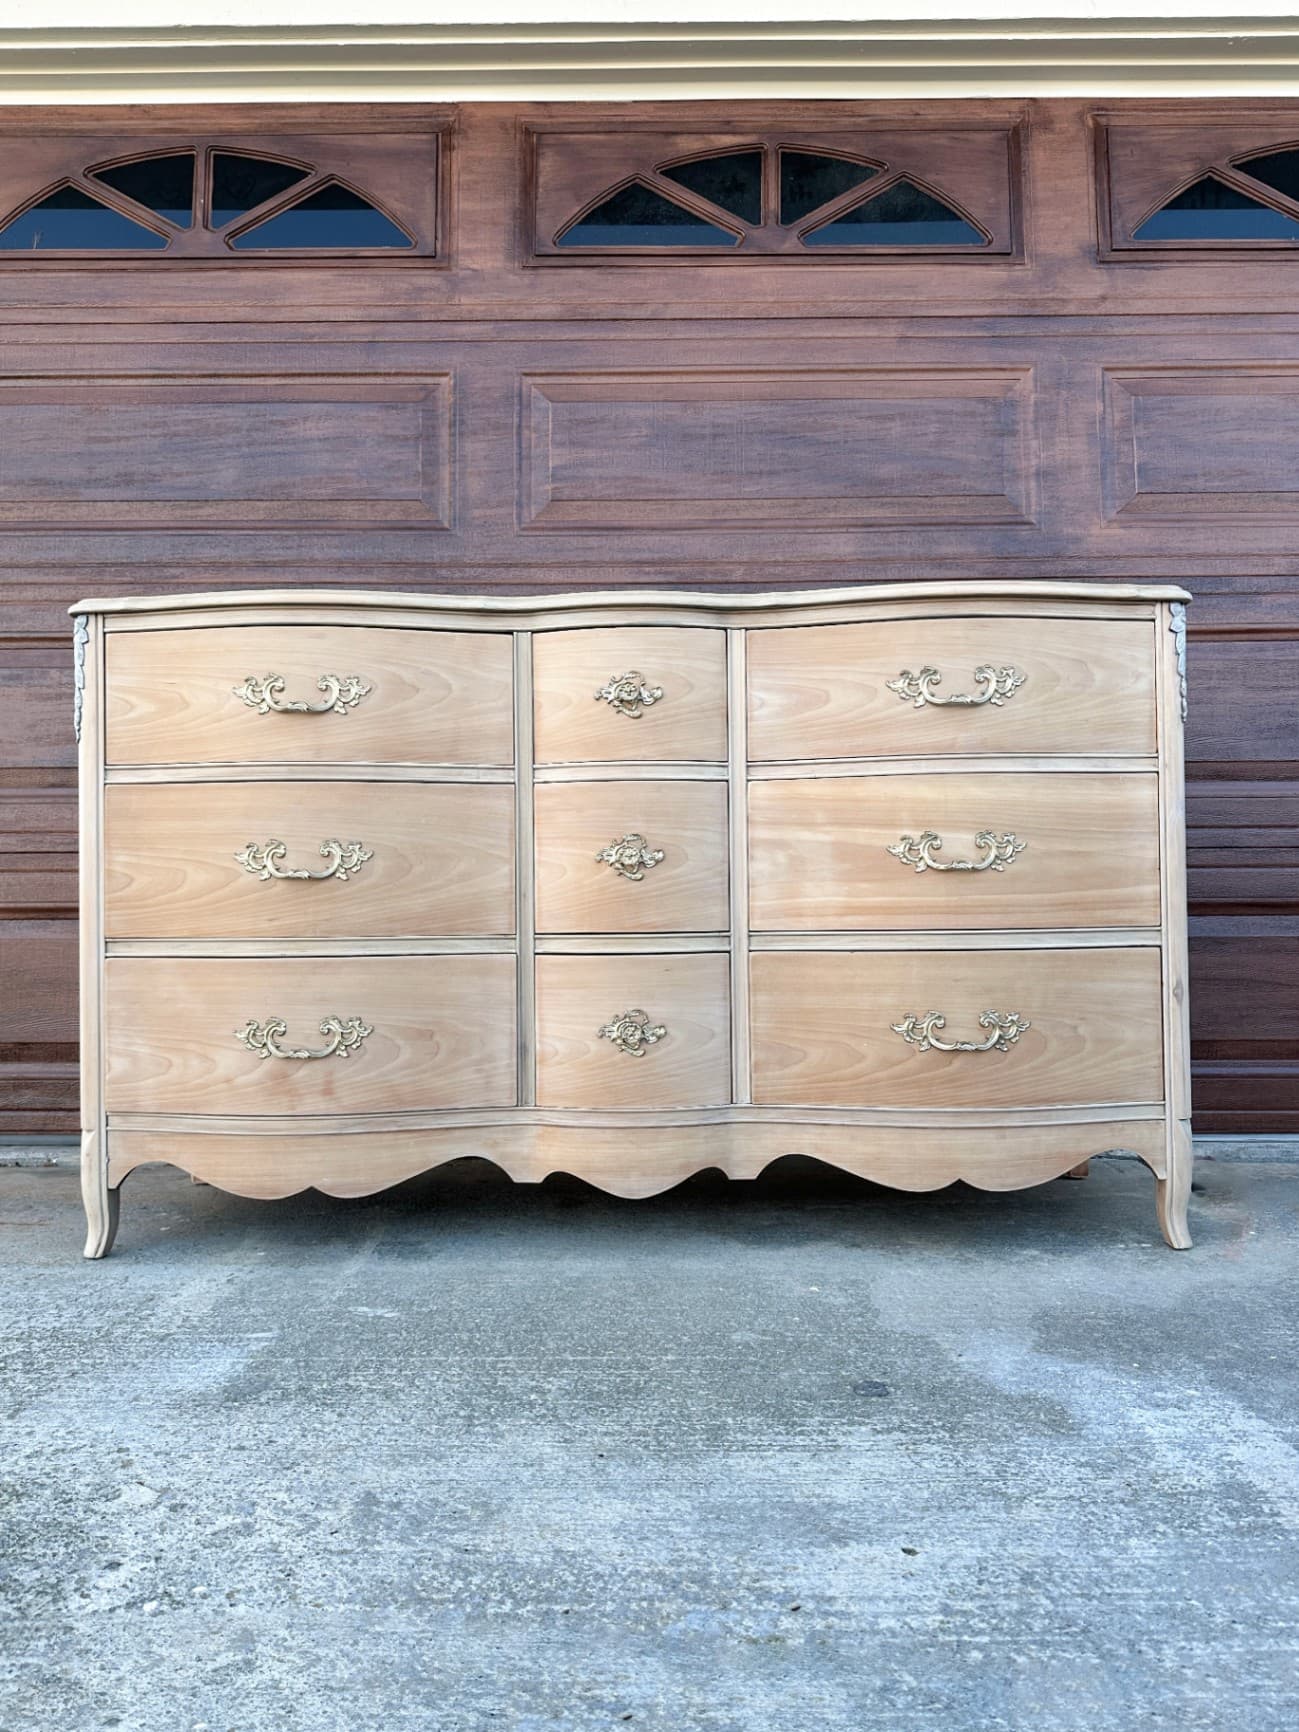
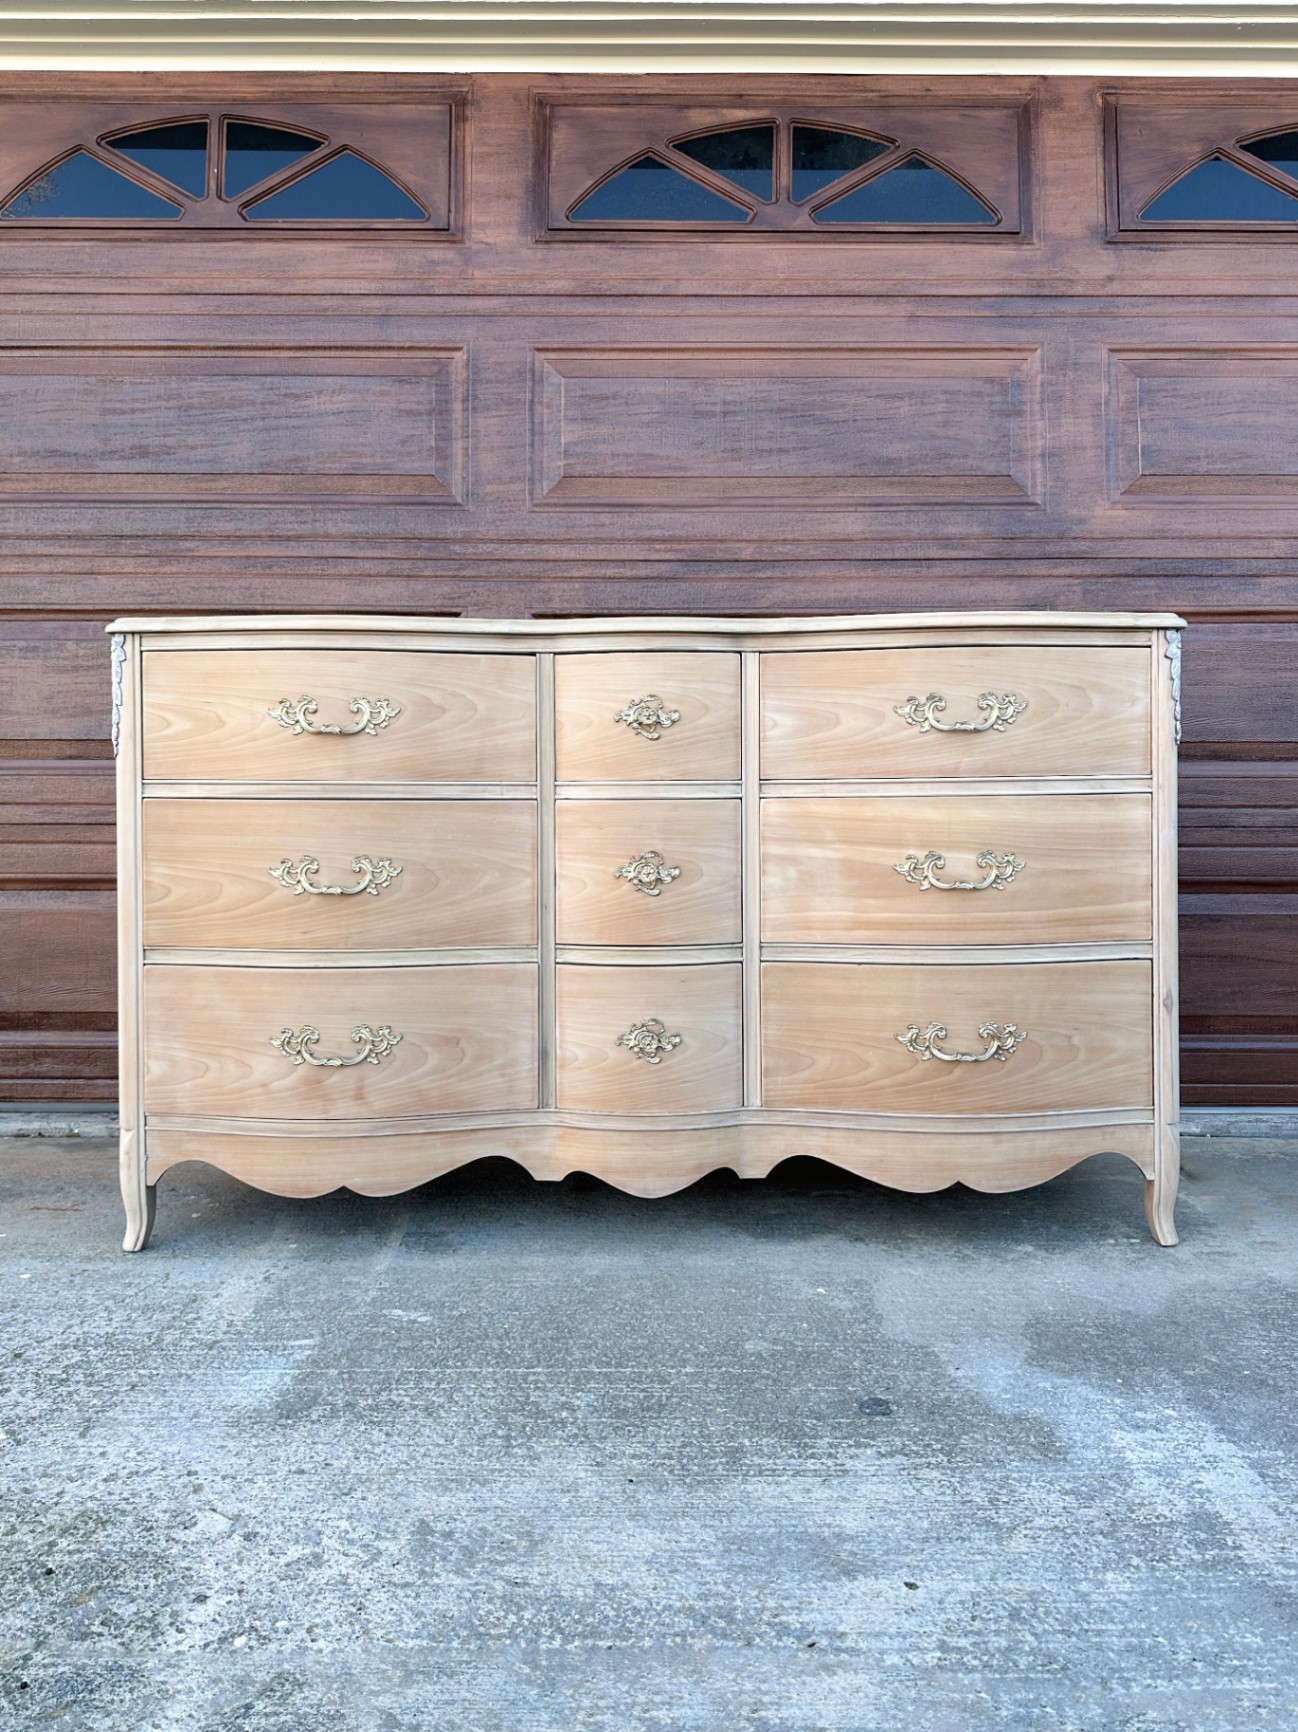
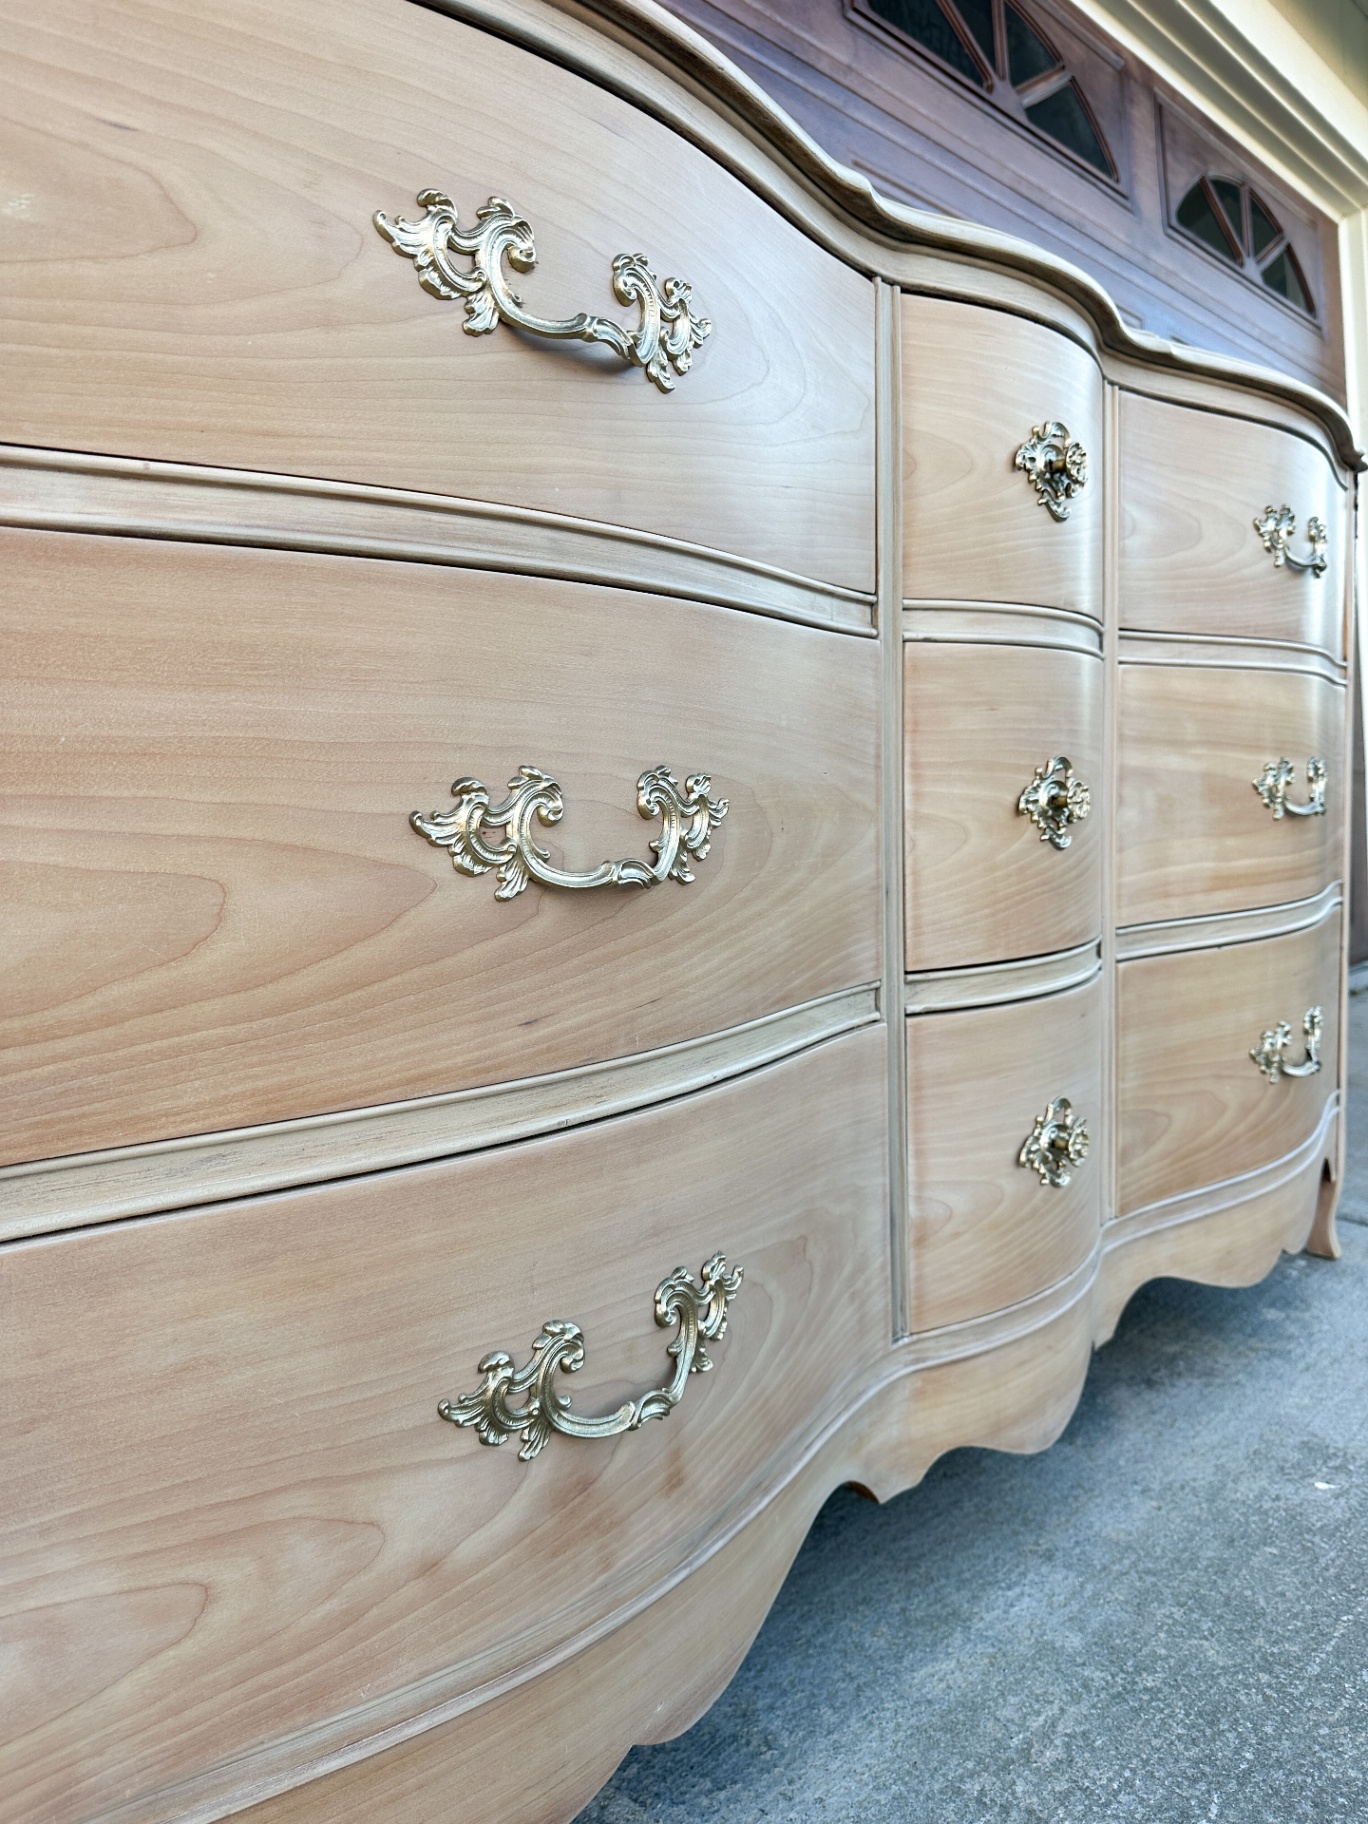
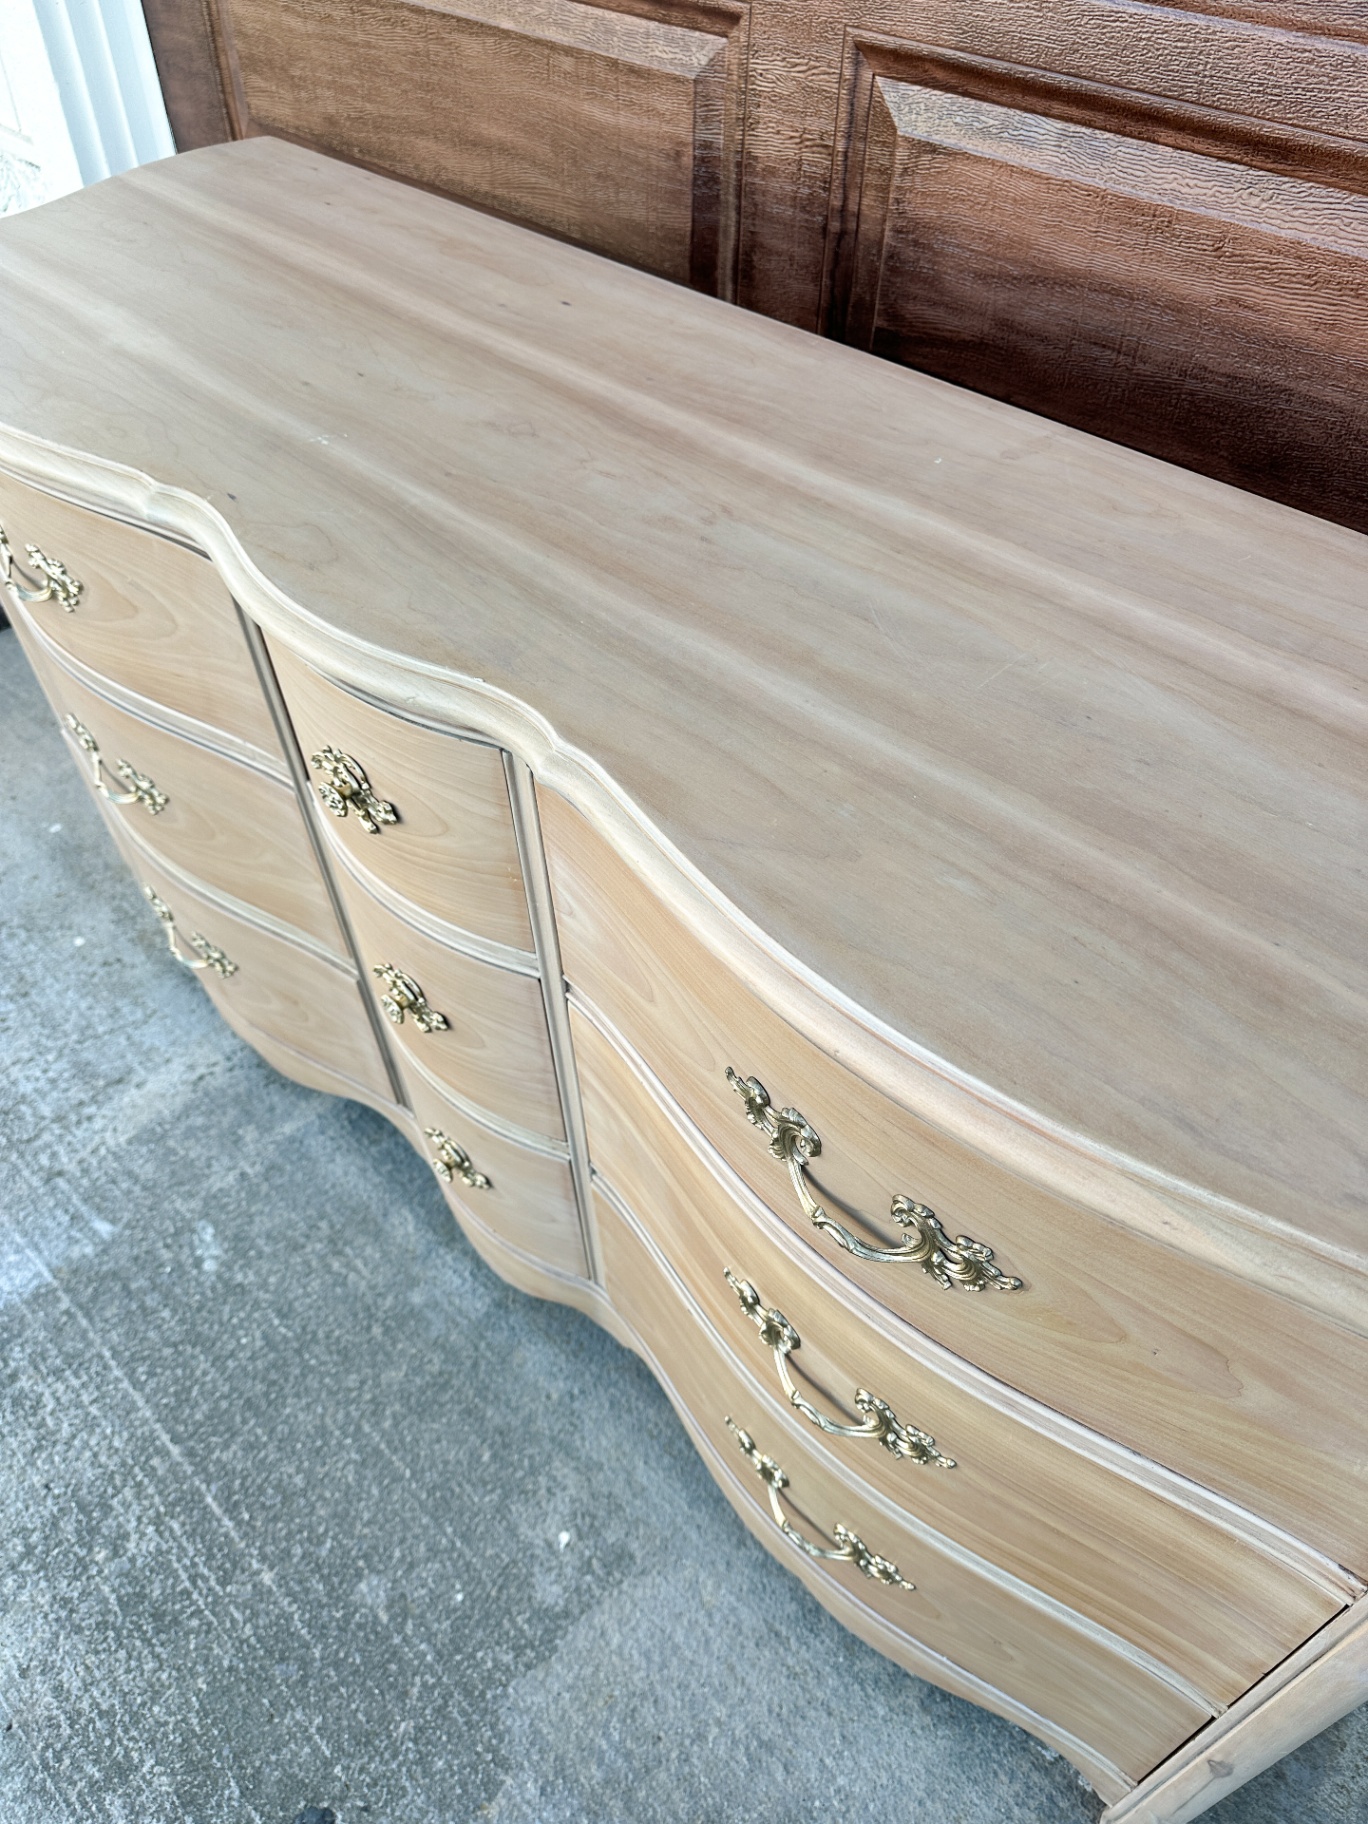
The Final Result
This dresser turned out exactly how I envisioned it.
The light washed wood finish highlights the grain beautifully, the original hardware adds timeless detail, and the entire piece feels elevated without losing its soul. Honestly? I kind of wish I could keep this one.
Would you have snagged this dresser off the side of the road?
Save This Project for Later 📌
If you found this makeover inspiring, pin this project on Pinterest so you can reference it later
More DIY Projects You Might Like
If you’re looking for more furniture flip ideas, dresser makeover inspiration, or furniture refinishing tutorials, you might also like these:
$55 Facebook Marketplace Nightstands Makeover – modernizing a cheap dated pair of nightstands with a painted finish and new hardware
Mid-Century Modern Dresser Restoration – a full MCM dresser restoration on a genuine tallboy dresser (just wait until you see the wood grain)
These projects are great if you’re looking for more DIY furniture makeover ideas and inspiration for how to flip furniture, refinish old dressers, and restore second-hand pieces.