How to Strip Furniture and Restore a Painted MCM Dresser
This dresser was covered in thick white paint, but stripping furniture revealed gorgeous walnut underneath. From removing paint out of the grain to veneer blending and finishing, this post breaks down the full restoration process step by step.
Mid-Century Modern Dresser Makeover: From Painted Disaster to Rich Walnut Beauty
This mid-century modern dresser makeover might be one of my most dramatic furniture flips to date — and it almost didn’t happen.
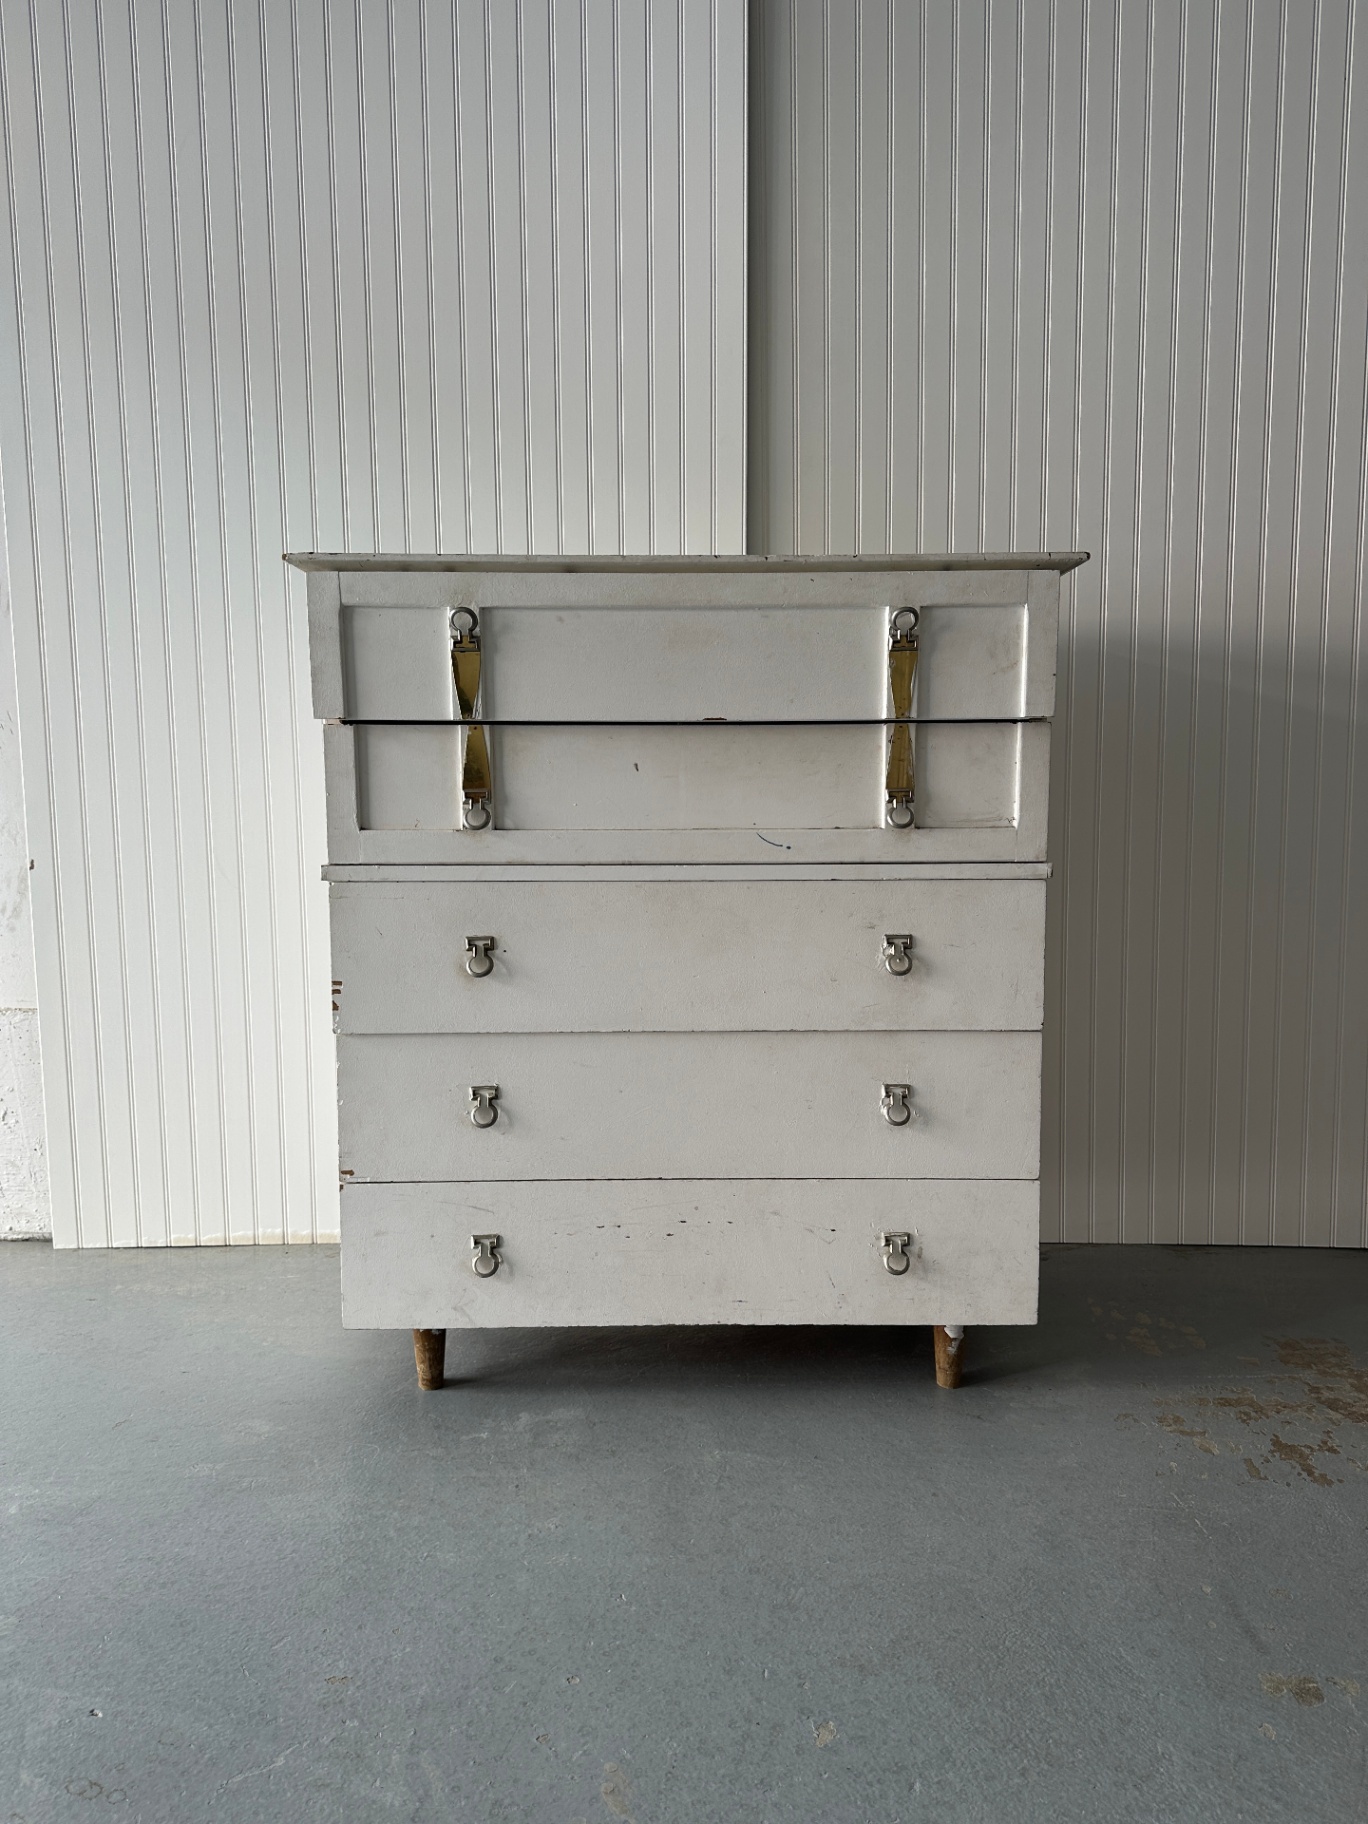
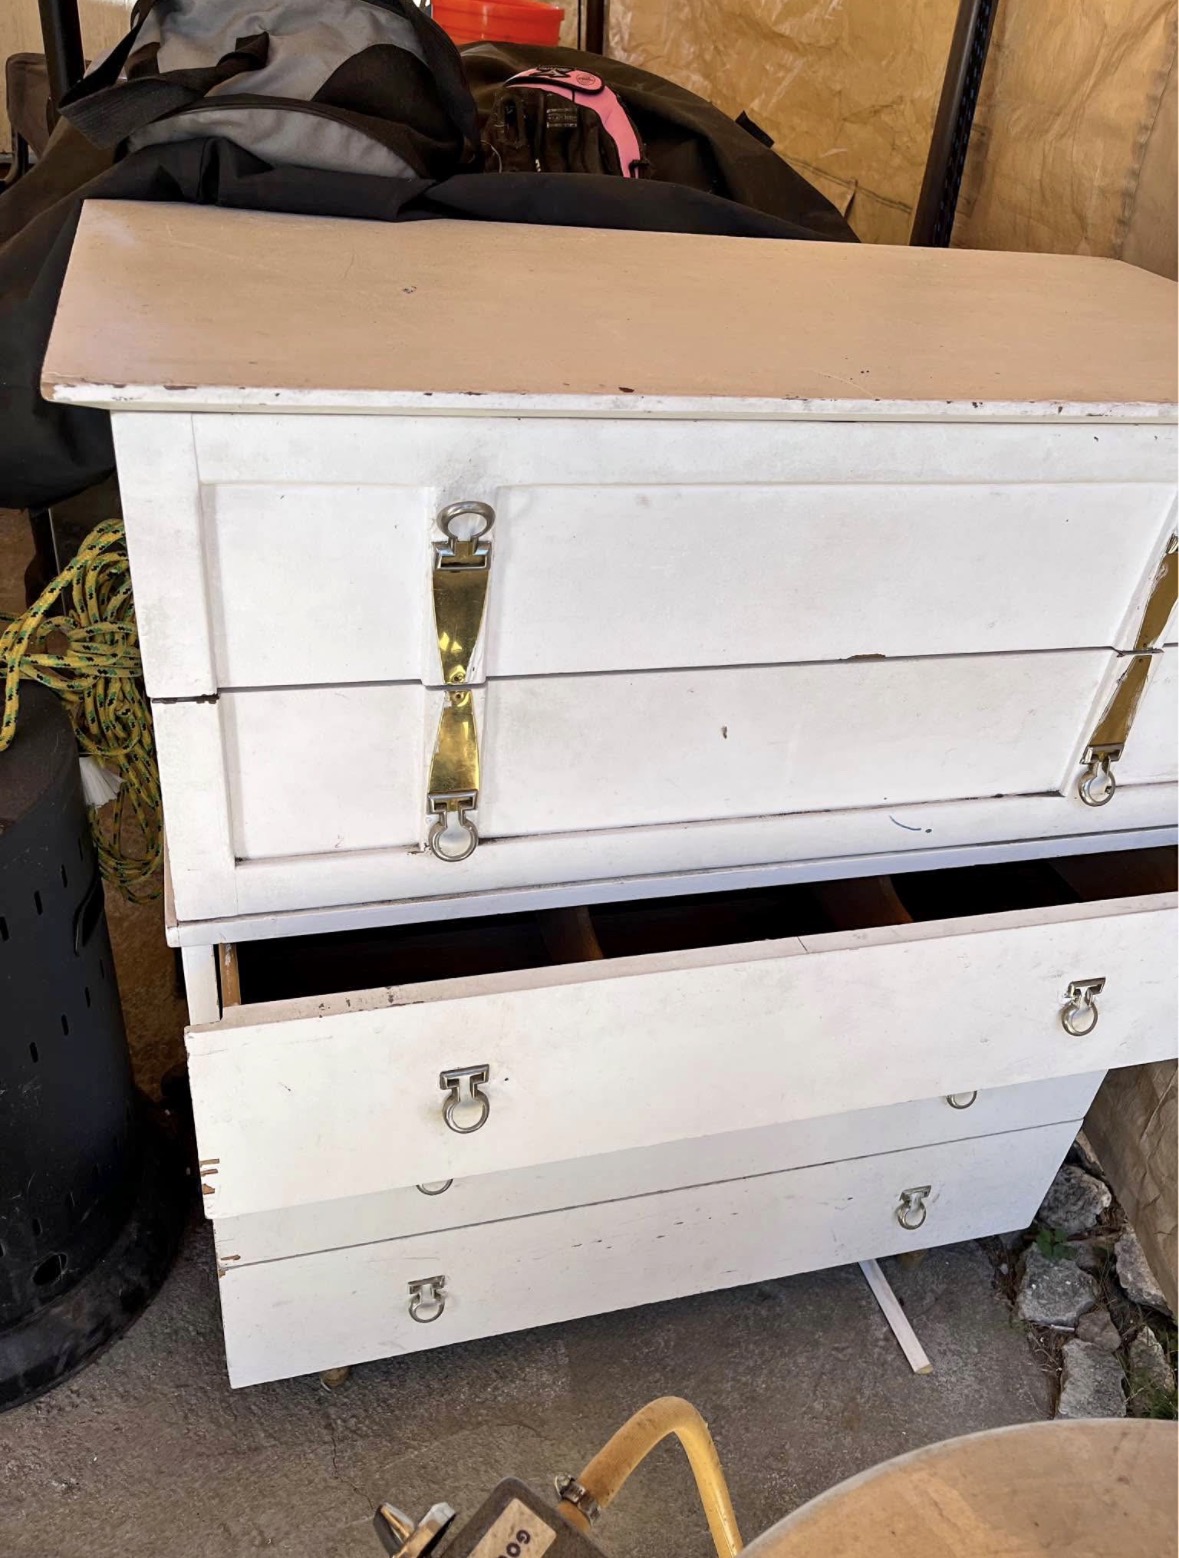
I came across this dresser on Facebook Marketplace and honestly… it was rough. Thick white paint, grime everywhere, drawers packed with dog hair (like, gag-level), chipped veneer, and zero visual appeal.
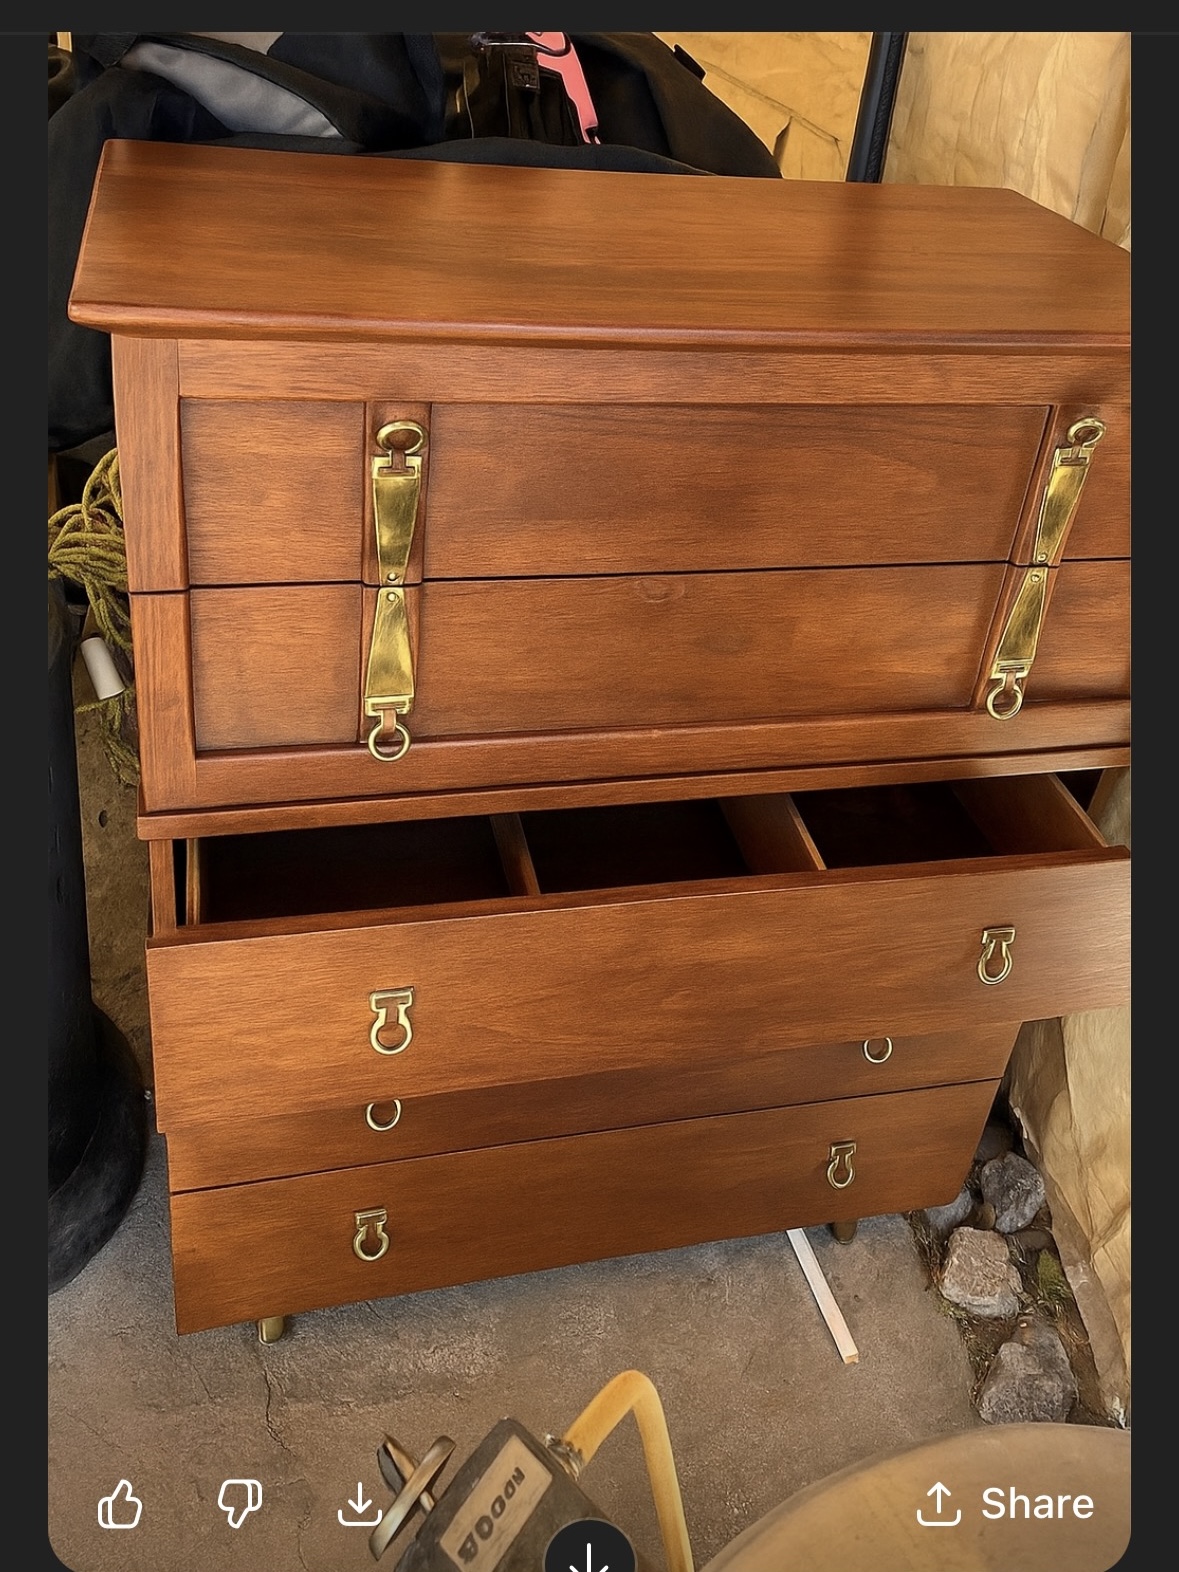
But curiosity got the best of me. I dropped the listing photo into ChatGPT and asked it to show me what the piece might look like in its original walnut finish.
The mockup was gorgeous. And once I saw that potential, I couldn’t unsee it.
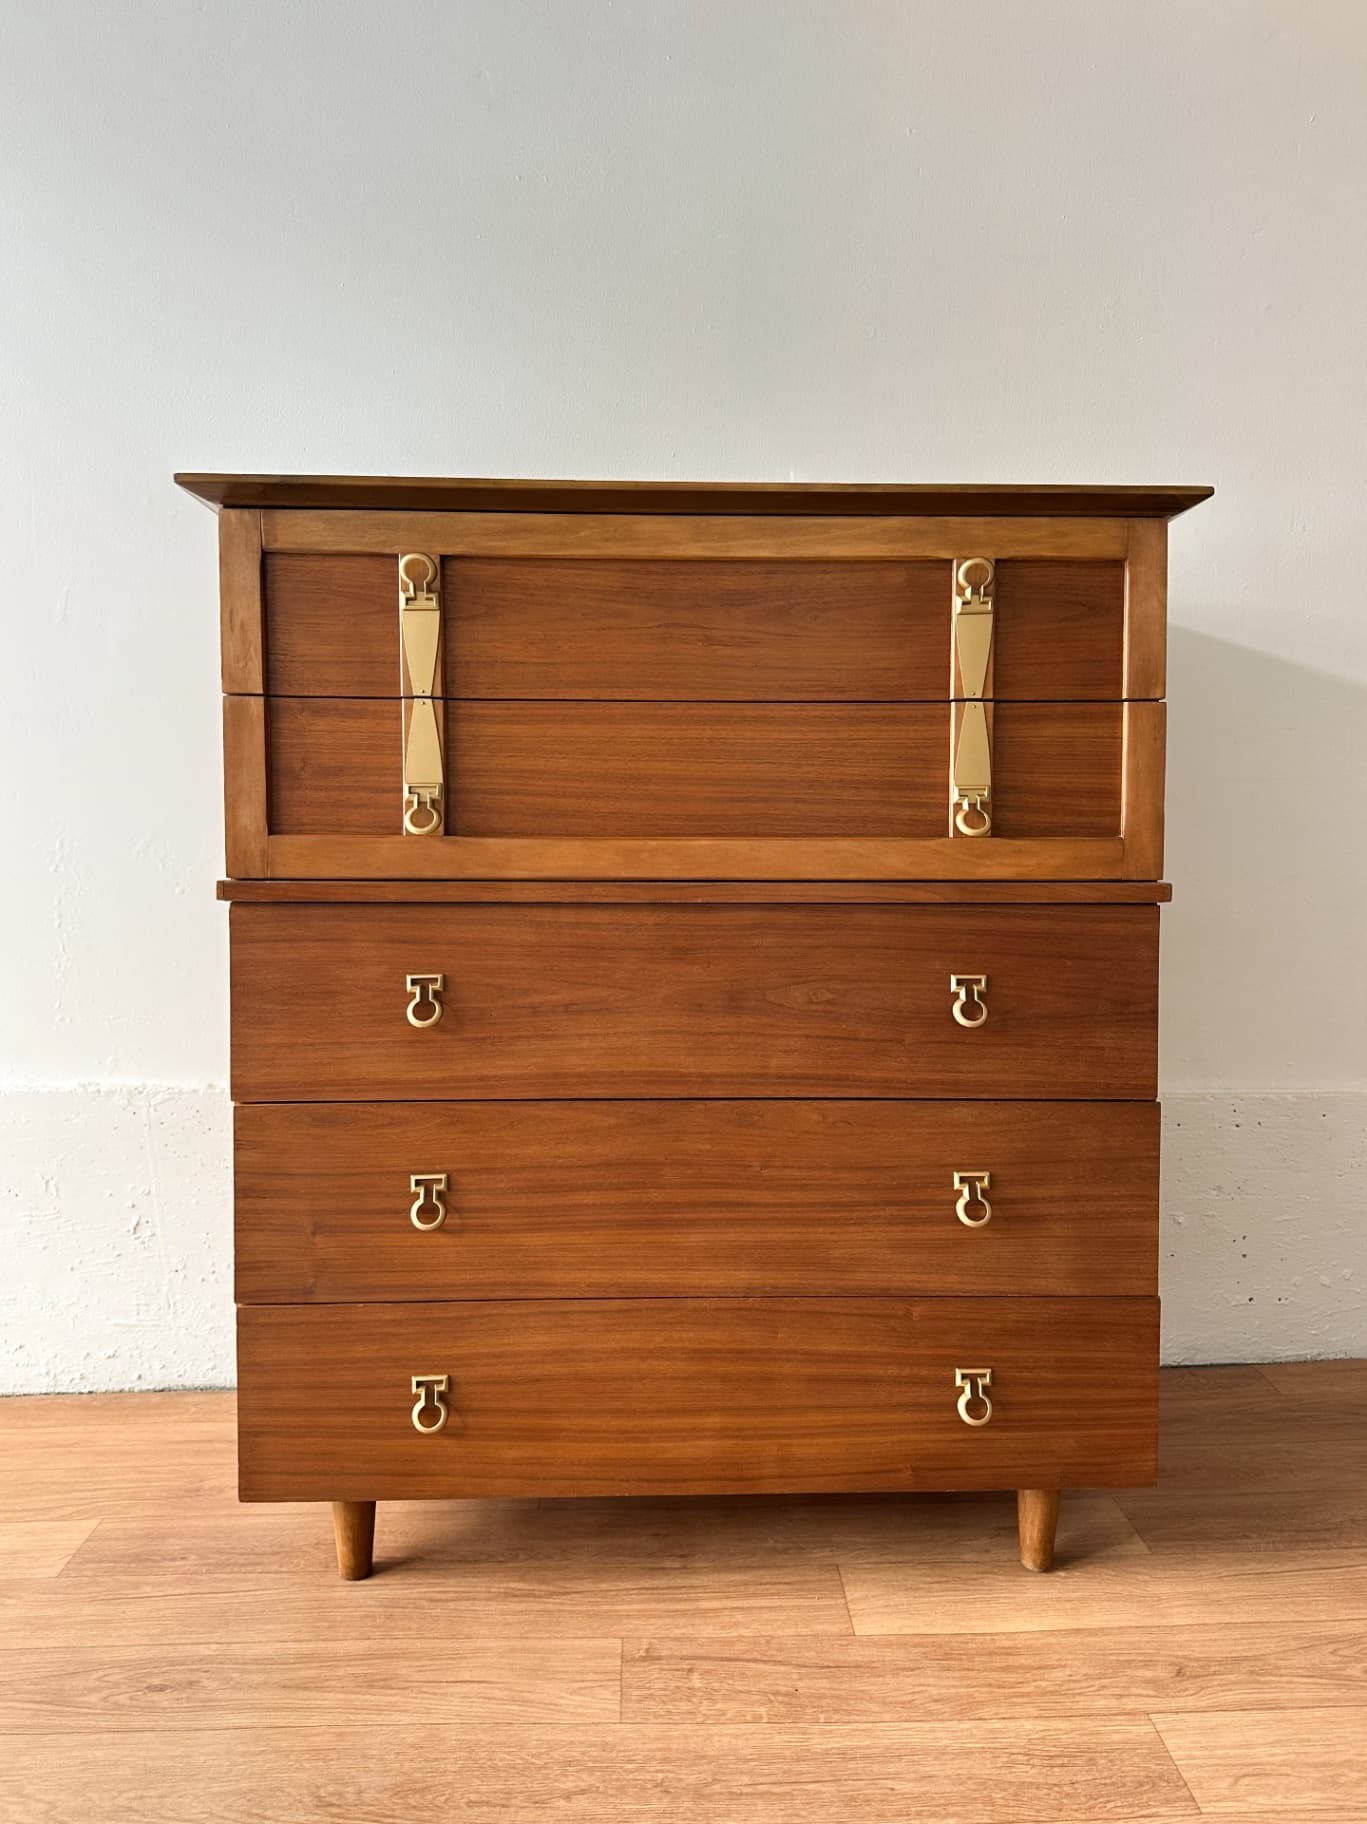
(FBMP listing photo below on the left, ChatGPT mockup on the right)
So yes — I paid $80 for this crusty, beat-up dresser and got to work.
The Starting Point: A Painted MCM Dresser in Bad Shape
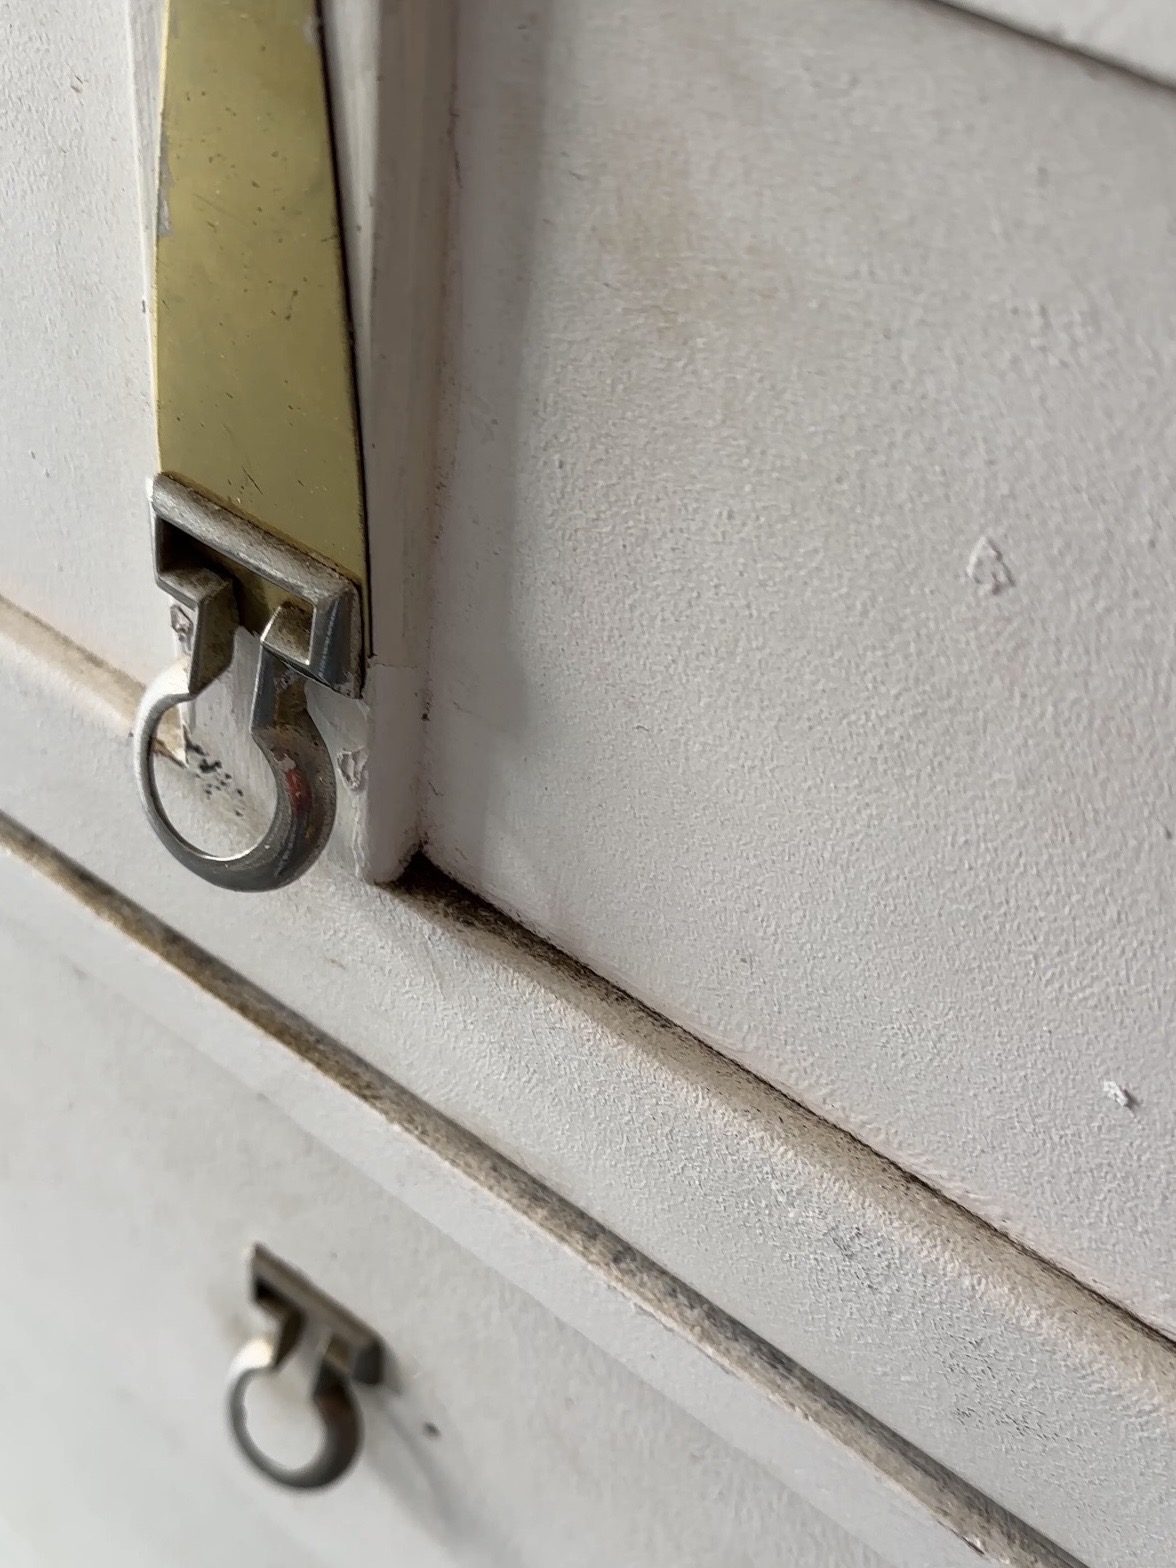
At first glance, this dresser looked like a lost cause. The paint was packed into the wood grain, the drawers were filthy, and there were veneer chips and damage throughout. But the mid-century modern bones were there: clean lines, beautiful proportions, and unique original hardware.
That’s always my green light.
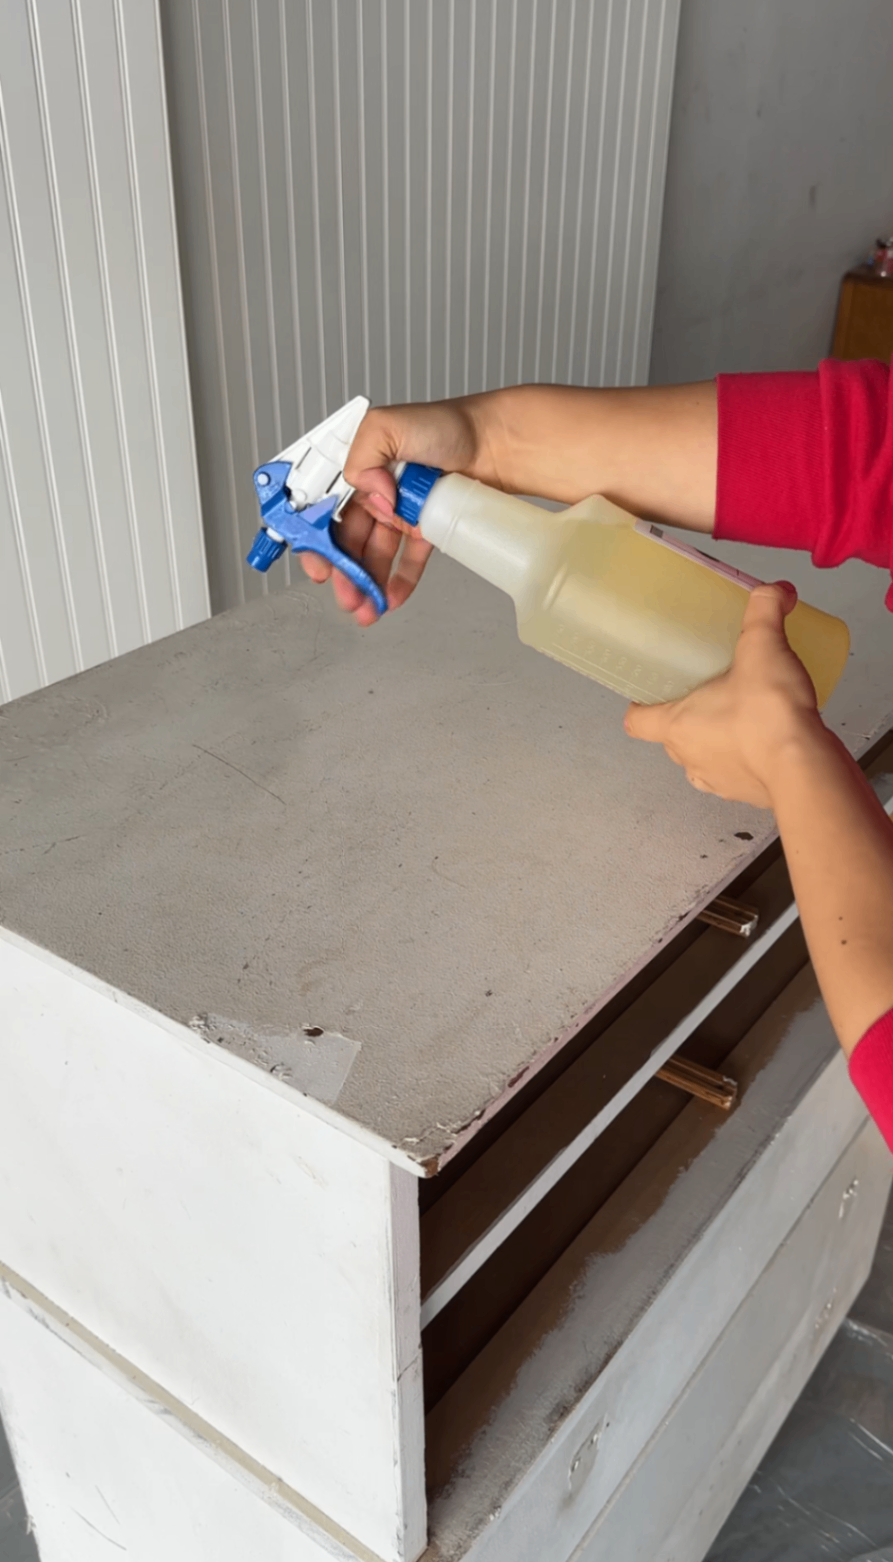
Step 1: Stripping Layers of Paint (and a Pro Tip)
After removing the hardware, I jumped straight into stripping. I used a non-toxic paint stripper, which I love because it doesn’t require gloves or heavy ventilation — but the key is letting it actually sit long enough to do its job. Once the paint lifted, I went back in with the same stripper and steel wool to remove leftover residue.
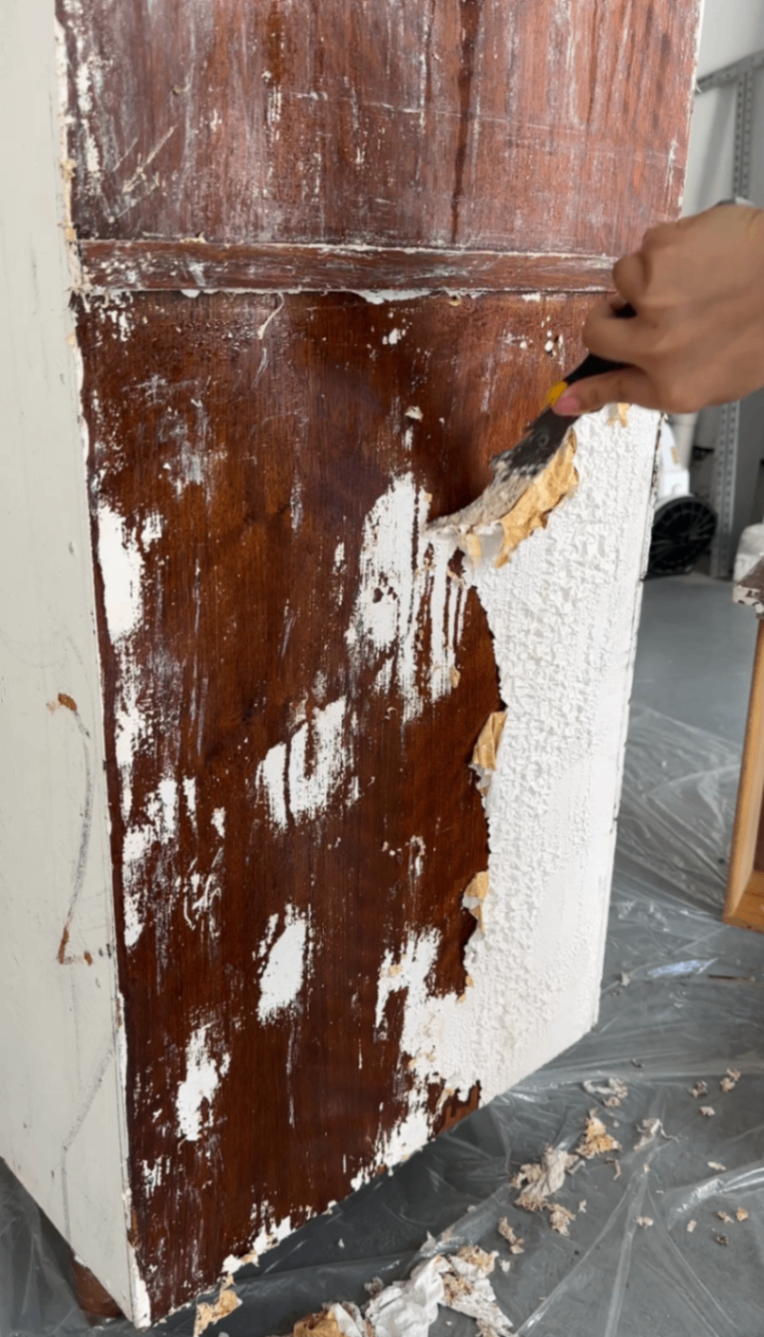
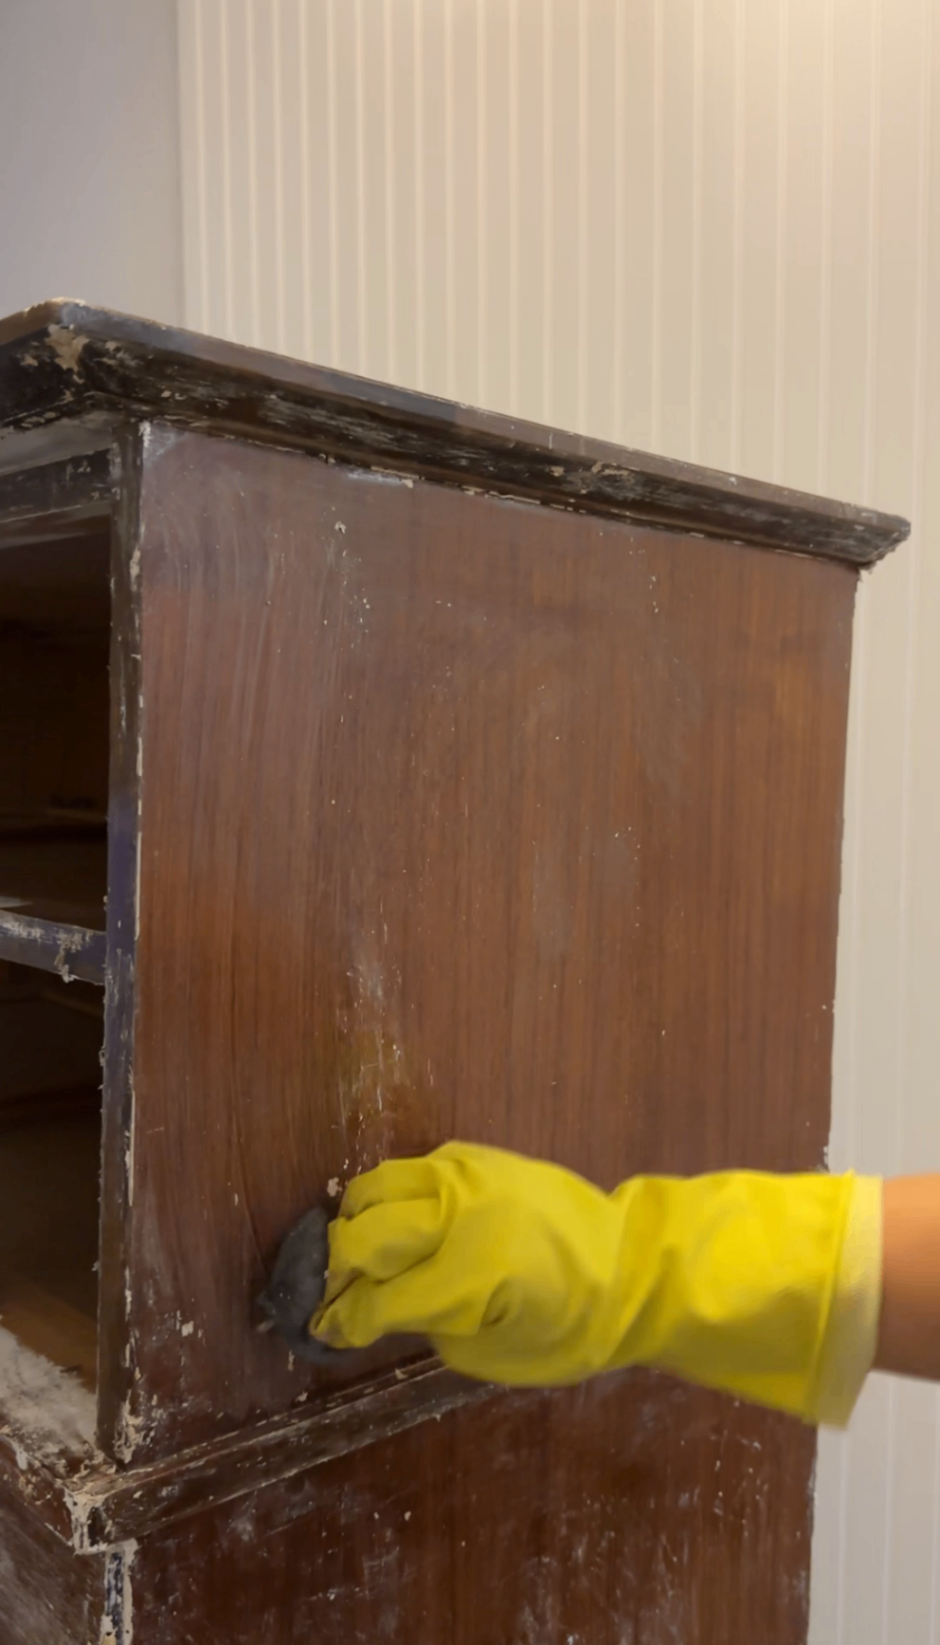
💡 Pro Tip: For paint that gets stuck deep in the wood grain, acetone + a small brush is a game changer. After the main stripping was done, I used acetone to dissolve stubborn paint and worked it out of the grain by brushing, one small section at a time. This step takes time, but it makes a massive difference if you’re trying to properly restore wood instead of just covering it up.
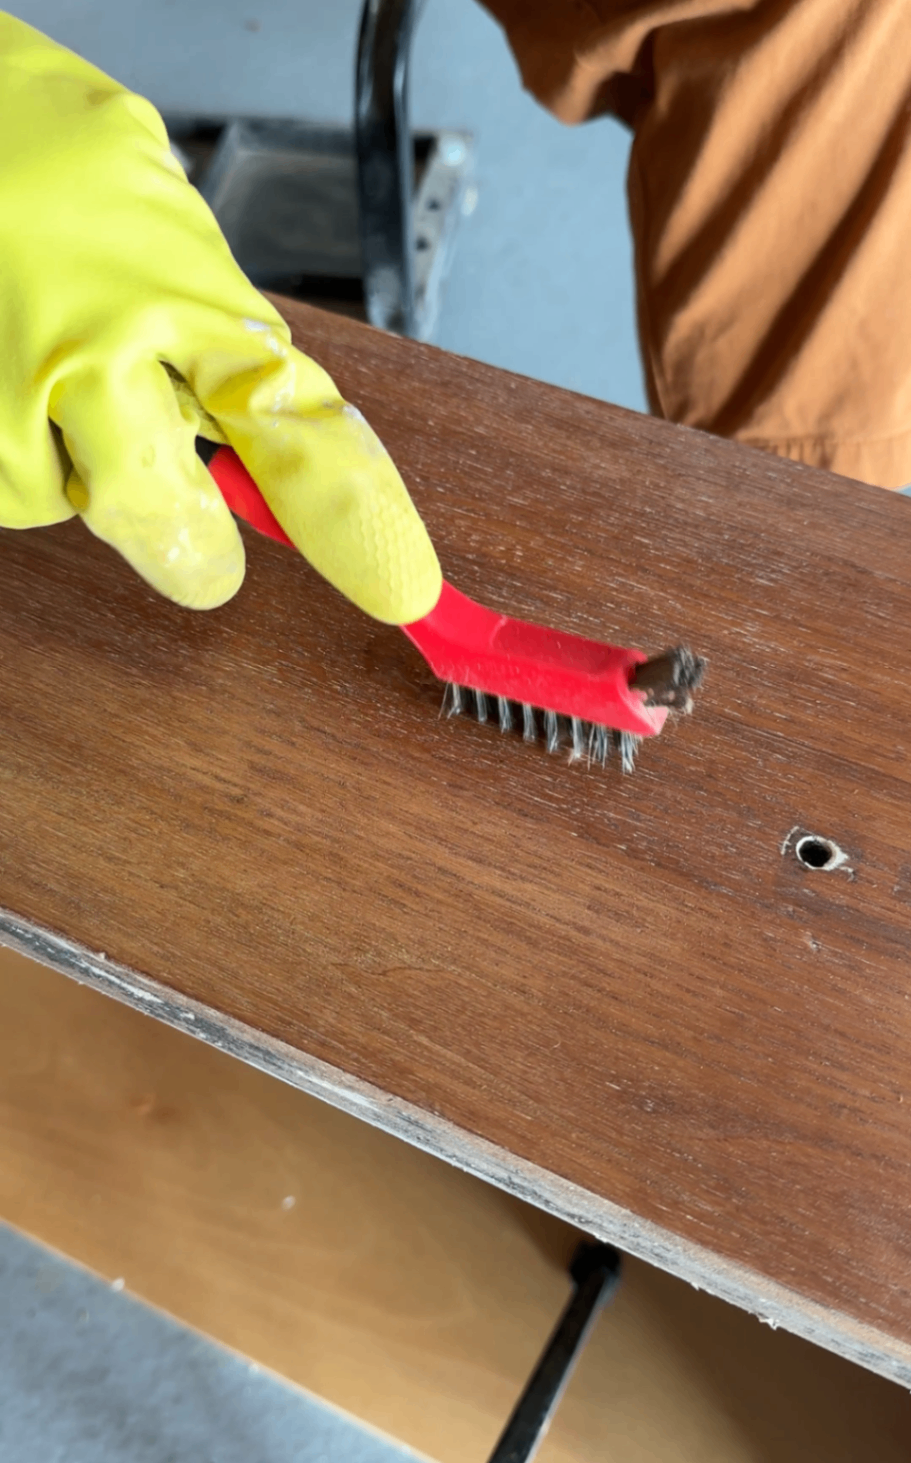
This dresser had so many nooks and crannies, and without the acetone step, there’s no way I would’ve gotten all that white paint out of the grain.
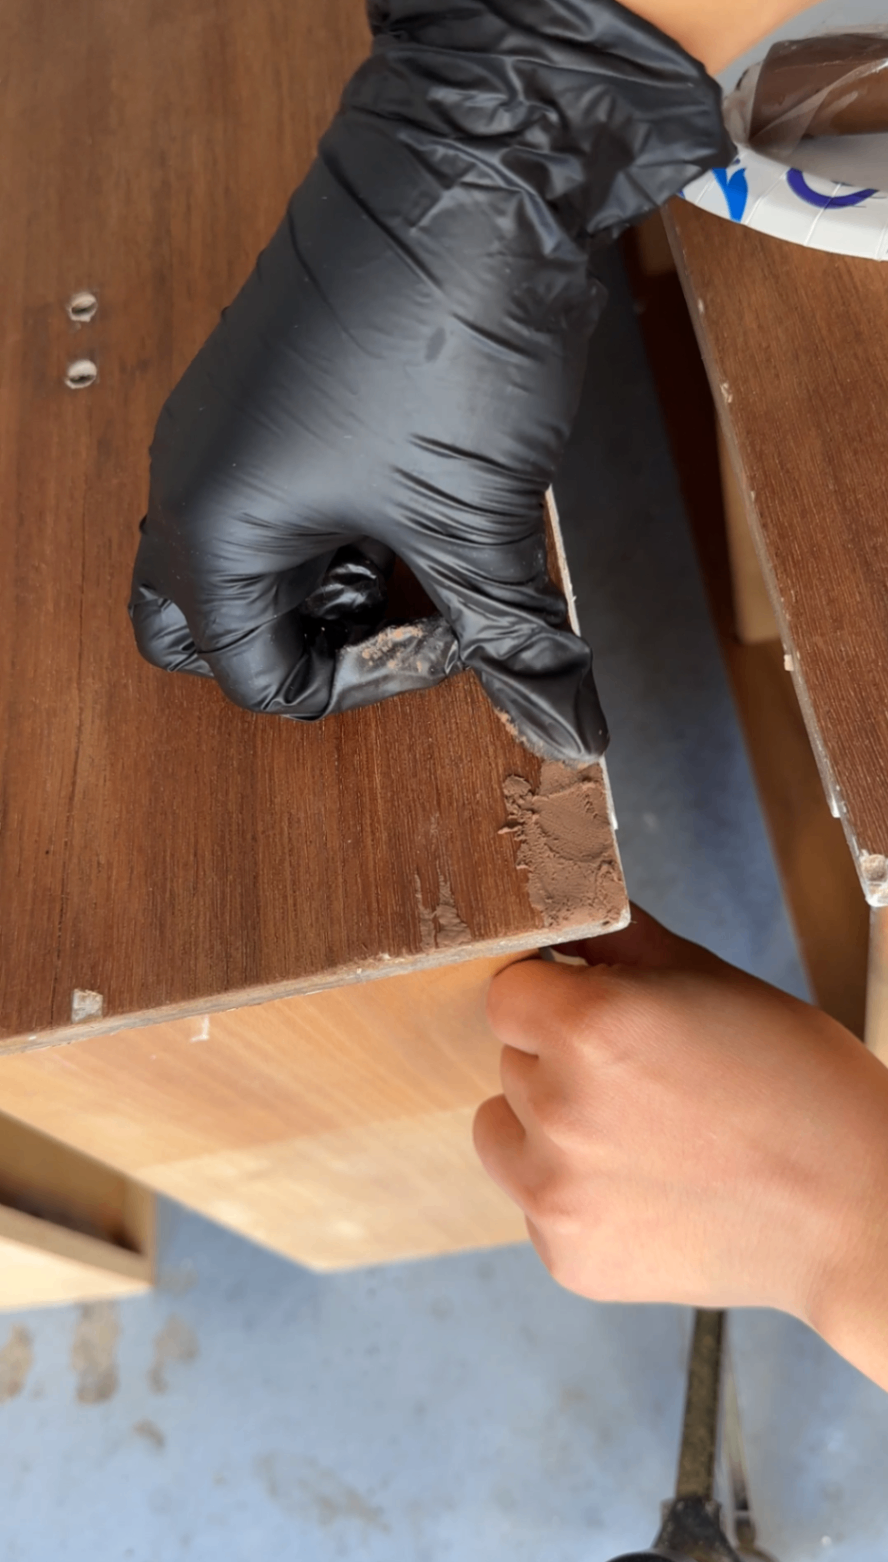
Step 2: Veneer Repairs & Surface Prep
Once the paint was fully removed, I moved on to repairs. This piece had several veneer chips and damaged spots, so I filled them using a super durable epoxy putty. I like epoxy-based fillers for veneer repairs because they bond well, don’t shrink, and can be sanded perfectly flush once cured. Also this one is already tinted to a walnut color which helps when you're blending it in later!
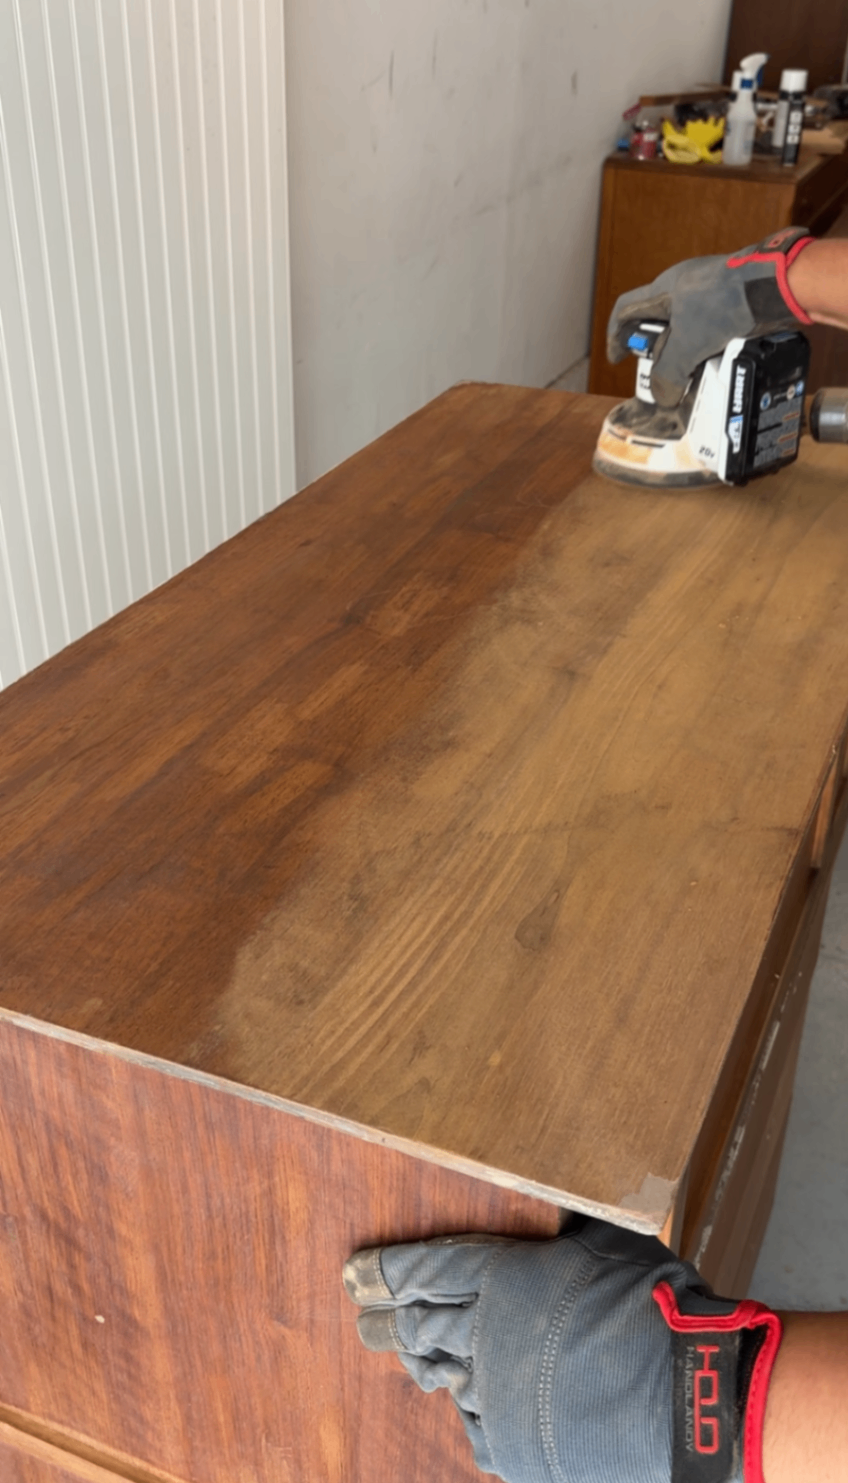
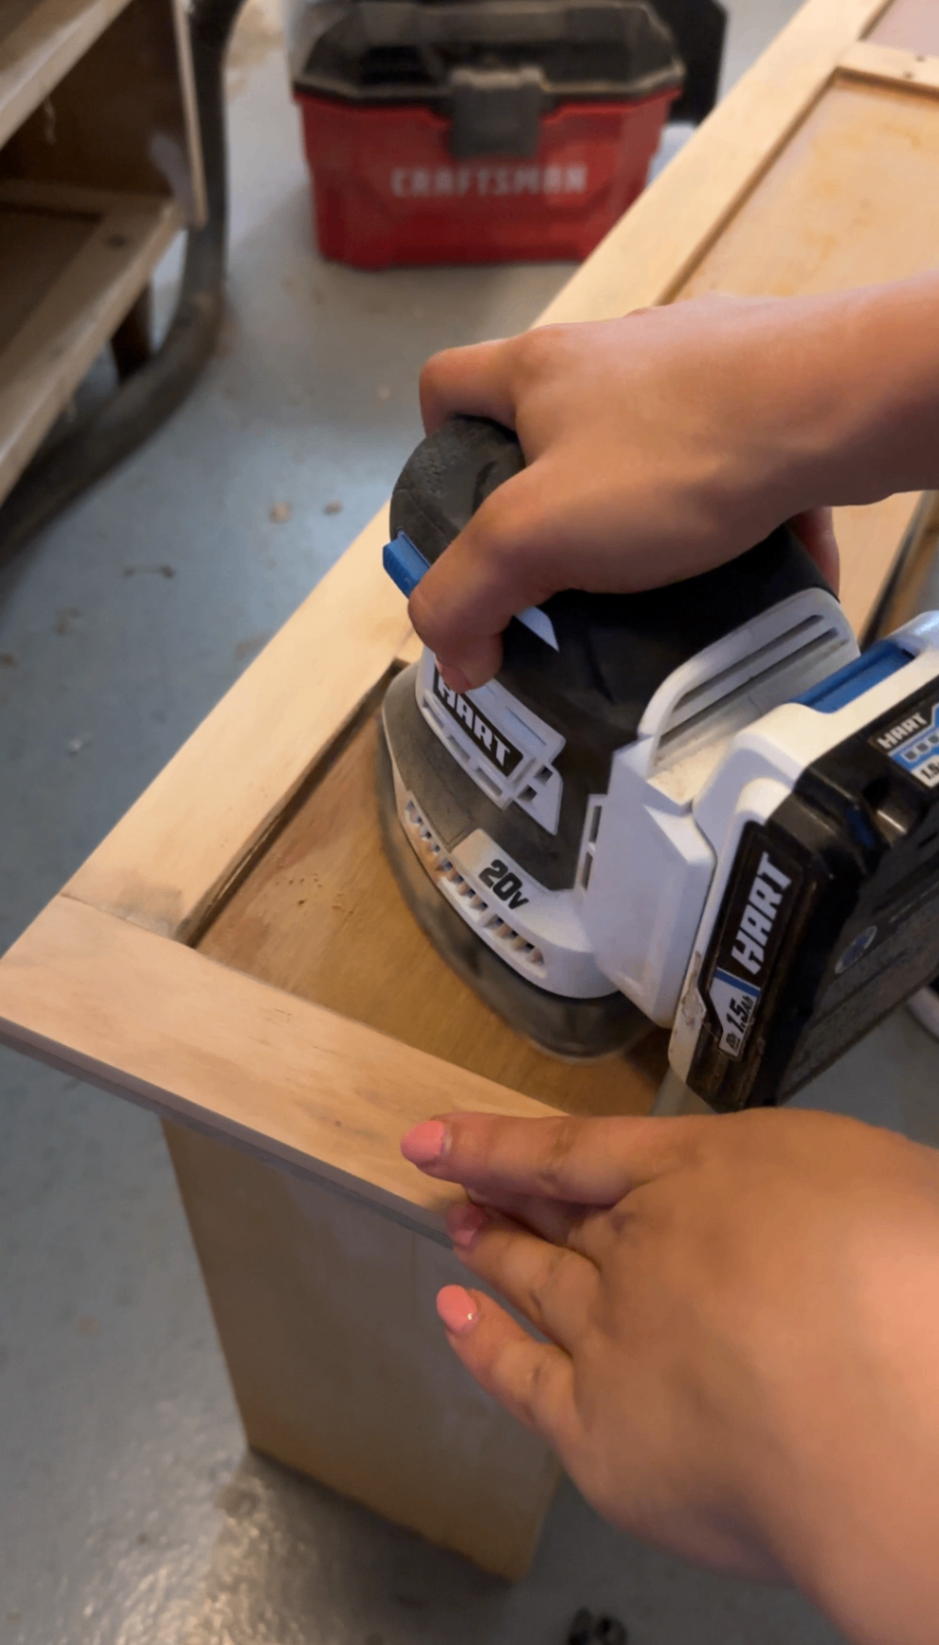
After the repairs set, I sanded all the major surfaces to smooth everything out and prep the wood for finish. At this stage, the dresser finally started to look like raw wood again — even though there was still a lot of work ahead.
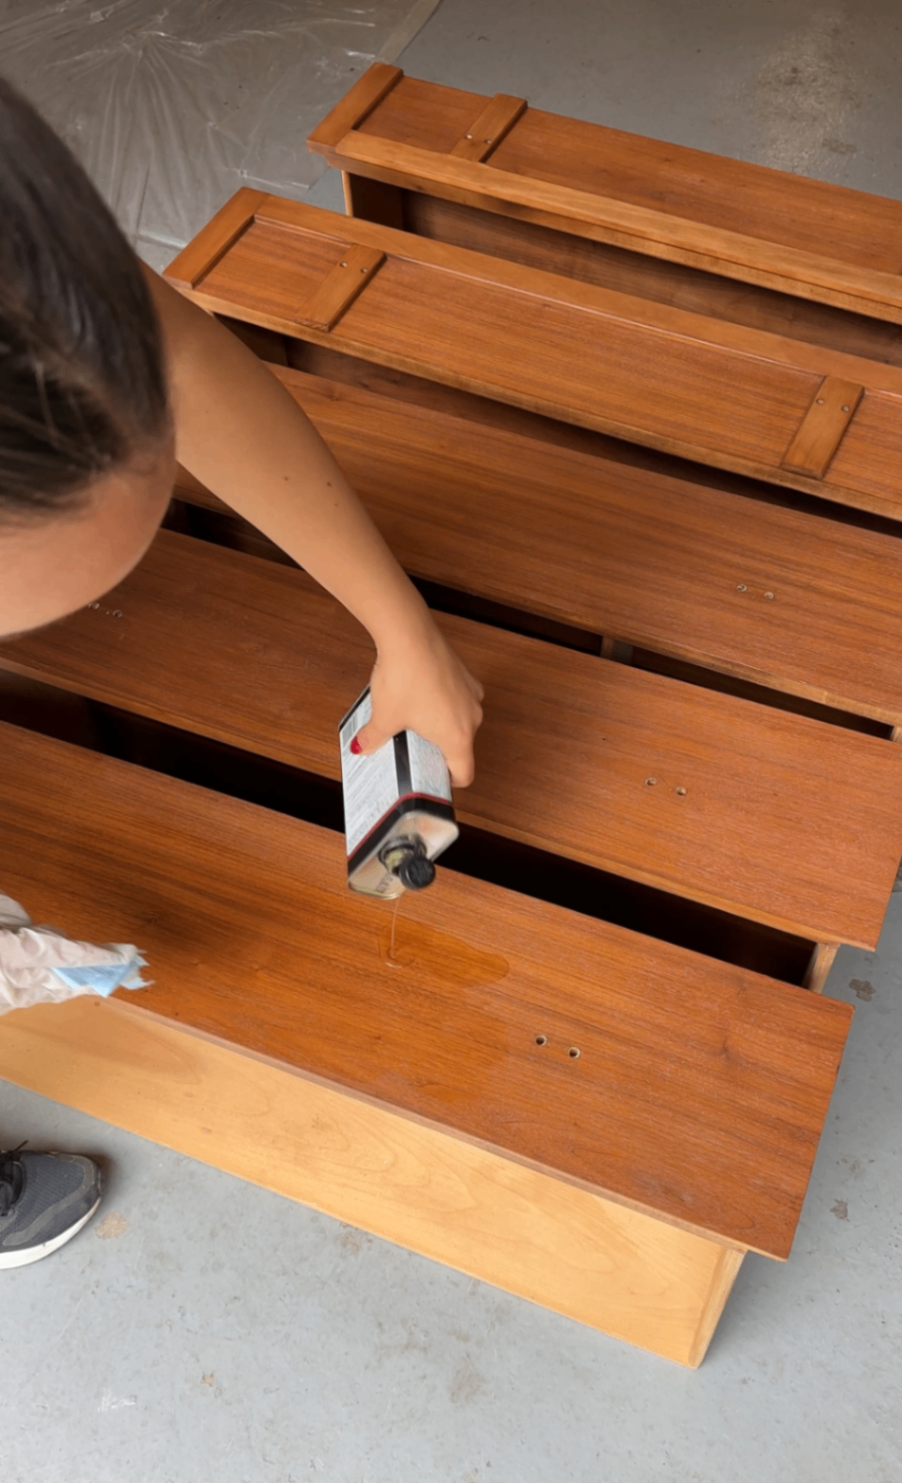
Step 3: Finally Reaching the Top Coat (and Blending Veneer Like a Pro)
Getting to the top coat stage took forever. Between stripping, detail work, repairs, sanding, and cleaning, this project involved hours of prep before I could even think about finishing. But once I finally applied that first coat of poly, it was instantly worth it.
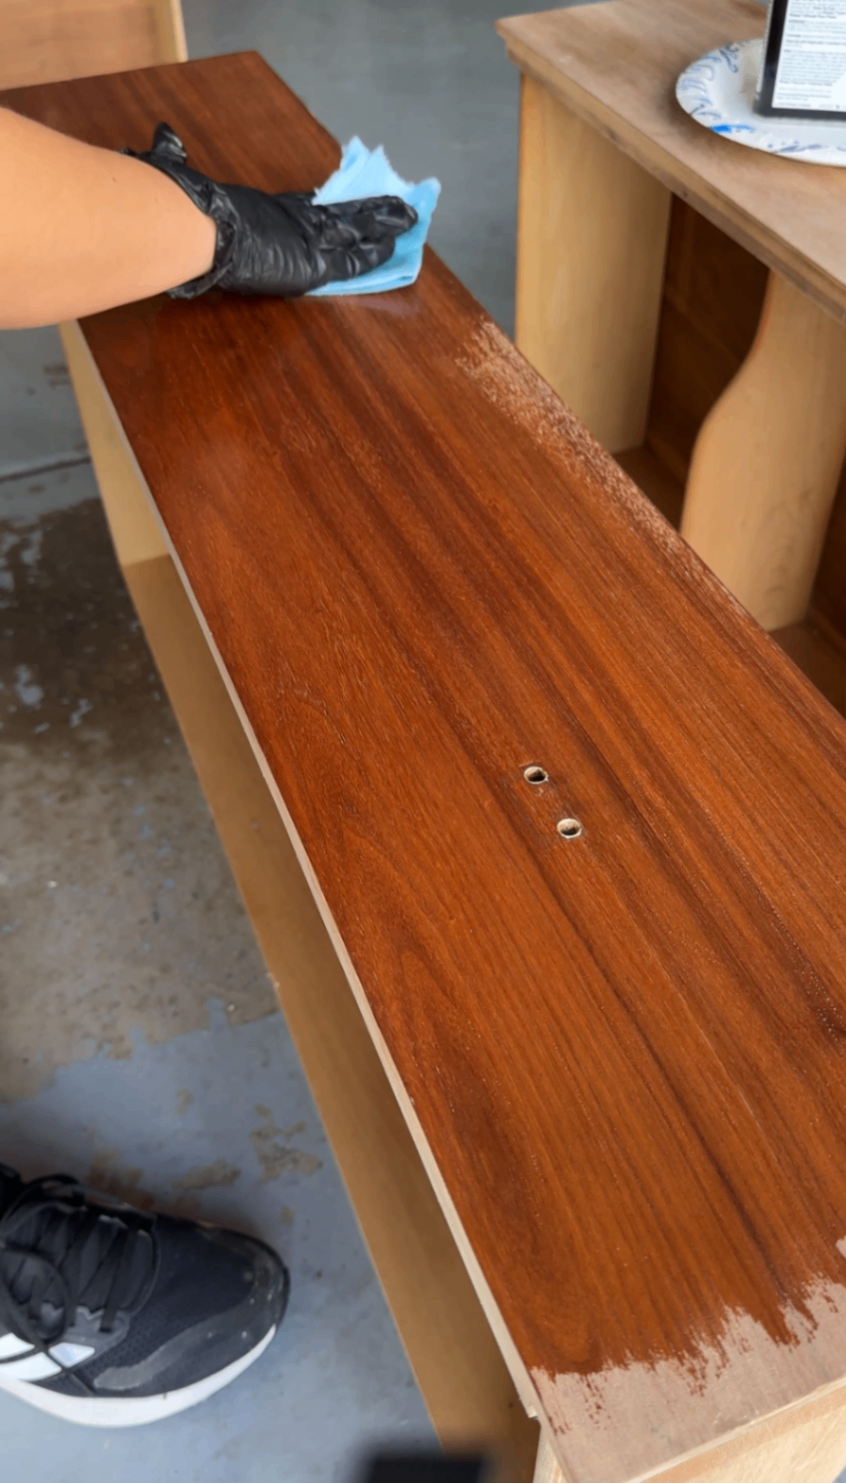
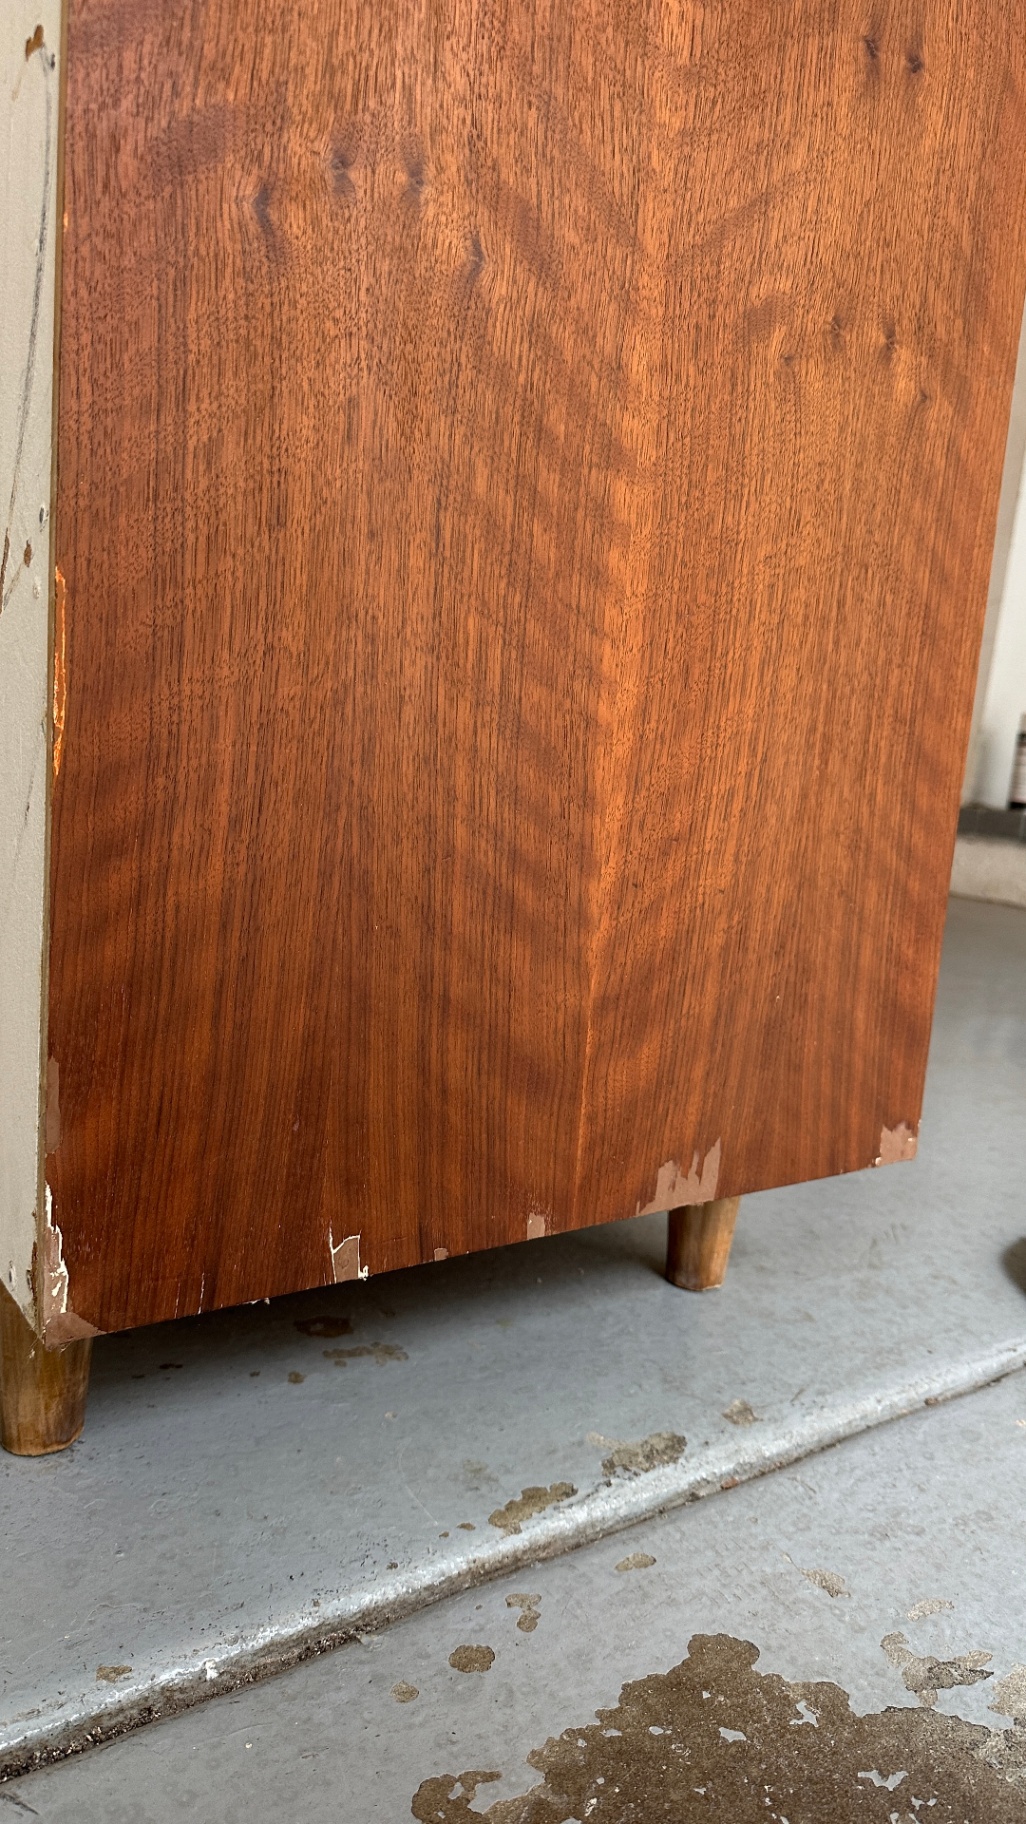
The walnut came alive — rich, warm, and glowing — and it was hard to believe someone had painted over it in the first place.
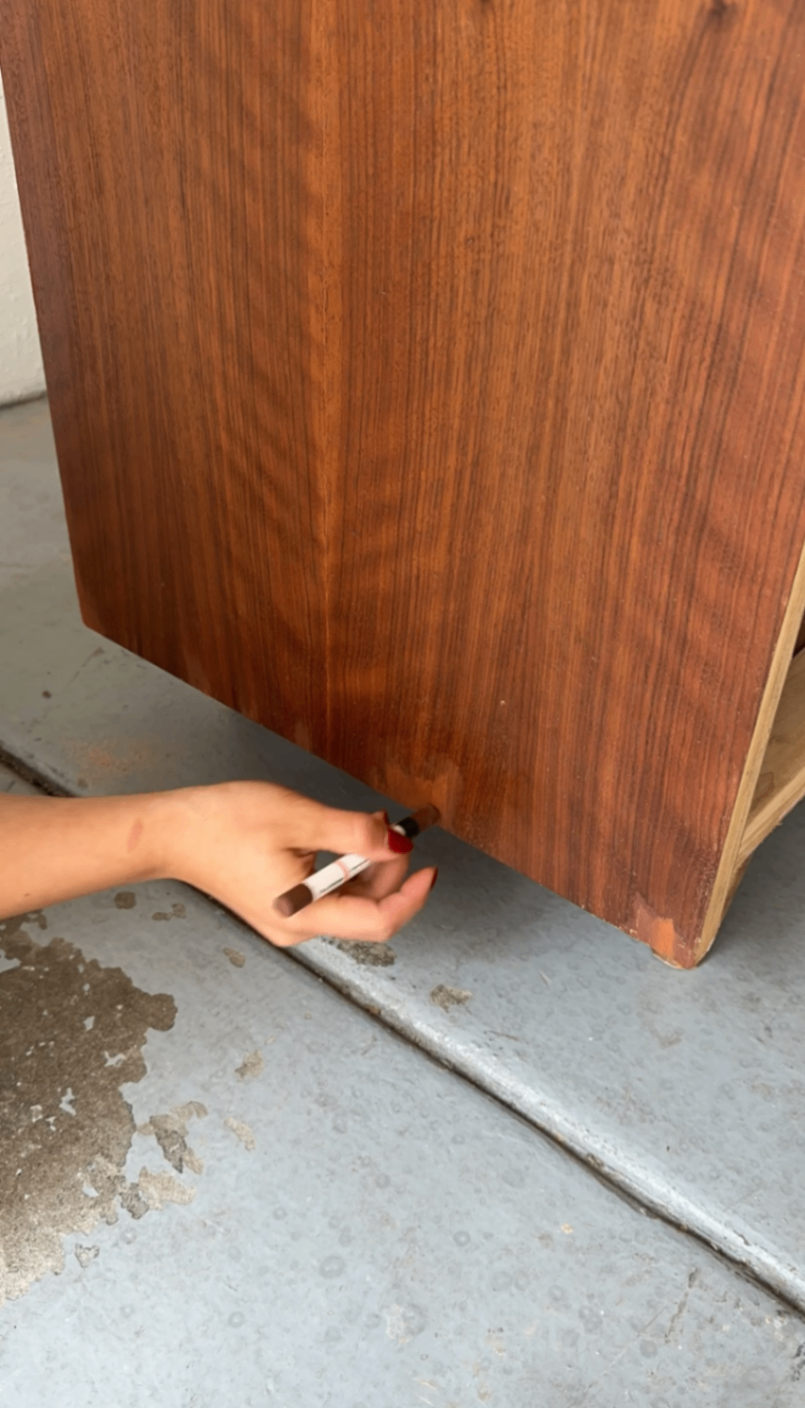
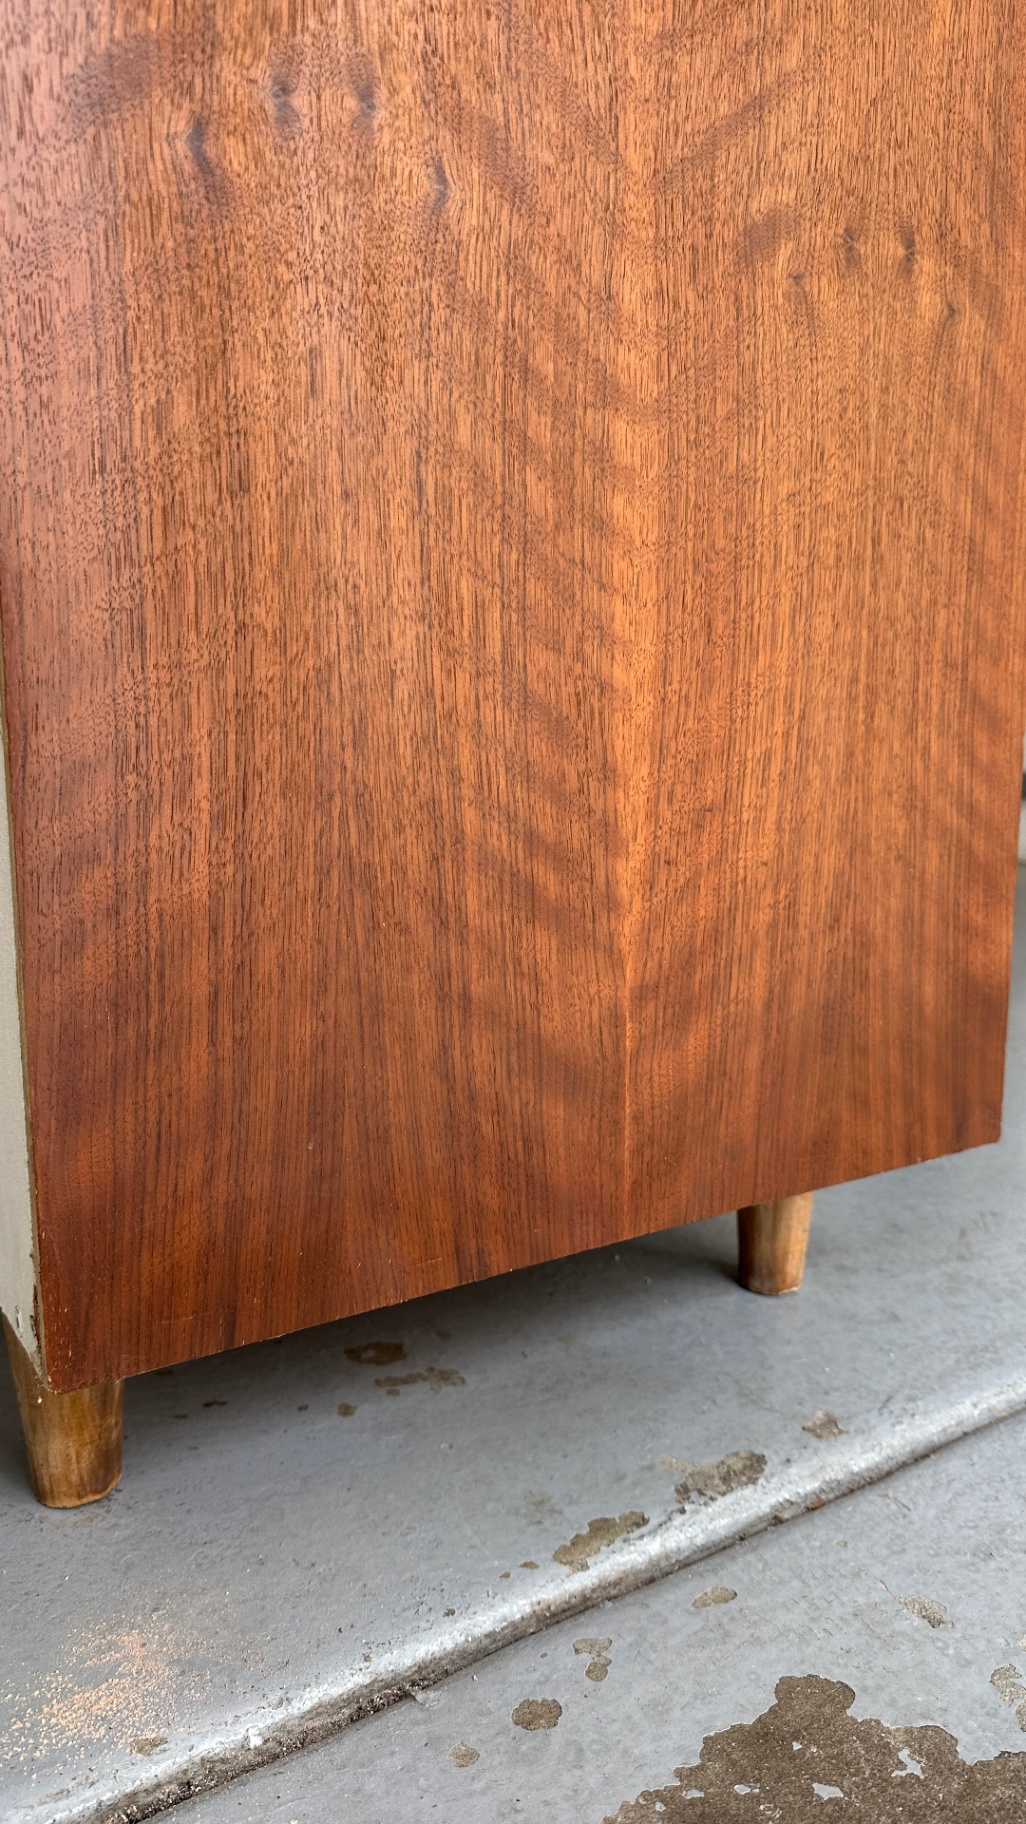
After that first coat, I moved on to veneer blending using Mohawk Blendal sticks. These are professional-grade wax-based touch-up sticks that come in a wide range of wood tones. You apply them in thin layers, blending colors to match the surrounding grain. I slowly built up depth and shading, working one small area at a time, and using Mohawk's Sanding Sealer in between layers.
To help the repairs blend seamlessly, I also use a utility knife to lightly imitate the direction and texture of the wood grain, and then finish with an ever so light spritz of toner. It’s a slow process that requires patience, but it’s what makes veneer repairs disappear instead of standing out.
(Before, during, and after veneer touch ups below)
Step 4: Adjusting the Drawer Front Finish
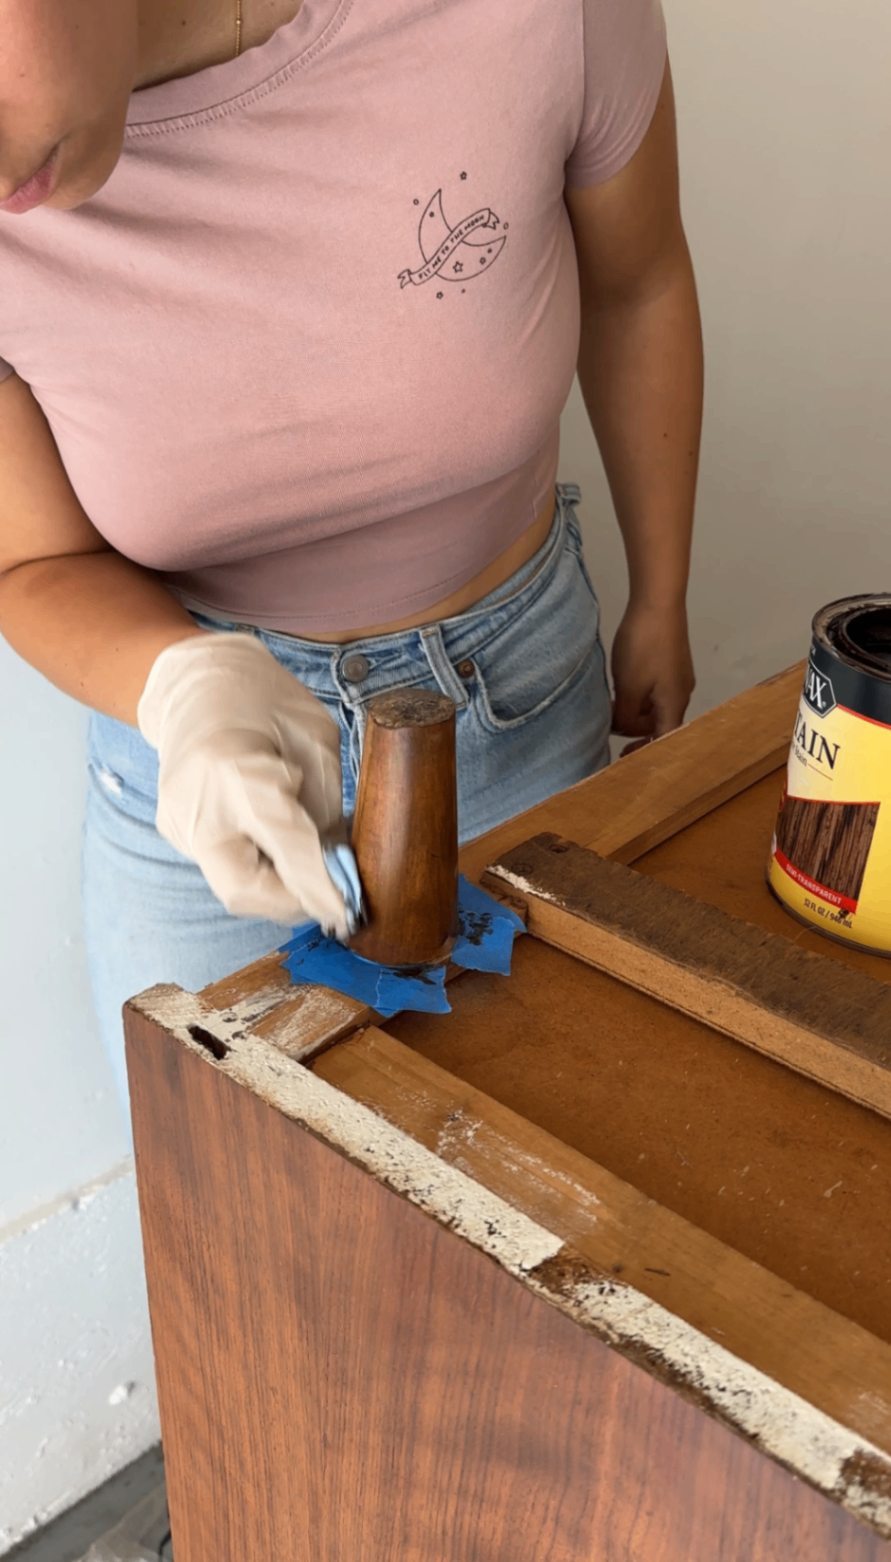
At this point, I tried toning some lighter wood areas to better match the walnut. It worked well on several parts of the dresser, but the drawer fronts didn’t respond the same way and ended up uneven.
To fix it, I sanded them back down, taped everything off carefully, and took a more controlled approach: pre-stain to help with even absorption, followed by stain, and then toner to bring everything into alignment with the rest of the piece. That combination finally gave me the consistent, warm tone I was after.


Furniture restoration is a lot of trial, adjustment, and knowing when to pivot — and this step was a good reminder of that.
Step 5: Hardware, Legs & Final Touches
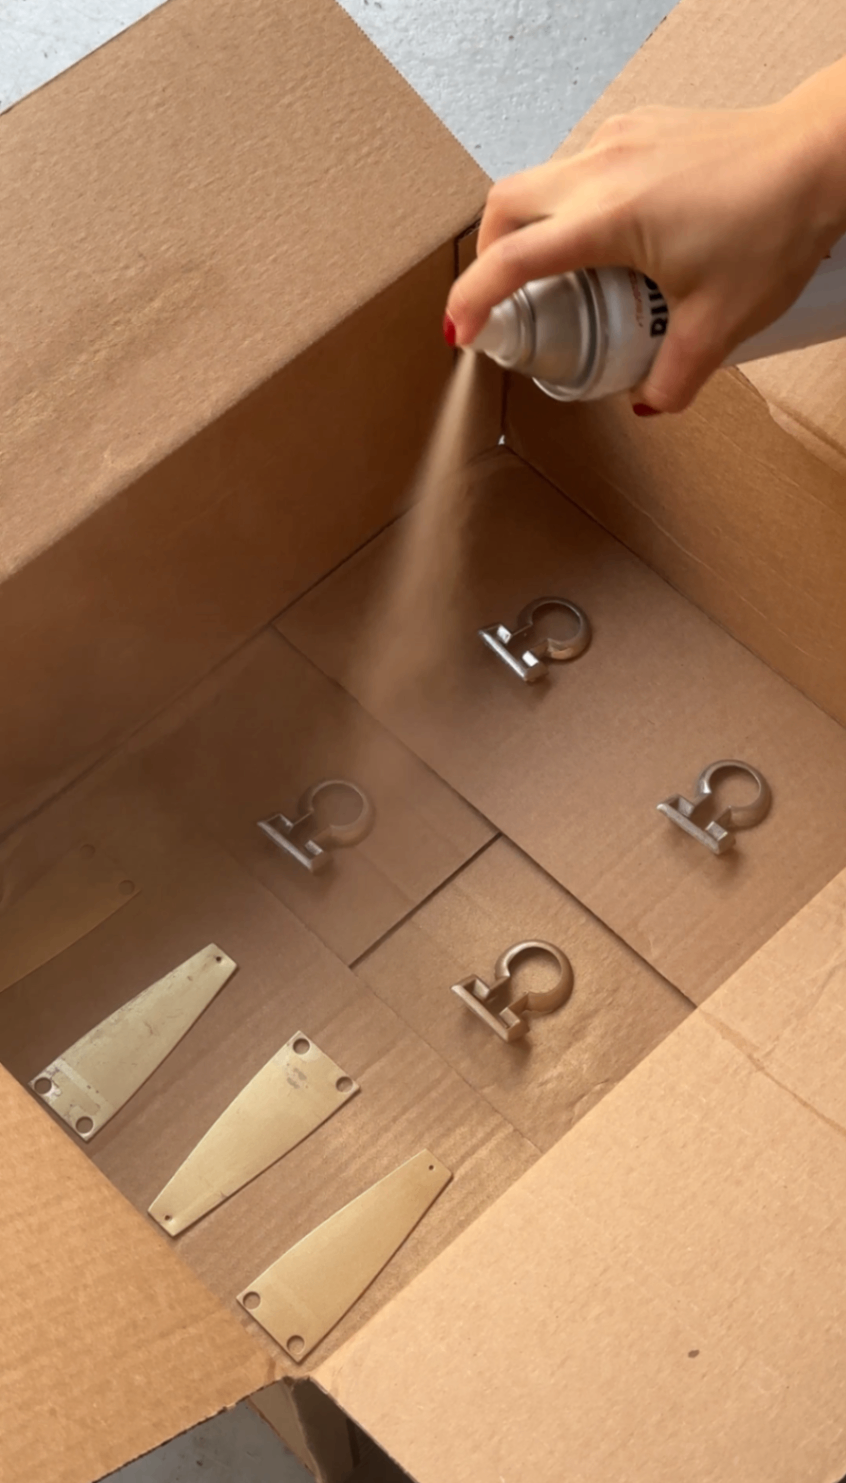
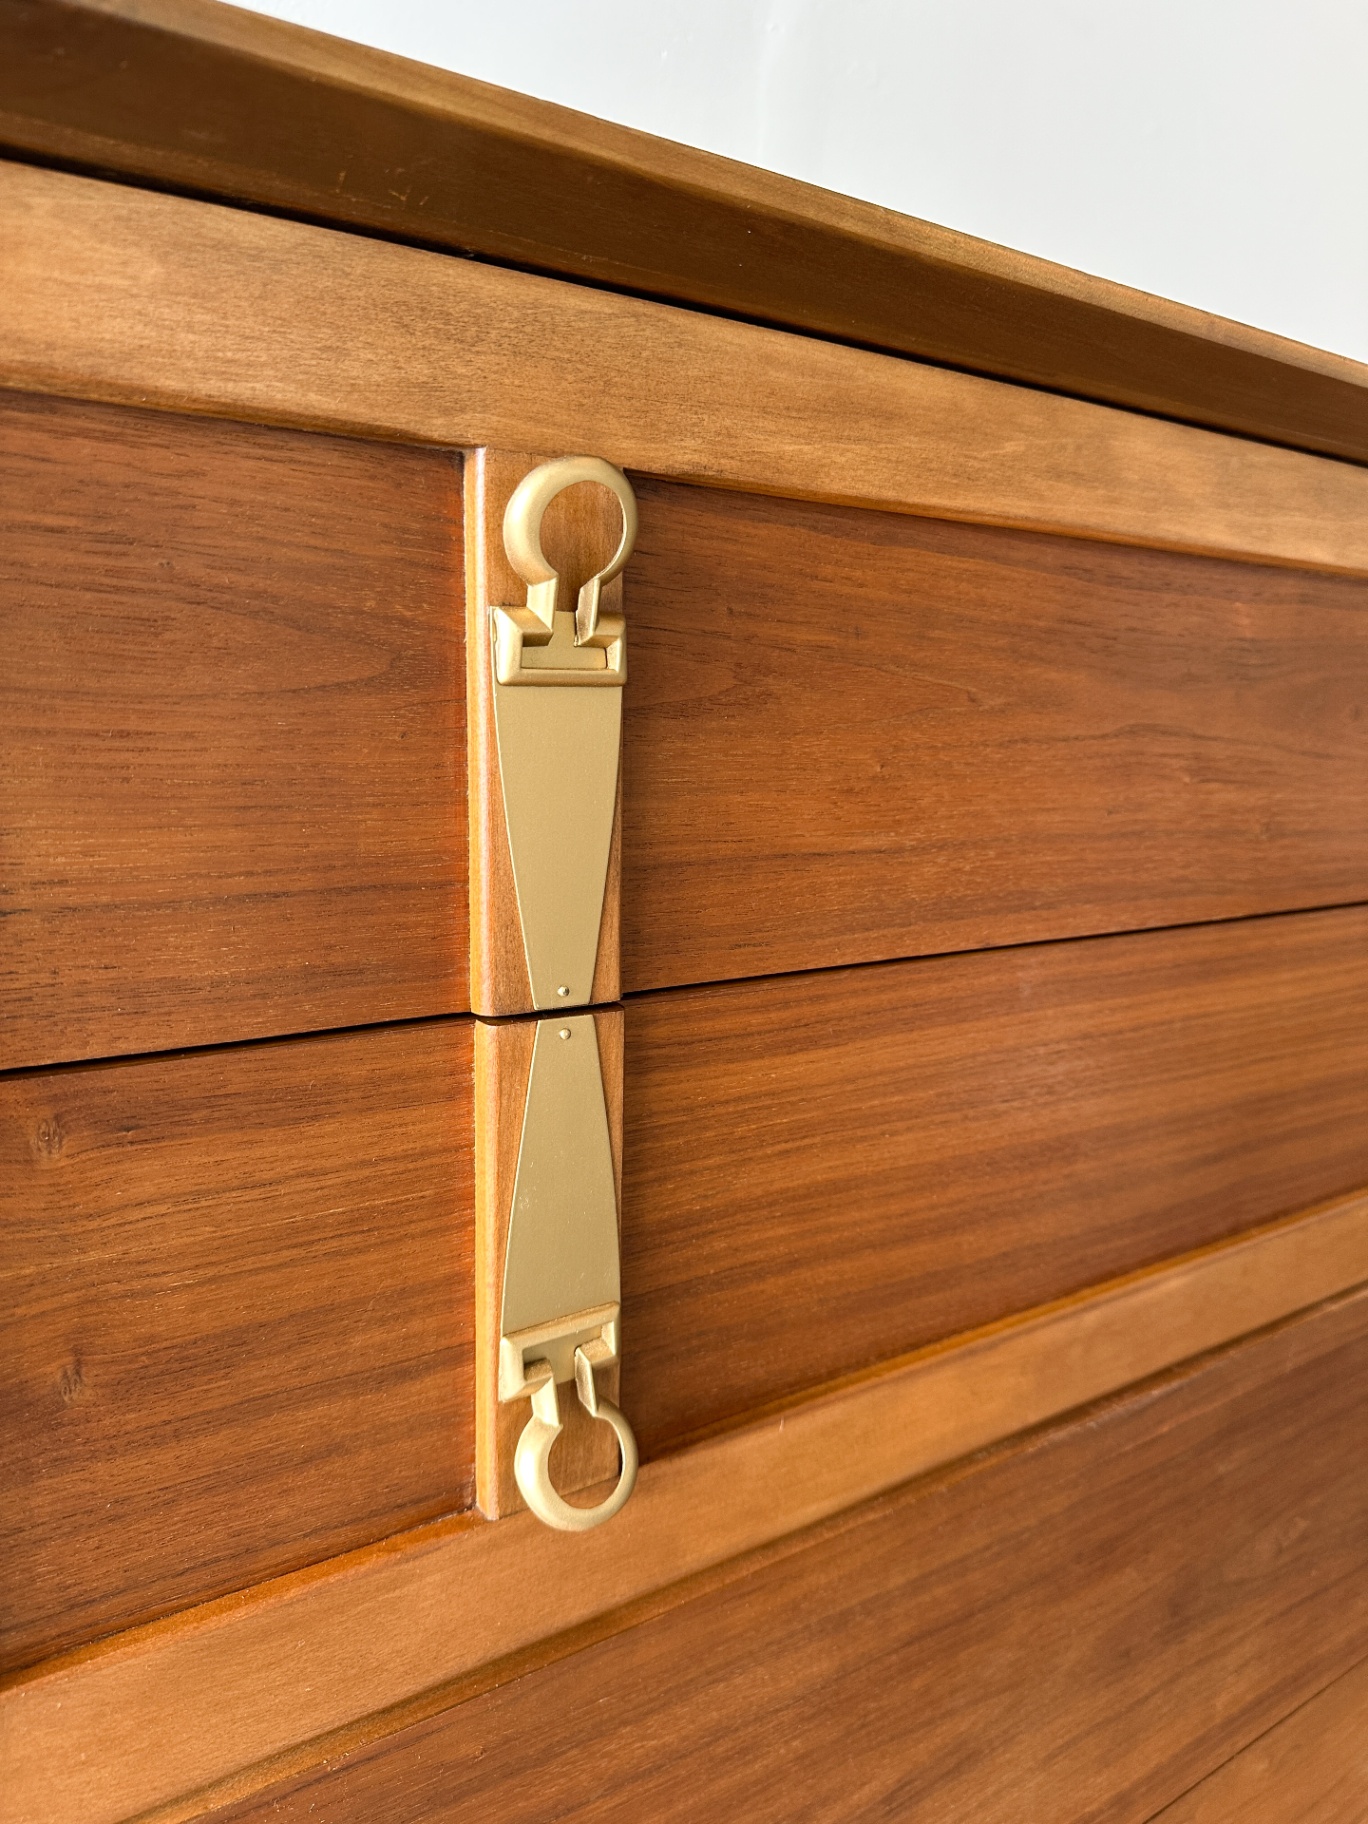
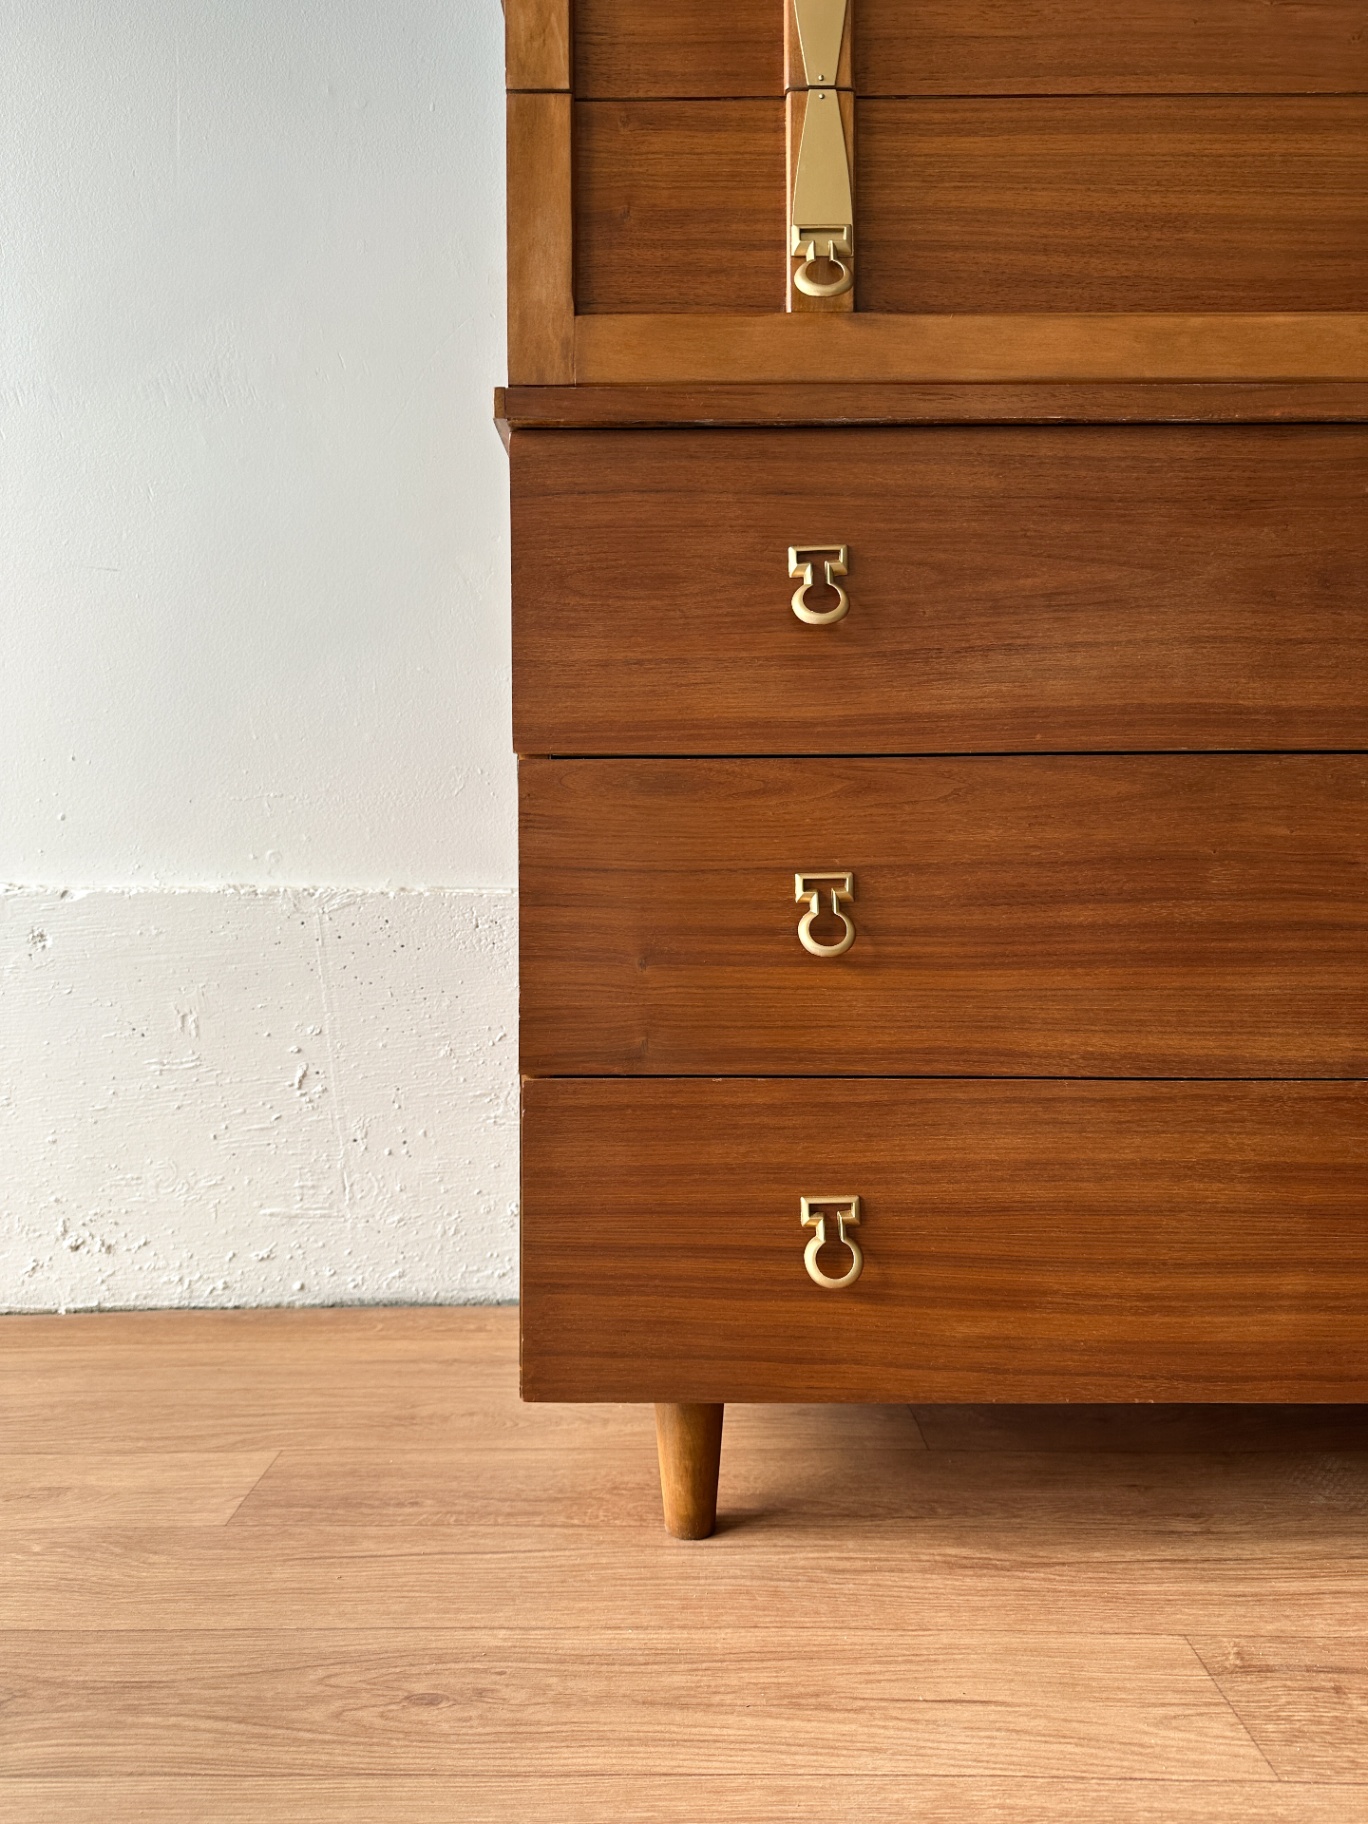
I stained the legs to complement the walnut tones and stripped any paint chips/drips off of the original hardware before spraying it gold. The hardware on this piece is so unique, and that warm metallic finish really highlights the design.
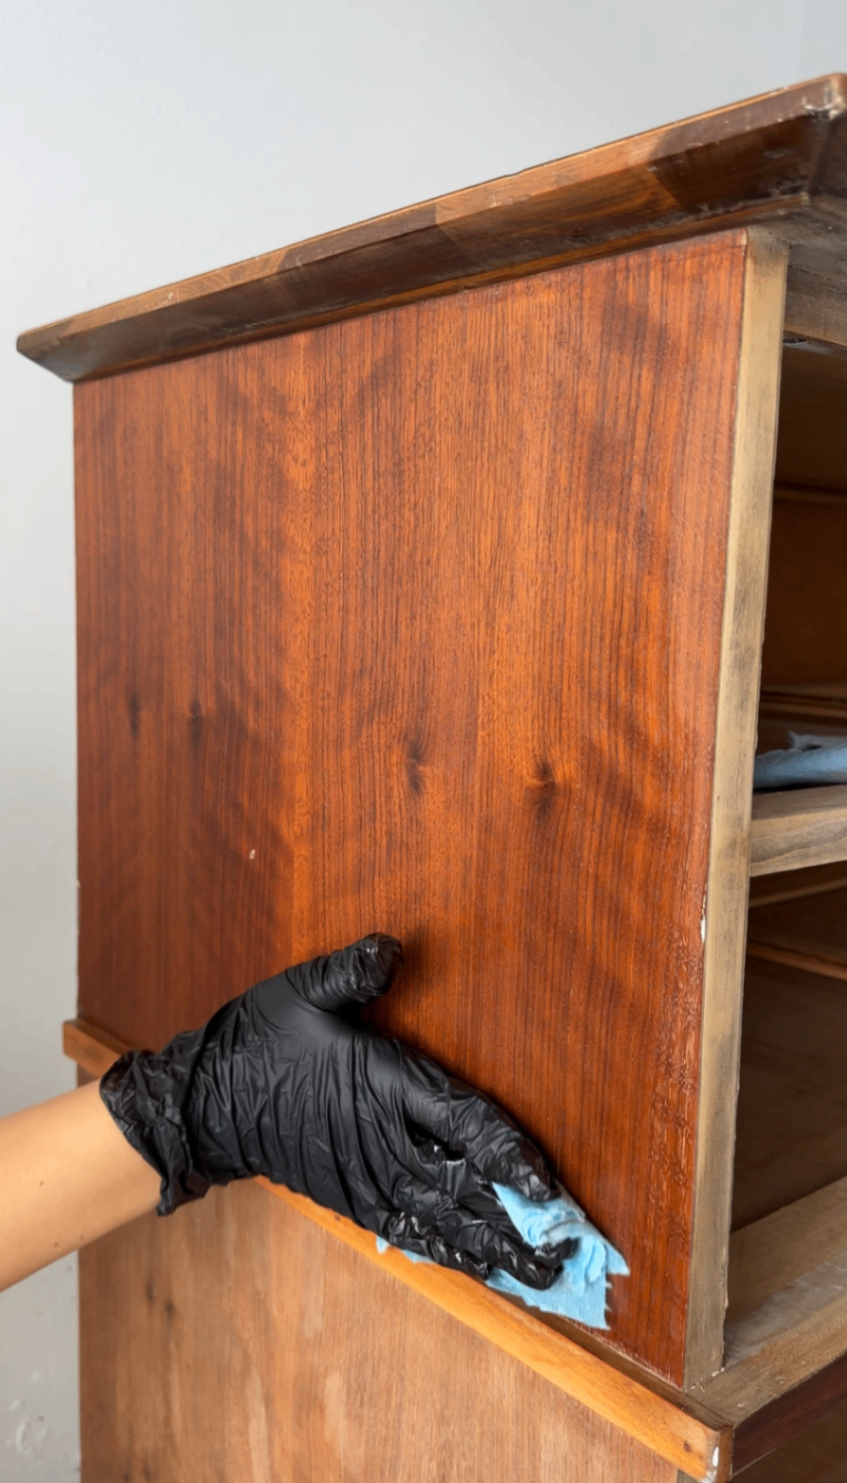
I applied three total rounds of top coat using one of my favorite finishes — an oil-based wipe-on poly that’s honestly as easy to use as it sounds. You wipe it on, let it do its thing, and repeat. It levels beautifully, builds protection without looking heavy, and is perfect for projects like this where you want durability and a natural finish.
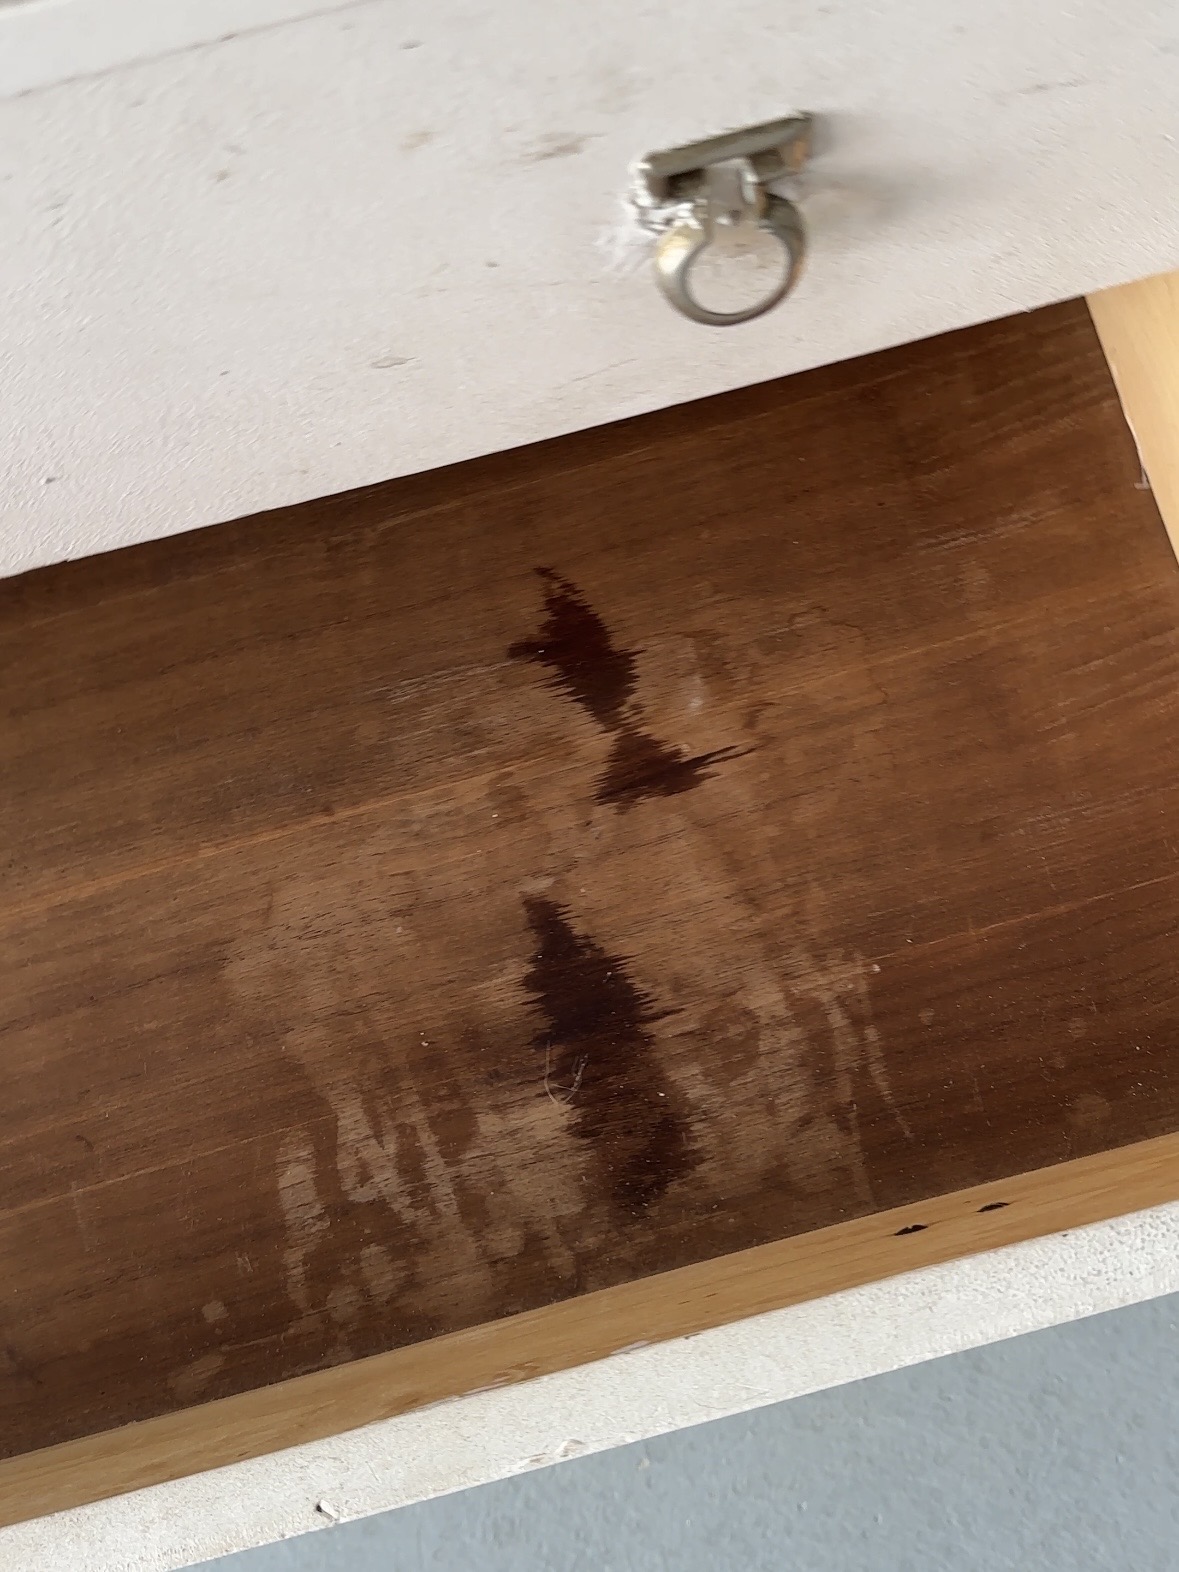
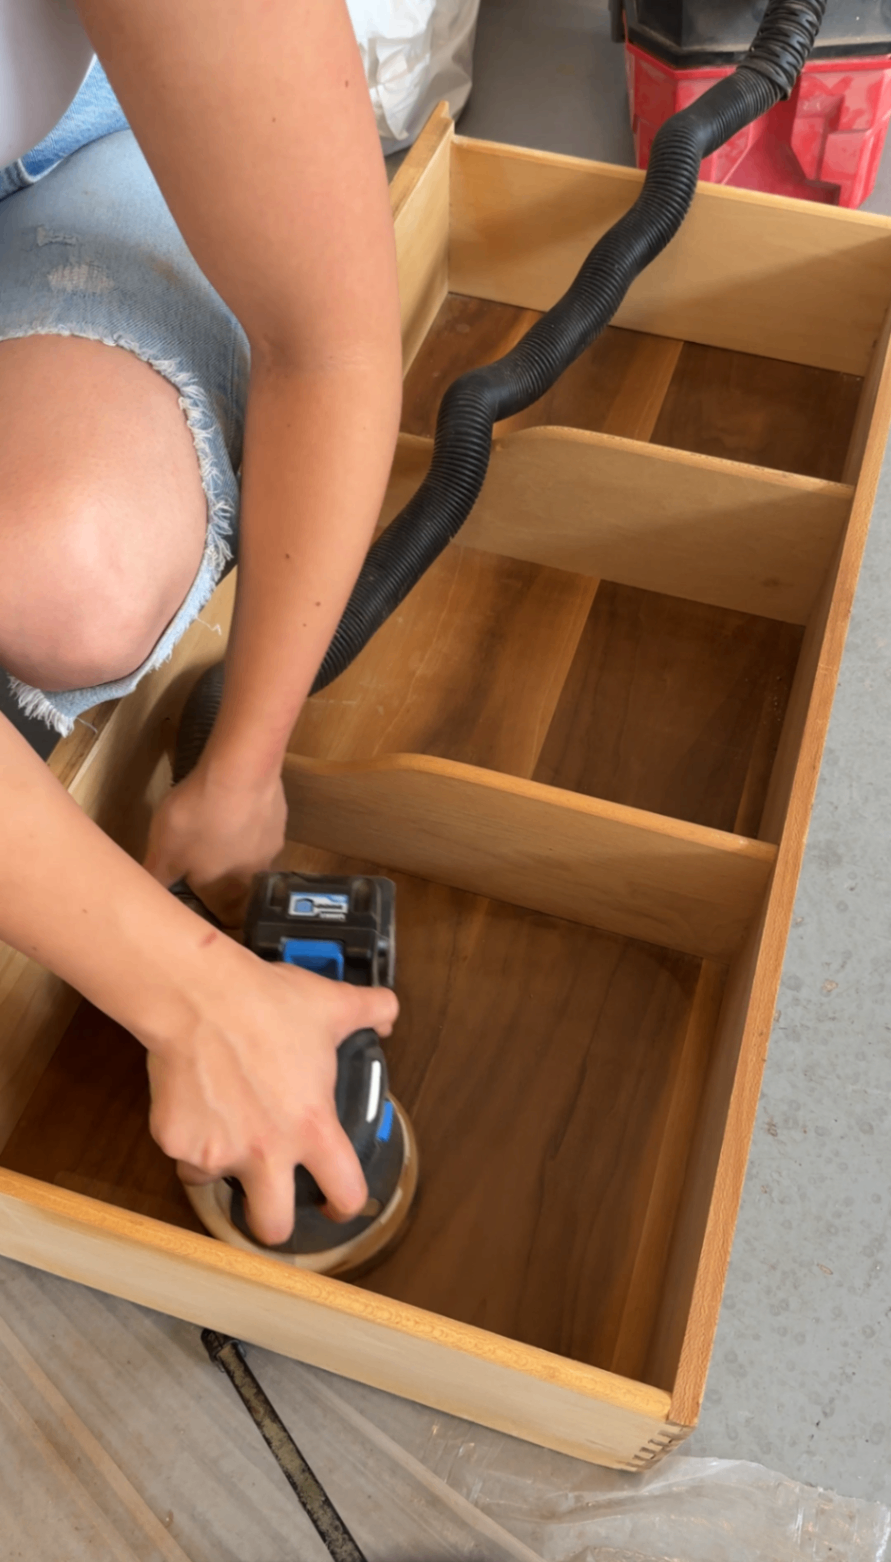
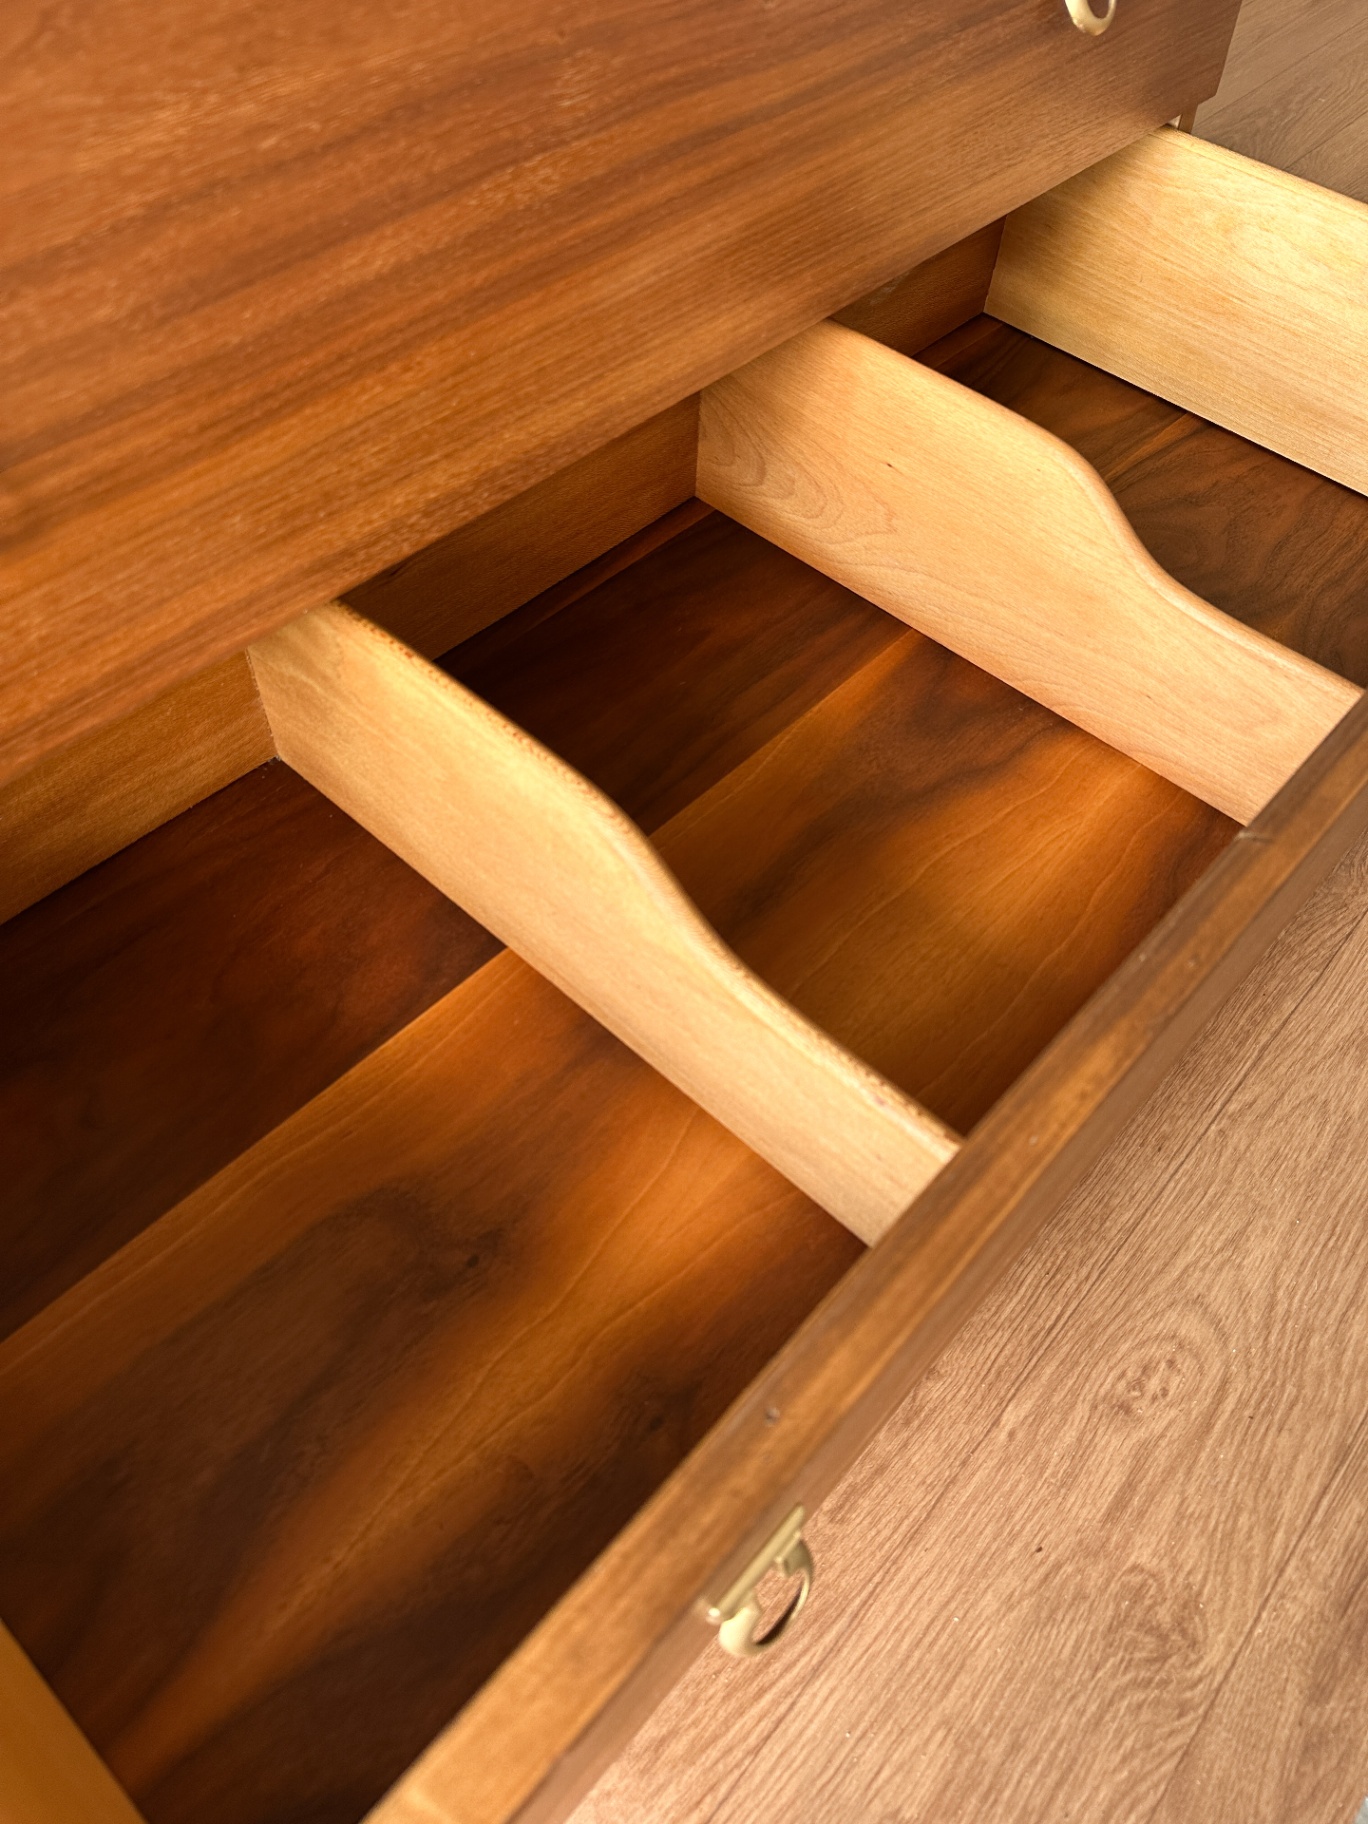
While the finish was curing, I turned my attention to the drawers. These took multiple rounds of deep cleaning, and even after all that, I still had to sand out some stubborn stains that just weren’t budging. Once everything was clean and smooth, I finished the entire piece with Feed-N-Wax to hydrate the wood and give it that final soft, warm glow.
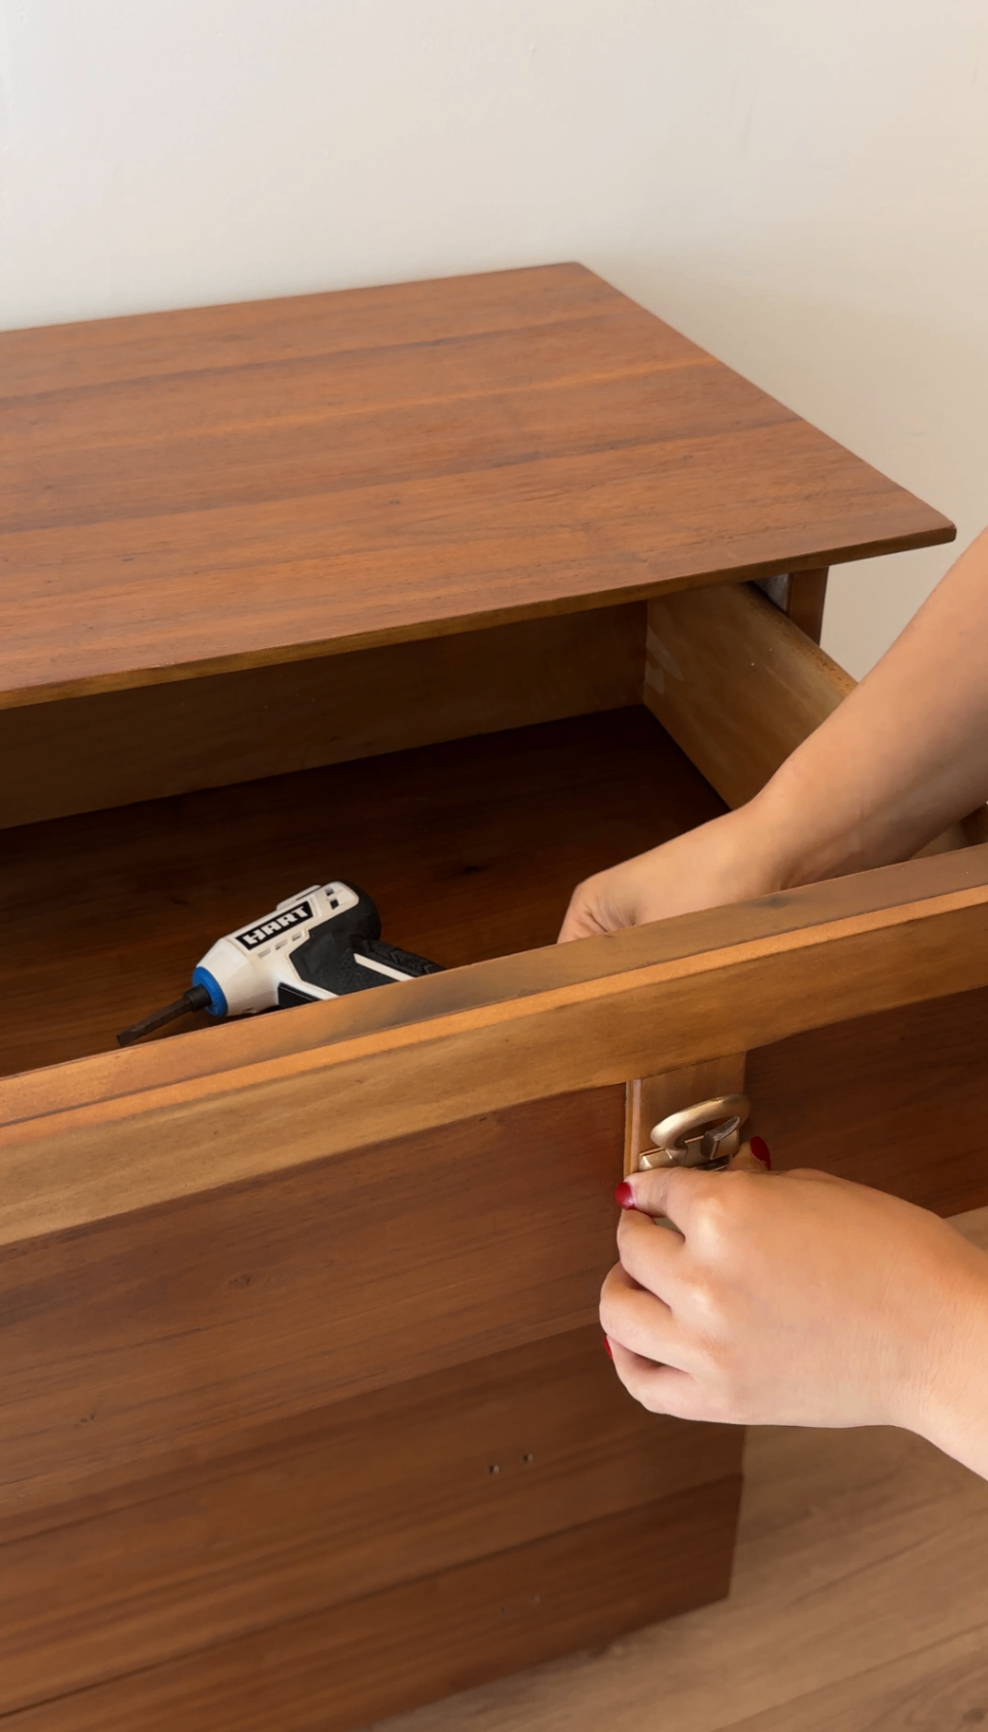
Once the hardware went back on, I stepped back and just stared.
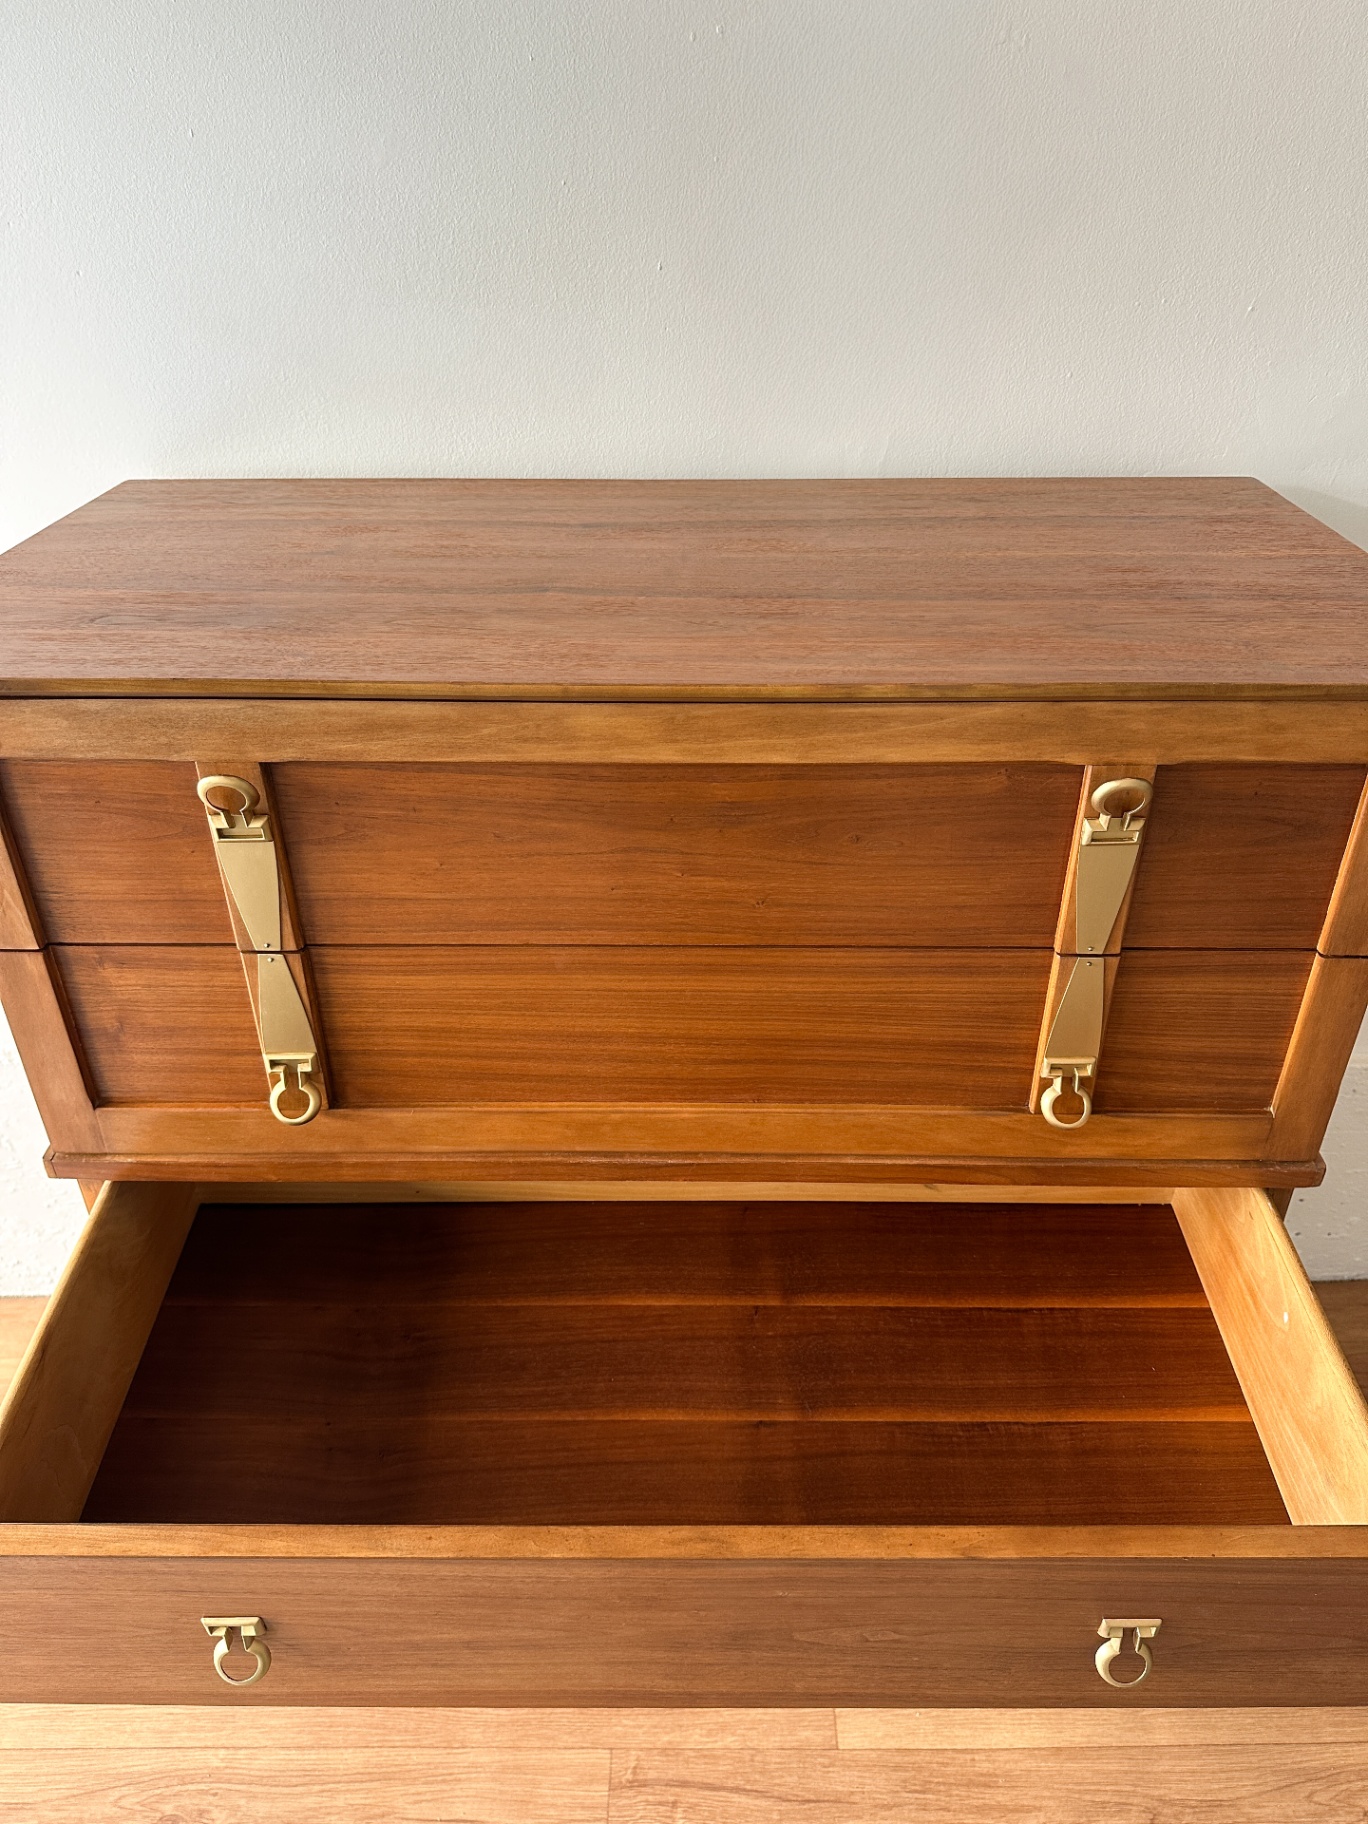
The Final Result ✨
I genuinely cannot believe this is the same dresser.

What started as a filthy, painted mess is now a rich, warm mid-century modern walnut dresser with clean drawers, glowing wood grain, and statement hardware. This is easily one of my favorite furniture transformations I’ve ever done - and a perfect example of why I’ll almost always choose restoration over paint when the wood is worth saving.
Would you have painted over this?
Final Thoughts
This project is a reminder that some of the best furniture flips start out looking the worst. If the structure is solid and the design is there, a little patience (and a lot of stripping) can completely change a piece.
If you love vintage furniture, mid-century modern design, and real-world furniture makeovers - this one’s a good one to save.

Save This Project for Later 📌
If you found this makeover inspiring, pin this project on Pinterest so you can reference it later
More DIY Projects You Might Like
If you’re looking for more furniture flip ideas, dresser makeover inspiration, or furniture refinishing tutorials, you might also like these:
Mid-Century Modern Dresser Restoration – a full MCM walnut tallboy dresser restoration
French Provincial Dresser Makeover – the full tutorial on how I restored, paint-washed, and finished this beautiful vintage piece
These projects are great if you’re looking for more DIY furniture makeover ideas and inspiration for how to flip furniture, refinish old dressers, and restore second-hand pieces.